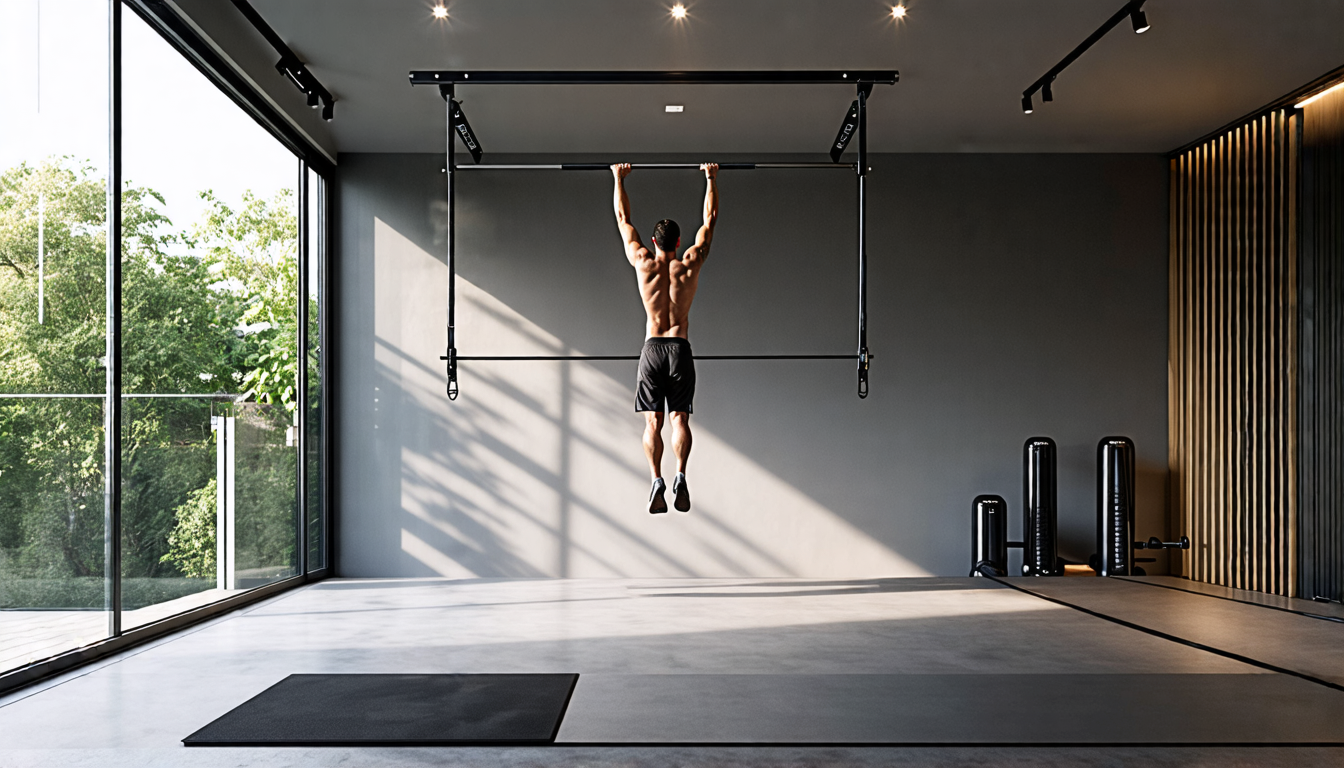
The Ceiling-Mounted Pull-Up Bar: Your Blueprint for a Home Strength Sanctuary
Imagine a dedicated strength station, always ready, freeing you from gym commutes and crowded racks. Visualize the ultimate symbol of raw, functional power anchored above you, a silent challenge waiting in your own space. This isn’t about another piece of clutter; it’s about claiming permanent territory for transformation. The right overhead anchor changes everything. For the serious home athlete, the ceiling-mounted pull-up bar is the non-negotiable foundation. It’s the key to unlocking relentless consistency, superior performance, and a truly professional-grade training environment.
Foundational Choices – The Hardware of Commitment
Your selection and installation are the bedrock of this endeavor. This is a permanent investment in your potential, not a temporary fixture. Every choice must be made with the athlete you will become in mind.
Selection and Sizing: Choosing Your Champion
The first decision is the bar itself. Fixed Bars offer a pure, minimalist, and often more robust single-grip experience. Multi-Grip Stations provide versatile hand positions (wide, narrow, neutral) for targeting different muscles, but ensure the construction is equally solid. Critical measurements are non-negotiable: a bar diameter of 1.25″ (32mm) is the sweet spot for most hands, and you must have at least 24 inches of clearance from the bar to the ceiling to allow for proper kipping or muscle-up transitions if desired. Most importantly, load capacity must far exceed your bodyweight. Buy for the weighted athlete you will be—a rating of 500+ lbs is the standard for serious training.
Location and Setup: The Tactical Installation
This is where theory meets the stud-finder. The Golden Rule: You must anchor directly into ceiling joists. Drywall or plaster alone will fail, catastrophically. Use a quality stud finder to locate the joists; for absolute certainty, confirm by drilling small pilot holes. Orientation is key: the bar should be mounted perpendicular to the joists, with its mounting brackets lag-bolted directly into the center of at least two separate joists. The critical, non-negotiable upgrade is the mounting board (a 2×10 or 3/4″ thick plywood board, 2-3 feet long). Secure this board across multiple joists, then mount the bar to the board. This distributes force over a wider area, providing unparalleled stability and allowing for slight positioning adjustments.
Material and Build: A Comparison Table
| Component Category | Options | Key Characteristics |
|---|---|---|
| Frame Material | Solid Steel | Maximum durability and load-bearing capacity; the industrial standard for a reason. Ensure it’s properly finished to prevent rust. |
| Bar Finish | Powder Coat | Superior grip and texture; less slip when sweating; highly resistant to chipping and corrosion compared to simple paint. |
| Mounting Hardware | Grade 5 or Grade 8 Lag Bolts & Washers | Essential for safety; never substitute with lower-grade hardware. Use washers to prevent the bolt head from digging into the wood. Tighten with a proper wrench, not just a screwdriver. |
The Core System – Managing Your Vertical Arena
Your installed bar is the heart of a dynamic strength system. To thrive, you must optimize the three critical control variables of this ecosystem.
Control Variable 1: Training Volume & Frequency
The Ideal: Seamless integration that promotes adaptation, not burnout. Consequence of Error: Too much volume leads to overuse injuries in shoulders and elbows; too little stifles progress. Control Method: For beginners, the “Grease-the-Groove” method (several sub-maximal sets throughout the day) builds neural efficiency. For intermediates, structured programming—like 3-5 sets of 3-8 reps, 2-3 times per week—within a larger routine drives hypertrophy and strength.
Control Variable 2: Exercise Progression
The Target: Continuous strength adaptation to avoid the plateau. Consequence of Stagnation: Your body adapts, and gains halt. Control Tools: Use resistance bands looped over the bar for assisted reps if you can’t do full repetitions. The primary tool for progression is a weighted dip belt. Start adding weight in small increments (2.5-5 lbs) once you can perform 3 sets of 8-10 clean bodyweight reps. Progress grips from chin-ups (supinated) to pull-ups (pronated) to wider or mixed grips.
Control Variable 3: Safety & Maintenance
The Standard: A silent, rock-solid installation that you never have to think about. Consequence of Neglect: Catastrophic failure and injury. Control Protocol: Implement a pre-session “shake test”—firmly grip the bar and apply your bodyweight while checking for any creaks, movement, or give. Every quarter, perform a full inspection and re-tighten all lag bolts and bar fittings with a wrench.
Advanced Practices – The Art of the Pull
With your fortress secure, shift focus from the hardware to the software: the art and science of vertical pulling mastery.
Preparation: Grip and Hand Care
The Best Mediums: Loose chalk (magnesium carbonate) is the gold standard—it absorbs sweat without creating a slippery residue. Avoid gloves that create a false sense of security and hinder grip development; use gymnastics grips only for high-volume, high-skill work like muscle-ups. Foundation Work: Strengthen your crush and support grip with dead hangs and farmer’s carries. Manage calluses by filing them down when dry to prevent painful tears.
Ongoing Inputs: Programming for Growth
Efficient Methods: Move beyond simple sets. Cluster Sets (e.g., 5 reps, rest 15 seconds, repeat for 5 clusters) build density. Ladders (1 rep, 2 reps, 3 reps, rest) increase volume skillfully. Density Blocks (perform as many reps as possible in 10 minutes) build work capacity. Strategic Variety: Systematically rotate your primary movement: Chin-ups for biceps/lats, Pull-ups for upper back width, Neutral-grip for shoulder health, and Towel Pull-ups for monstrous grip and arm strength.
Selection and Strategy: Building the Routine
Guidance: Place pull-ups at the beginning of your workout when strength is the priority. Use them at the end for metabolic finishers in higher-rep ranges. Sequencing for Results: For balanced upper-body development, pair them with a horizontal push (e.g., push-ups or bench press). For a dominant back day, pair them with a horizontal pull (e.g., bent-over rows).
Threat Management – Preventing Setbacks
A proactive stance is the hallmark of a master. Your first defense is always perfect practice.
Prevention: The Proactive Protocol
Emphasis: Consistent, full-range-of-motion technique with a controlled descent (the negative) is the single best injury prevention. Never sacrifice form for reps. The Quarantine: Listen acutely to joint pain, especially in the elbows (tendonitis) or shoulders (impingement). At the first sign, regress the exercise—use bands, reduce volume, or switch to an easier grip—before it becomes a debilitating issue.
Intervention: The Tiered Response Plan
Identification Guide: Sharp elbow pain (likely tendonitis), wrist pain during rotation (grip or mobility issue), chronic grip fatigue. The Response Plan:
Tier 1 (Immediate): Deload by 50% volume, perform a thorough form check (scapular engagement, no kipping), and apply ice to inflamed areas.
Tier 2 (Accessory): If pain persists, strengthen the supporting tissues. For elbow pain, add eccentric wrist curls and hammer curls. For shoulder pain, add face-pulls and external rotations.
Tier 3 (Professional): If pain continues after 2 weeks of modified activity, consult a physical therapist or sports medicine doctor.
The Action Plan – A Quarterly Blueprint
| Phase | Primary Tasks | What to Focus On |
|---|---|---|
| Phase 1: Installation & Base Building | Secure mounting board to joists; install bar; test installation with controlled bodyweight hangs and pulls. Establish 3 weekly training sessions. | Form mastery, neural connection, building initial work capacity with perfect reps. |
| Phase 2: Intensity Phase | Begin adding weight progressively via dip belt (2.5-5 lb increments). Introduce cluster sets or ladders. | Maximal strength development. Adding load with impeccable technique. |
| Phase 3: Skill & Variety | Incorporate L-sit pull-ups, archer pull-ups, or mixed-grip work. Implement a density block workout weekly. | Neuromuscular control, mastering new movement patterns, and attacking weak points. |
| Phase 4: Deload & Maintenance | Reduce training volume by 40-60%. Perform the full hardware inspection and bolt-tightening ritual. | Physical and neural recovery. Ensuring the long-term integrity of your entire system. |
The ceiling-mounted pull-up bar provides the ultimate combination of permanence and versatility, creating an environment where strength is not an accident, but an inevitable result of your environment and habit. From the deliberate, stud-finder-driven choice of hardware to the mastered practice of the controlled, powerful pull, you have built more than a station—you’ve built a discipline. The profound satisfaction lies not just in a wider back, increased reps, or added plates on your belt, but in the daily, unshakable ritual of reaching up to your own personal monument of commitment. You have transformed a patch of your ceiling and a portion of your will into a true strength sanctuary, a personal arena where you are both architect and champion.