The Vision of a Stronger, Healthier You
Imagine moving through your day with effortless, upright grace—no more slouching at your desk or aching shoulders. Picture a V-shaped back that not only looks powerful but feels unbreakable, a pillar of strength that supports every lift, reach, and stride. This transformation isn’t about magic; it’s about method. The foundation for this level of postural mastery and raw strength already exists in a single, timeless piece of equipment. Mastering a strategic set of back exercises with a pull-up bar is the key to unlocking this potential, forging a resilient back that enhances posture, banishes pain, and projects confidence from the inside out.
Foundational Hardware: Choosing and Setting Up Your Command Center
Your pull-up bar is your command center for back development. The right setup is the non-negotiable first rep of your journey—a foundation of safety, stability, and potential.
Selection and Sizing – Doorway, Wall-Mounted, or Freestanding?
Your choice dictates your training universe. A doorway bar offers convenience and space-saving but limits movement variety. A wall-mounted or ceiling-mounted rig provides unparalleled stability for kipping or weighted work but requires permanent installation. A freestanding power tower is a versatile, all-in-one station but demands significant floor space. The critical checks: ensure your doorframe or wall studs can handle the dynamic load, verify the bar’s weight rating exceeds your own, and seek multiple grip options (wide, narrow, neutral) to target different back muscles from day one.
Location and Setup – Engineering Your Training Zone
This is tactical placement. Ensure you have full 360-degree clearance—no light fixtures or low ceilings to interrupt your hang. The bar should be mounted at a height where you can hang with arms fully extended without your feet touching the floor, yet can safely reach to grip it. For doorway models, test the stability on the frame before loading your weight; for permanent mounts, use a stud finder and lag bolts designed for shear force. Your training zone must be a sanctuary of safety.
Material and Component Breakdown
| Component | Options | Key Characteristics |
|---|---|---|
| Mounting System | Doorway, Wall/Ceiling, Freestanding | Doorway: Portable and quick to install; stability varies, can damage trim. Wall/Ceiling: Rock-solid for advanced training; requires permanent modification. Freestanding: Most versatile and feature-rich; has a large footprint. |
| Grip Material & Shape | Foam/Neoprene, Steel/Rubber; Straight, Angled, Neutral | Foam/Neoprene: Softer on hands, reduces calluses; can degrade with sweat over time. Steel/Rubber: Durable and offers secure grip; can be harsh on skin initially. Angled/Neutral Grips: Friendlier on wrists and shoulders; crucial for long-term joint health. |
| Load Capacity | Standard (250-300 lbs), Heavy-Duty (400+ lbs) | Standard: Sufficient for most bodyweight training. Heavy-Duty: Mandatory for weighted vests, dip belts, or athletes over 200 lbs; look for reinforced welds and thicker steel. |
The Core System: The Anatomy of a Perfect Pull
Superior back training is a science of controlled movement. It’s not about heaving your chin over the bar by any means necessary; it’s about orchestrating muscle contraction through precise, intelligent mechanics.
The Scapular Control Variable: The Master Key
Ideal Target: Initiate and finish every pull with free, retracted (pulled together), and depressed (pulled down) shoulder blades. Consequence of Error: Over-reliance on the arms and biceps, leading to stalled progress and potential shoulder impingement. Control Method: Master the “scapular pull-up.” From a dead hang, using only your back muscles, pull your shoulder blades down and together. Your body will rise only a few inches. This drill ingrains the mind-muscle connection that makes every subsequent rep exponentially more effective.
The Tempo Variable: Controlling Time Under Tension
Ideal Target: A 2-1-2-1 cadence: 2 seconds pulling up, 1-second pause at the top, 2 seconds lowering down, 1-second pause at the bottom. Consequence of Error: Bouncing or using momentum robs your back muscles of crucial growth-stimulating tension. Control Method: Intentional counting or using a metronome app. Slowing the eccentric (lowering) phase is particularly potent for building strength and connective tissue resilience.
The Exercise Arsenal: Top Back Exercises with a Pull-Up Bar
This is where theory meets iron. We progress from foundational strength builders to targeted postural correctives, building a complete, resilient back.
Tier 1: Foundational Strength (The Pillars)
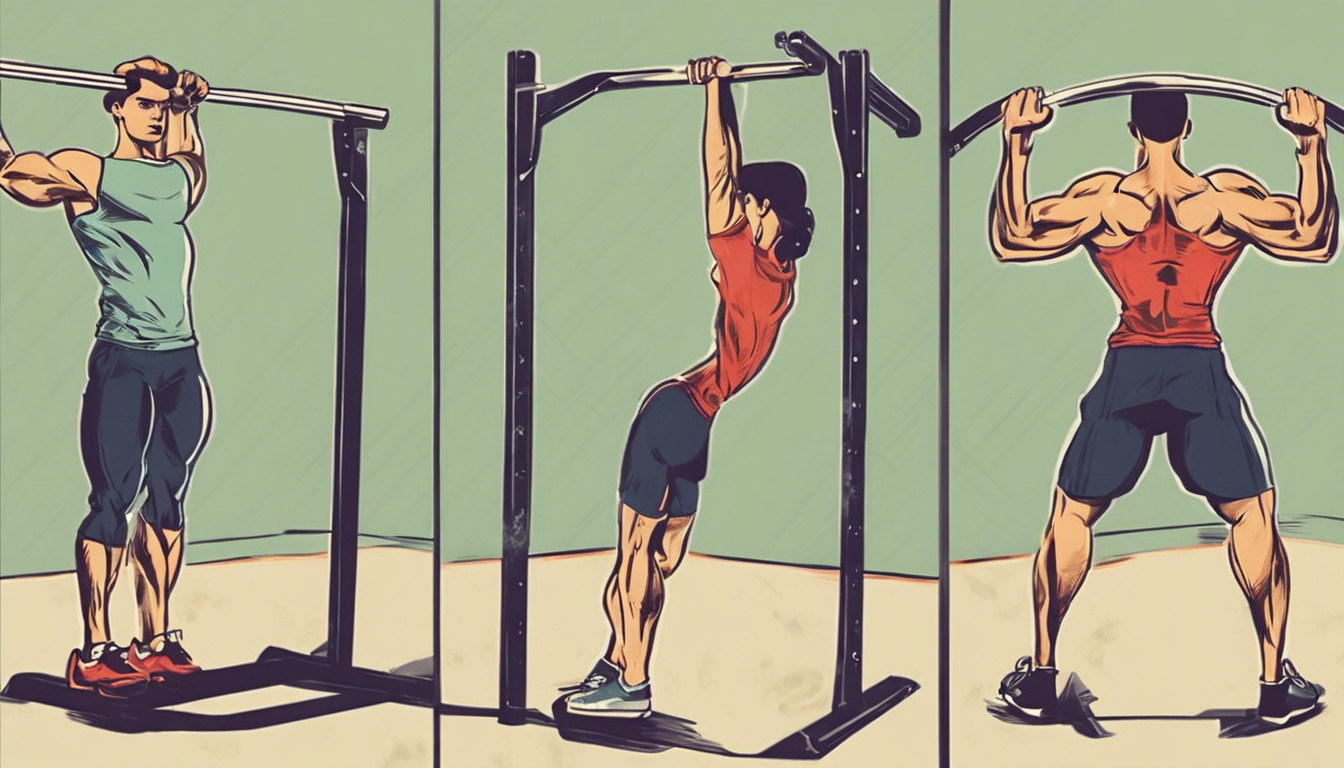
- The Standard Pull-Up (Overhand Grip): The cornerstone. Targets the lats, upper back, and rear deltoids. Grip slightly wider than shoulder-width to emphasize the V-taper.
- The Chin-Up (Underhand Grip): Not just a pull-up variant—it’s essential. The supinated grip allows greater involvement of the biceps and lower lats, creating thickness and pulling power.
Tier 2: Posture-Specific Enhancement (The Correctives)
- The Scapular Pull-Up: As described in the Core System, this is non-negotiable for activating the rhomboids and mid-back stabilizers that fight rounded shoulders.
- The Active Hang: From a dead hang, engage your lats to pull your shoulders down slightly away from your ears. Hold for 30-60 seconds. This decompresses the spine, improves shoulder mobility, and builds grip endurance.
- Archangels (Rainbow Pulls): Hang from the bar. With a slight bend in your elbows, move your torso in a large, controlled arc from side to side. This mobilizes the often-stiff thoracic spine, directly counteracting desk-induced hunch.
Tier 3: Advanced Integration (The Unlockers)
- Australian Rows (Bodyweight Rows): Set the bar at hip-to-waist height. Walk underneath, grip it, and keep your body rigid. Pull your chest to the bar. This horizontal pull is critical for balanced back development and rear delt strength.
- Knee Raises to Leg Raises: A strong back requires a stable core. Hanging knee raises progress to straight leg raises, building the abdominal strength that supports proper posture and protects the lower back during heavy pulls.
- Isometric Holds: Hold the top position of a pull-up (chin over bar) for time. This builds monstrous joint integrity, mental toughness, and teaches your body to own the position of peak contraction.
Navigating Plateaus and Pain
Adopt a proactive, not reactive, stance. Your first defense is always intelligent practice.
Prevention: The Proactive Protocol
Never start cold. A dynamic warm-up of band pull-aparts, cat-cows, and arm circles prepares the shoulder girdle. Post-session, stretch your lats and chest. Adhere to the principle of “greasing the groove”—frequent, sub-maximal practice throughout the day—rather than only pursuing exhaustive, infrequent sessions that breed fatigue and poor form.
Intervention: The Tiered Solution Guide
| Challenge | Immediate Solution | Progression Strategy |
|---|---|---|
| Can’t do a full pull-up | Use a heavy resistance band for assistance, or focus exclusively on 5-second negative (lowering) reps. | Phase out band thickness weekly. Add “active hangs” and “scapular pulls” to build foundational strength. |
| Wrist or elbow discomfort | Switch to a neutral grip (palms facing) if your bar allows. Ensure you’re not “death-gripping” the bar—hook grip over the fingers, not the palm. | Strengthen forearms with towel hangs. Incorporate rice bucket therapy for tendon health. |
| Lower back arches during leg raises | Focus on posterior pelvic tilt—tuck your tailbone under before lifting. Start with bent knees only. | Master the “hollow body” hold on the floor before returning to the hanging version. Prioritize core tension over leg height. |
Your 8-Week Roadmap to a Stronger Back
| Phase | Primary Tasks | Focus On |
|---|---|---|
| Weeks 1-2: Skill Acquisition | Scapular Pull-Ups (3×8), Active Hangs (3x30s), Australian Rows (3×10) | Form mastery and neural connection. Feel every muscle fire. No rushing. |
| Weeks 3-6: Strength Accumulation | Band-Assisted Pull-Ups (3×5), Chin-Ups (3xMax), Top-Position Holds (3x15s) | Progressive overload. Use a thinner band each week. Add one rep or five seconds of hold time per session. |
| Weeks 7-8: Integration & Mastery | Full Pull-Up Sets (3×5-8), Archangels (3×10/side), Leg Raises (3×10), Structured Workouts (e.g., 5 rounds of the above) | Workout density and postural integration. Combine movements into flowing circuits. Carry the engaged posture into your daily life. |
The Postural Transformation
The core principle remains: strength built through intelligent, controlled movement is the ultimate posture enhancer. This journey—from strategically selecting your command center to executing advanced techniques with confidence—forges more than muscle. It builds a foundation of resilience. The initial vision of effortless, upright grace is no longer an imagination; it becomes your daily reality. The consistent practice of these top back exercises with a pull-up bar enriches every movement in your life, turning the simple act of standing tall into a silent, powerful testament to unlocked strength.