The Vision of a Safe, Stronger You
Imagine a home gym that’s always open, where a single piece of equipment unlocks a world of strength, mobility, and fitness—without a moment’s worry about safety. This vision hinges entirely on one critical act: a flawless installation. A door-frame pull-up bar is only as strong as its connection to your home. Mastering the safest way to install a door-frame fitness bar is the non-negotiable foundation for unlocking its full potential and ensuring every rep is built on confidence, not risk.
Foundational Choices: Selecting Your Hardware
Your journey to a secure home workout begins long before you pick up a tool. The choices you make here form the bedrock of your safety.
Part A: Bar Type & Compatibility Assessment
Not all bars are created equal, and not every door frame is a suitable host. Your first decision is between two main types:
- Pressure-Mounted Bars: Use a telescoping mechanism and rubberized ends to wedge into a frame. They require no drilling and are portable, but their security is entirely dependent on perfect fit and frame integrity.
- Permanent Screw-In Bars: These bars are physically bolted into the door frame or wall studs. They offer superior stability for heavier loads but require tools and permanently modify your door frame.
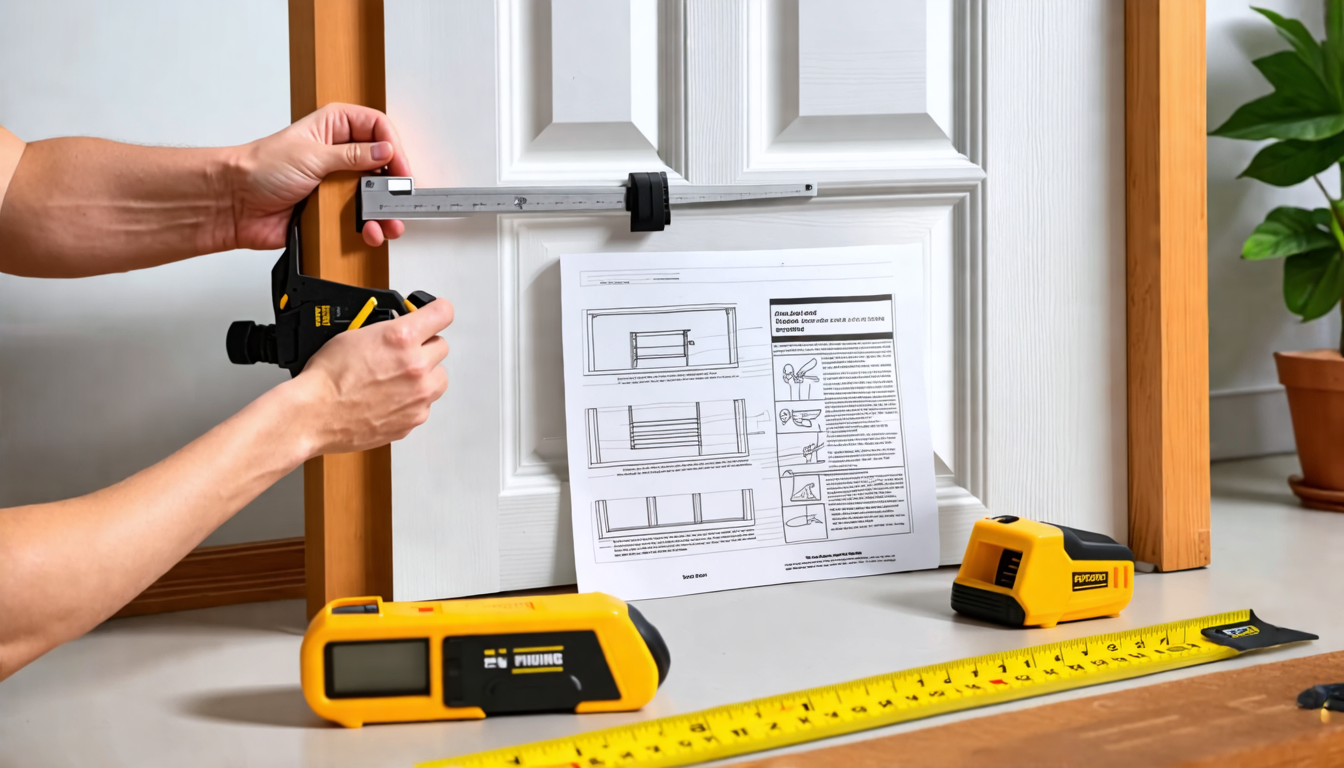
Your next step is a rigorous compatibility audit. Examine your door frame’s material—solid wood can bear significant load, while hollow-core or MDF frames are often too weak. Measure the width precisely. Finally, locate the structural wall studs behind the trim; this is crucial for screw-in bars and informs the safety of pressure-mounted ones.
Part B: The Pre-Installation Safety Audit
Before any installation begins, conduct a thorough inspection. Run your hands along the door frame and surrounding wall, feeling for cracks, soft spots, or signs of rot. Use a stud finder to map the wooden studs behind the drywall and to check for hidden electrical wires or plumbing. Gather the right tools: a high-quality level, the correct wrenches for your bar, a power drill with the appropriate drill bits (for screw-in models), and a flashlight for clear visibility.
The Core System: Step-by-Step Secure Installation
This is where vision meets reality. Treat installation as a precise protocol where each step is non-negotiable for system integrity.
For Pressure-Mounted Bars: The Art of the Wedge
- Precise Positioning & Alignment: Place the bar so the padded grips are centered on the vertical door frame, not the decorative trim. Use a level to ensure the bar is perfectly horizontal.
- The Gradual, Even Loading Technique: Extend the bar by turning the knobs slowly and alternately. Apply equal pressure on each side, inch by inch, until the bar is firmly seated. Avoid sudden, forceful twists.
- Verification and Static Load-Testing: Before doing a pull-up, hang your full body weight from the bar for 30 seconds. Listen for creaks and watch for any slippage or rotation. This test is your first line of defense.
For Permanent Screw-In Bars: Engineering a Bond
- Drilling Pilot Holes – The Most Critical Step: Mark your drill points directly into the center of the wall studs you located. Using a drill bit slightly smaller than your mounting screws, drill straight, clean pilot holes. This prevents the wood from splitting and ensures a tight grip for the screws.
- Hitting the Center – Securing into Structure: The screws must penetrate the solid wood stud, not just the door casing or drywall. A screw in drywall alone will fail catastrophically. Use long enough screws (typically 2.5 to 3 inches) to anchor deeply into the stud.
- Torque and Tightness – The Final Seal: Hand-tighten all screws initially, then finish with a wrench or drill set to a low torque setting. The goal is “snug,” not “stripped.” Overtightening can crack the wood and weaken the hold.
| Component Category | Options | Key Characteristics |
|---|---|---|
| Bar Mounting Type | Pressure-Mounted | Portable & non-invasive. Ideal for renters or temporary use. Security is highly dependent on perfect frame condition and user weight. Never use on hollow frames. |
| Screw-In (Permanent) | Maximum stability and load capacity. Requires tools and modification. The only choice for serious training or heavier users. Must be anchored into wall studs. | |
| Critical Tool | Stud Finder | Non-negotiable for screw-in bars; highly recommended for pressure-mount safety checks. Ensures you understand the structure behind your wall. |
| Frame Material | Solid Wood | The ideal host. Dense and strong, capable of handling significant static and dynamic force when properly secured. |
| Hollow-Core/MDF | A major red flag. Structurally weak and prone to splintering or crushing. Not recommended for any type of fitness bar installation. |
Advanced Practices: Optimization for Long-Term Safety
With the bar installed, your focus shifts from creation to cultivation—maintaining and enhancing that security over time.
The Mounting Point Reinforcement
For screw-in bars in drywall, consider adding a steel or plywood backing plate between the bar’s bracket and the wall. This distributes the load over a wider area, preventing the drywall from cracking or crumbling under stress. If your wall framing is unconventional (steel studs, unusual spacing), consulting a carpenter or contractor is not a sign of weakness—it’s the hallmark of a professional approach to safety.
The Routine Integrity Check
Establish a pre-use ritual. Before every workout, visually inspect the mounting points for new cracks in the paint or wood. Gently try to rotate or wiggle the bar; there should be zero movement. For pressure-mounted bars, check that the end pads haven’t compressed or slipped. This 30-second habit is your ongoing insurance policy.
Threat Management: Problem Prevention & Solutions
A proactive mindset is your greatest asset. Preventing failure is always safer and easier than reacting to a fall.
Prevention – The Golden Rules
- The Cardinal Rule: Absolutely no kipping, swinging, or dynamic CrossFit-style movements on a door-frame bar. These generate lateral and explosive forces the installation is not designed to withstand.
- Controlled Motion: Perform strict, straight-body pull-ups and hangs. Control your descent. Sudden loads shock the system.
- Respect the Limit: Adhere strictly to the manufacturer’s weight rating, and understand that this rating assumes perfect installation and ideal conditions. If you are near the limit, opt for a screw-in bar mounted to studs.
Intervention – Identifying Red Flags
Act immediately if you notice any of the following:
- Door Frame Splintering: Visible cracks or splinters forming at the contact points.
- Bar Rotation or Slippage: Any movement of the bar within the frame during a static hang.
- Wall Cracking: New cracks radiating from the mounting brackets into the drywall.
Tiered Response Plan: 1) Immediate Cessation: Stop using the bar immediately. 2) Safe Removal: Carefully dismount the bar. 3) Professional Assessment: Have the wall and frame inspected for damage before considering reinstallation or repair.
Your Safety Installation Checklist
| Phase | Primary Tasks | Focus On |
|---|---|---|
| Pre-Installation | Verify frame material & width; find studs/wires; clear area; read manual; gather tools. | Rigorous Assessment & Preparation |
| Installation | Precise alignment with level; gradual, even tightening; drilling pilot holes into studs (if screw-in). | Meticulous Precision & Process |
| Post-Installation | Conduct a 30-second static load test; establish a pre-use inspection routine. | Verification & Ongoing Vigilance |
The Reward of Unshakable Confidence
The safest way to install a door-frame fitness bar is not a five-minute task; it is a deliberate process of intelligent selection, meticulous installation, and vigilant maintenance. It is the difference between a temporary gadget and a trusted piece of fitness infrastructure. This journey—from assessing your frame to performing that first, perfectly secure pull-up—culminates in a profound satisfaction. It is the peace of mind that comes from knowing your foundation is solid. Your home gym is now truly open, offering not just strength for your body, but unwavering confidence in the equipment that supports it. This is how you build a foundation that enriches your health and protects your home, rep after secure rep.


