The Archer Pull-Up: Forging Asymmetrical Strength and a Chiseled Back
Imagine hoisting your body with one arm, your torso twisting in a powerful arc, muscles rippling across a back wide enough to cast a shadow. This isn’t just a pull-up; it’s a declaration of supreme, controlled strength. The path to this pinnacle of bodyweight mastery is mapped by a single, potent exercise. Mastering the Archer Pull-Up is the key to unlocking transformative, unilateral back strength, bridging the gap between standard pull-ups and the holy grail of the one-arm pull-up. It is the definitive test of balanced power, control, and muscular development.
Foundational Choices: The Hardware of Your Ascent
Your success with the Archer Pull-Up is built not on brute force alone, but on the precise foundation of proper equipment and body positioning. Neglect this, and you build on sand.
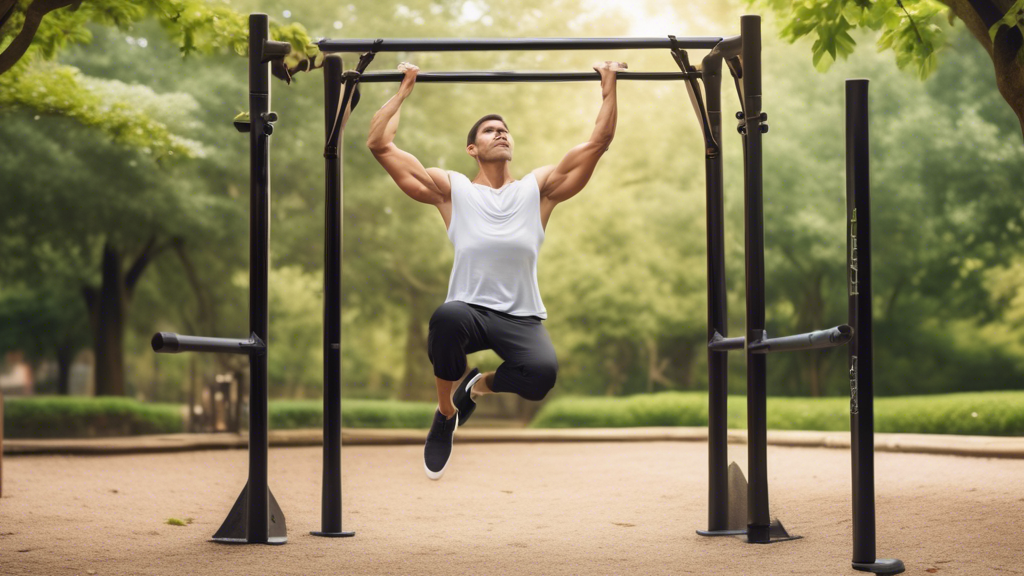
Bar Selection and Grip: The Critical Interface
The bar is your anchor. A diameter that allows a secure, comfortable grip is essential—typically 1 to 1.5 inches. Texture matters; a knurled or chalked bar prevents the slip that can sabotage asymmetrical pulls. Most critically, the bar must be absolutely stable; any swing or rotation in the apparatus steals energy and control. Regarding grip, while a standard overhand grip is effective, a false grip (wrist over the bar) can be a powerful tool. It shortens the lever arm and pre-engages the forearm and lat, providing a mechanical advantage for the final transition toward one-arm work.
Body Positioning and Setup: The Geometry of Strength
Initiate every rep from a dead hang, but not a passive one. Adopt the “archer” stance before you pull: retract the scapula of your primary pulling side, engaging that lat. Your feet can be together or staggered for balance. Your core must be braced as if preparing for a punch—this full-body tension transforms your physique from a bag of bones into a solid lever, allowing force to transfer efficiently from your gripping hand through your entire posterior chain.
The Core System: Mechanics and Controlled Execution
The Archer Pull-Up is a biomechanical system of levers and tension. Controlling each phase is non-negotiable for both strength gains and joint integrity.
The Pull Phase: Generating Asymmetrical Force
Initiate the movement by driving your primary-side elbow down and back, visualizing pulling the bar toward your hip. The supporting arm is not a passive passenger; it begins as an active assist, pulling slightly, before transitioning to a rigid stabilizer. The most common fault is premature rotation of the torso. Prevent this by focusing on pulling your chest up and around toward the bar, not just letting your head drift to the side. The path should be a controlled, diagonal arc.
The Top Position: Achieving the “Archer”
The target is unambiguous: your chin must clear the bar on the side of your working hand, with your chest rotated toward that hand. At this peak, actively depress your shoulder. Do not just rest on the joint. This active engagement protects the rotator cuff and builds the scapular control essential for more advanced moves. This is the “archer” drawn fully—a moment of maximum muscular contraction.
The Descent Phase: The True Test of Control
This is where strength is forged. The eccentric (lowering) phase must take at least 3-4 seconds. Fight gravity every millimeter of the way. Maintain full-body tension to prevent a ligament-straining collapse. This controlled descent builds resilient tendons and teaches your nervous system true mastery over the movement pattern.
Advanced Practices: The Progression Framework
You do not jump into a full Archer Pull-Up. You architect it, step by deliberate step, building the requisite strength and neural pathways.
Foundational Strength Prerequisites
Do not proceed without this base. You must be capable of at least 10-15 strict, dead-hang pull-ups and demonstrate proficiency in heavy horizontal rows. This ensures you have the basic pulling strength and scapular health to handle asymmetrical loading.
The Progressive Pathway to Mastery
Follow this sequence religiously. Master each step before advancing.
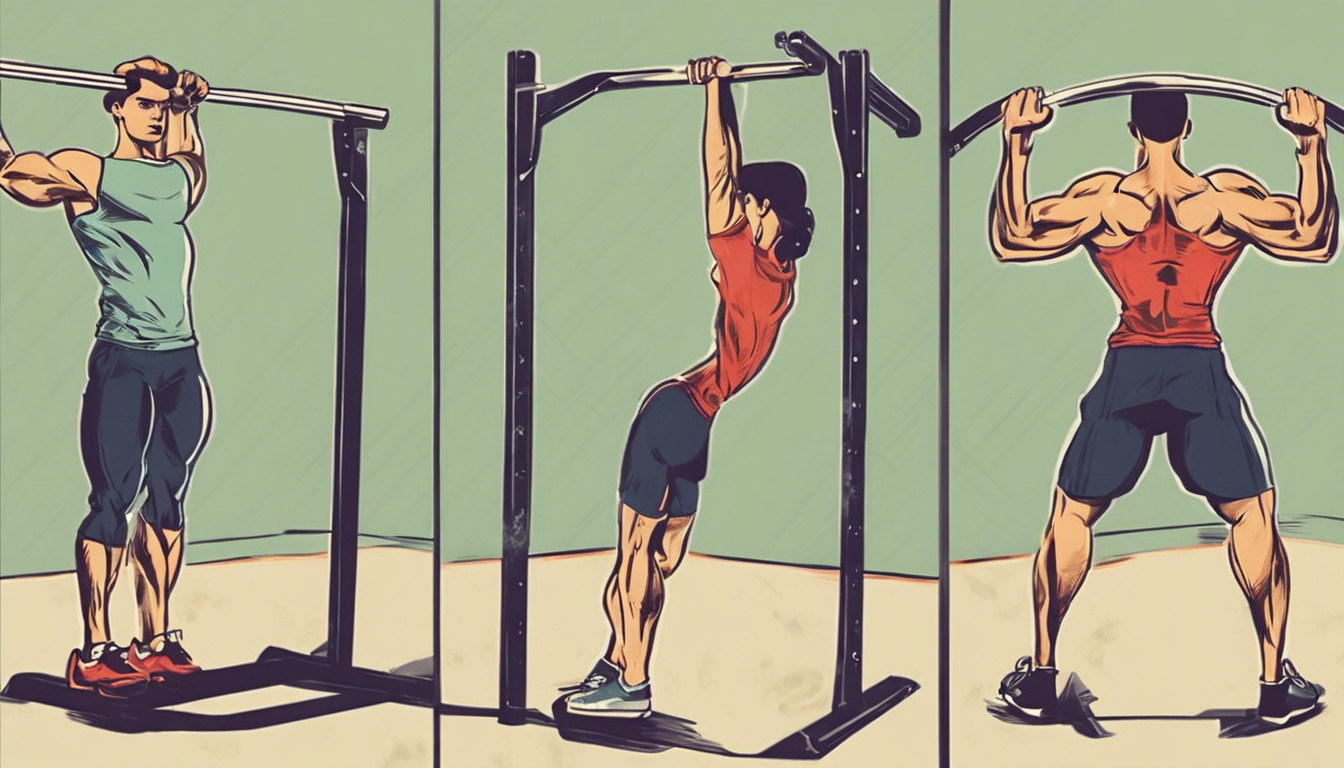
- Archer Rows: Using a Smith machine or low bar, build the archer pattern with feet on the ground. Focus on the torso twist and one-arm emphasis.
- Assisted Archer Pull-Ups: Use a resistance band looped over the bar and under your knee/foot, or place a foot on a stool. The assistance allows you to practice the full range of motion with reduced load.
- Eccentric Archer Pull-Ups: The most critical step. Use a jump or assistance to get into the top position, then execute a painfully slow, 5+ second descent. Builds the specific strength and tendon resilience for the full movement.
- The Full Archer Pull-Up: The integration. Pull with control, hold the top with pride, lower with intent.
Programming for Unilateral Strength
Treat Archer Pull-Ups as a strength skill, not a hypertrophy pump. Integrate them at the start of your pull workout. A proven framework:
- Frequency: 2-3 times per week, with at least one day of rest between sessions.
- Sets & Reps: 3-5 sets of 1-5 reps per arm. Quality trumps quantity. If you can do more than 5 clean reps, the progression is too easy.
- Integration: Perform your Archer work first, followed by your volume work (standard pull-ups, rows). This ensures you train the skill while fresh.
Threat Management: Injury Prevention and Form Correction
A proactive approach separates a long-term practitioner from someone sidelined by injury.
Prevention: The Pillars of Joint Health
Your warm-up is non-negotiable. It must include:
- Scapular circles, depressions, and retractions.
- Band pull-aparts and face pulls to activate the rear delts and rotator cuff.
- Light, high-rep band-assisted pull-ups to increase blood flow.
Listen to your elbows and shoulders. A dull ache is a warning; a sharp pain is a command to stop. Tendonitis is your enemy, and it is beaten by intelligent load management and perfect form.
Intervention: Common Faults and Immediate Fixes
| Problem | Root Cause | Immediate Correction |
|---|---|---|
| “Chicken-Winging” (Supporting elbow flaring high) | Weakness in scapular depression/lat engagement on the supporting side. | Regress to Archer Rows. Consciously depress that shoulder blade throughout the movement. Strengthen with active hangs and scapular pull-ups. |
| Kipping or Using Momentum | Lack of strength in the bottom position or impatience. | Pause for 2 seconds at the dead hang on every rep. Use more assistance (heavier band) to eliminate the swing. Focus on a “tempo” rep (3 sec up, 1 sec hold, 4 sec down). |
| Premature Torso Rotation | Initiating the pull with the neck/shoulder instead of the lat. | Before pulling, engage the core and imagine driving the primary elbow straight back toward your hip. Practice the movement pattern with a lat pulldown machine using one arm. |
Your 12-Week Roadmap to Archer Dominance
This phased plan systematizes the journey from foundation to mastery. Adhere to it.
| Phase (Weeks) | Primary Focus & Exercises | Key Performance Goal |
|---|---|---|
| Foundation (1-4) | Build prerequisite strength. Standard Pull-Ups (3×8-12), Heavy Horizontal Rows (3×8-10), Scapular Strengthening. | Achieve 12+ strict pull-ups. Master controlled scapular movement. |
| Pattern & Eccentric (5-8) | Ingrain the archer pattern. Archer Rows (3×5/arm), Band-Assisted Archer Pull-Ups (3×3/arm), Eccentric Archer Pull-Ups (3×2/arm, 5s descent). | Perform a 5-second controlled eccentric from the top position without band assistance. |
| Integration & Mastery (9-12) | Perform the full movement. Full Archer Pull-Ups (3-5×1-3/arm), continued Eccentric work for overload. Maintain foundational strength work. | Perform 3 clean, consecutive Archer Pull-Ups on each arm with a controlled 3-second descent. |
The Archer Pull-Up is more than an exercise—it is a benchmark of dedicated, intelligent strength training. It represents the journey from bilateral symmetry to asymmetrical dominance, forging not just a wider back, but a more resilient physique and a deeper understanding of your own body’s mechanics. The transformation awaits: the unparalleled functional strength, the chiseled, balanced physique, and the profound confidence that comes from mastering one of calisthenics’ most respected feats of strength. Your shadow is about to get a lot bigger.