The Unseen Foundation of True Strength
Imagine pushing for a final, personal-best rep when your grip fails, or feeling a sudden, sharp pain mid-squat. In that moment, your workout transforms from routine to crisis. A home gym is a sanctuary for progress, but its isolation is its greatest vulnerability. Mastery isn’t just about lifting more weight; it’s about controlling every variable, especially risk. Establishing and practicing comprehensive Emergency Procedures in Home Gyms is the non-negotiable foundation of intelligent training. It’s the system that turns panic into protocol and ensures your pursuit of strength never compromises your safety.
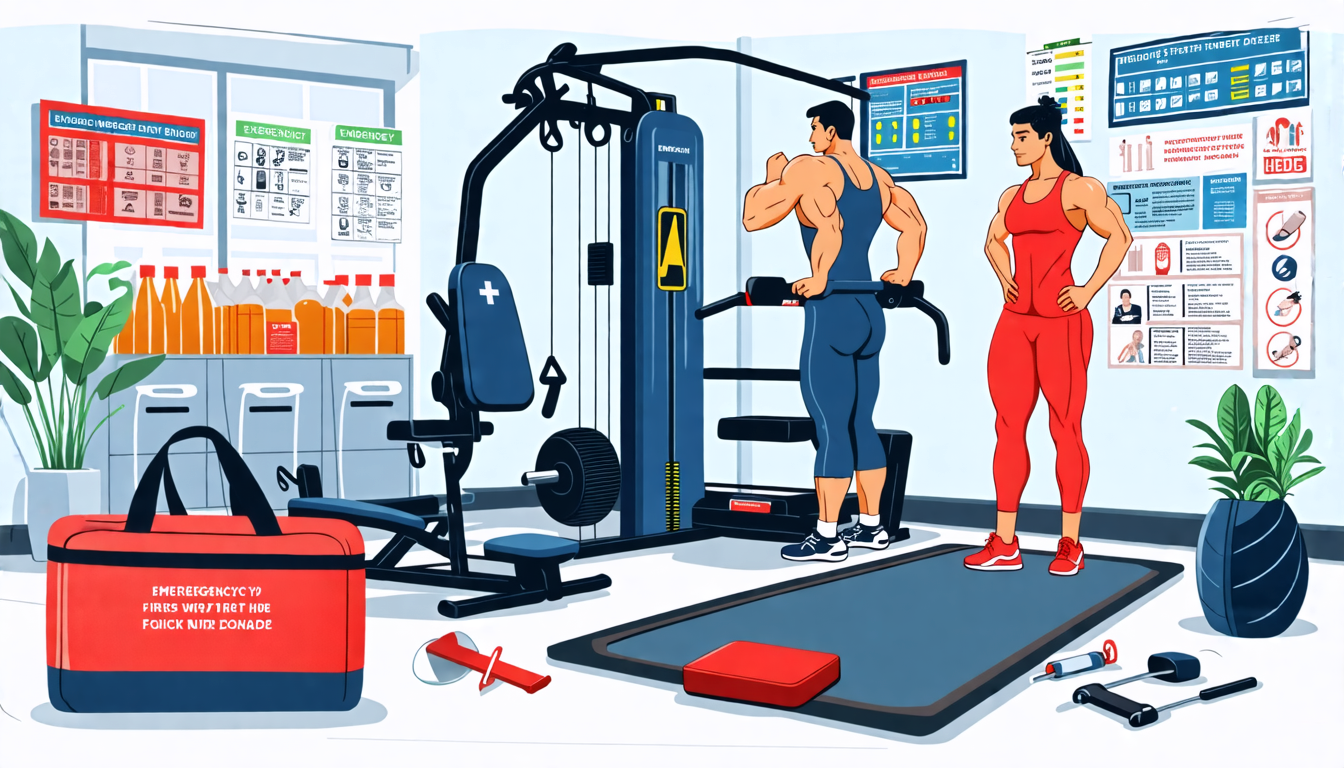
Foundational Hardware: Engineering Your Safety Net
Your safety infrastructure is as critical as your rack. These are the non-negotiable physical components of your emergency plan.
Essential Safety Equipment
This is your primary defense layer. Choose and use it without compromise.
- The Spotter Arms & Safety Bars: These are not accessories; they are essentials. They must be rated for loads far exceeding your max (a 1000lb minimum rating is standard). Position them consistently—for squats, just below the depth of your lowest rep; for bench, aligned with your upper chest/neck to allow a safe roll.
- The Flooring System:
- Rubber Mats: Provide stability and basic equipment protection. Ideal for general floor coverage.
- Crash Pads: Specialized, high-density pads for controlled, quiet failure on deadlifts, Olympic lifts, or missed squats. They are the ultimate tool for preserving equipment, floors, and peace.
- The First Aid Kit: Move beyond band-aids. Your kit must be tailored to training injuries. Stock it with: cohesive bandage (for compression), instant cold packs, athletic tape, antiseptic wipes, sterile gauze, trauma shears (to cut clothing if needed), and a list of emergency contacts.
Environmental Setup for Emergency Access
Your gym’s layout can save precious seconds. Design with failure in mind.
- Clearance Zones: Mandate a 360-degree clear space around every major piece of equipment—at least 3 feet. This is your bailout and aid zone. No trip hazards, no clutter.
- Communication Hub: Your phone or emergency alert device (like a smartwatch) must be within reach from the floor, not just in sight. Consider a wall-mounted holder at floor level near your primary rack.
- Access and Egress: The path to the door must never be obstructed by a barbell, bench, or machine in its working position. In an emergency, you or a responder need a clear exit.
The Core Safety System: Protocols and Preparedness
Safety is a dynamic practice. This is your active operating system for crisis management.
The Pre-Workout Safety Check
This 2-minute ritual is your first line of defense.
- Equipment Integrity Inspection: Visually check rack welds. Shake the structure to test for looseness. Verify all bolts, especially on safety arms and bench hinges, are tight. Check cable machines for fraying wires and secure attachments.
- “Failure Point” Visualization: Before your first working set, mentally rehearse the bailout. See yourself rolling the bench press, stepping back from a missed squat onto the safeties, or ditching a heavy deadlift to the side. This mental mapping primes your nervous system for calm action.
The Solo Training Protocol
Your rules for training alone must be non-negotiable.
- The “Call-In” System: Inform a trusted person you are beginning your session and give a hard finish time. “I’m lifting from 6 to 7 PM. If you don’t hear from me by 7:15, check in.” This simple habit creates a critical safety net.
- Safety Pins & Bars Are Not Optional: They must be set for every single set of squats, bench presses, and any lift where a failed rep could trap you. The one time you skip them is the time you’ll need them.
- Master the Bailout Technique:
- Bench Press (The Roll of Shame): Keep your glutes on the bench. Relax your arms, let the bar roll down your torso to your hips, then sit up and roll it off.
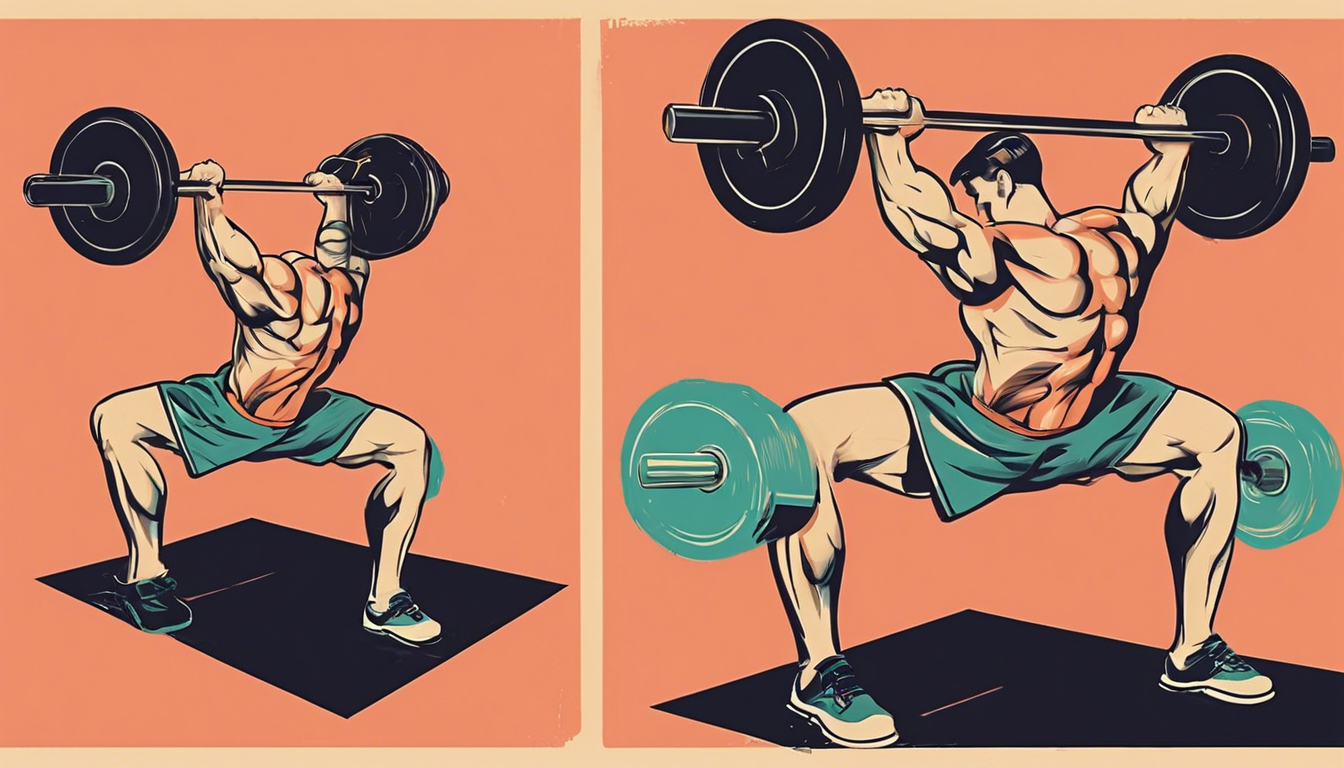
- Squat Rack Bailout: Drive hips forward, push the bar back, and simply step forward as you let the bar fall onto the safety arms behind you. Never try to catch it.
- Heavy Deadlift Ditch: If you must abandon the pull, push it away from you with control—do not let it pull you forward. Use crash pads to protect the floor and bar.
The Emergency Response Drill
When crisis hits, a pre-programmed sequence overrides panic.
- Cease & Assess: Stop all movement immediately. Take one deep breath to assess the situation. Are you pinned? Is it a sharp pain or a tear?
- Self-Aid / Call: If you can safely self-extricate (e.g., roll the bar), do so slowly. If you cannot, or if injury is severe, call for help immediately. Your phone must be accessible.
- Communicate Clearly: If calling 911, state your exact address first, then the nature of the emergency: “I am trapped under a barbell” or “I have a severe muscle injury.”
Pro Tip: Program your emergency contact and critical medical info (allergies, conditions) into your phone’s lock screen or medical ID feature. This allows responders to access it without your passcode.
Threat Management: Handling Specific Crisis Scenarios
A proactive mind anticipates specific failures. Here is your identification and response guide.
Acute Injury Response (Muscle/Tendon/Joint)
Your immediate actions can significantly impact recovery.
- Immediate Action: The PRICE Protocol
- Protect: Stop using the injured area. Remove any external load.
- Rest: Avoid activities that cause pain.
- Ice: Apply a cold pack for 15-20 minutes every 2-3 hours for the first 48 hours to reduce swelling and pain.
- Compress: Use an elastic bandage to provide gentle pressure and limit swelling.
- Elevate: Position the injured limb above heart level when possible to drain fluid.
- When to Seek Help Immediately: Recognize red flags: audible “pop” or snap, immediate and severe swelling, visible deformity (possible fracture/dislocation), inability to bear any weight, or numbness/tingling. Do not “walk it off.”
Equipment Failure & Entrapment
Know how to disengage from the machinery of your own gym.
- The Controlled Barbell Roll: As detailed above, this is a core skill for the solo bencher. Practice it with an empty bar to build the neural pathway.
- Squat Rack Bailout: Trust your safety arms. Practice dumping light weight to overcome the mental barrier of “dropping” the bar.
- Pinching/Crushing Hazards: For cable machines, know where the quick-release pin or clip is to instantly relieve tension. For adjustable benches, keep fingers clear of folding hinges and always use the locking mechanism.
Medical Distress (Beyond Injury)
Be alert to systemic failures.
- Recognizing Extreme Distress:
- Exertional Rhabdomyolysis: Severe, debilitating muscle pain 24-48 hours post-workout, along with dark, tea-colored urine. This is a medical emergency.
- Sudden Dizziness/Cardiac Stress: Extreme, sudden shortness of breath, chest pain, pressure, or pain radiating to the arm/jaw, sudden nausea, or a feeling of impending doom.
- The Prepared Response: For suspected cardiac events, having uncoated aspirin accessible (to chew, as directed by a 911 operator) can be crucial. Always know your full home address by heart for the dispatcher—stress can impair memory.
The Safety Maintenance Calendar
Safety is a habit, maintained through regular review. Integrate these audits into your training routine.
| Frequency | Primary Task | Focus Goal |
|---|---|---|
| Before Every Session | Visual inspection of bolts, welds, and cable integrity; set safety arms. | Prevent acute mechanical failure during use. |
| Weekly | Check and tighten all safety arm and rack upright pins/collars. | Maintain the primary safety system’s reliability. |
| Monthly | Inspect flooring for tears or shifts; check first-aid kit supplies. | Ensure environmental safety and supply readiness. |
| Quarterly | Perform a full structural check; re-torque all major rack bolts; replace used first-aid items. | Maintain long-term structural integrity and kit completeness. |
| Annually | Review and practice all emergency drills; consider a CPR/first-aid refresher course. | Internalize protocols and refresh life-saving skills. |
The Confidence of Control
The ultimate strength cultivated in a home gym is not just physical—it is the profound confidence to train hard, knowing you are prepared for the worst. This journey transforms your space: from simply installing safety equipment to internalizing emergency drills, you build a true system of control. A home gym governed by clear, practiced Emergency Procedures in Home Gyms ceases to be a place of potential risk. It becomes a sanctuary of calculated progress, granting the unparalleled peace of mind that lets you push your limits, enrich your health, and own your strength completely.