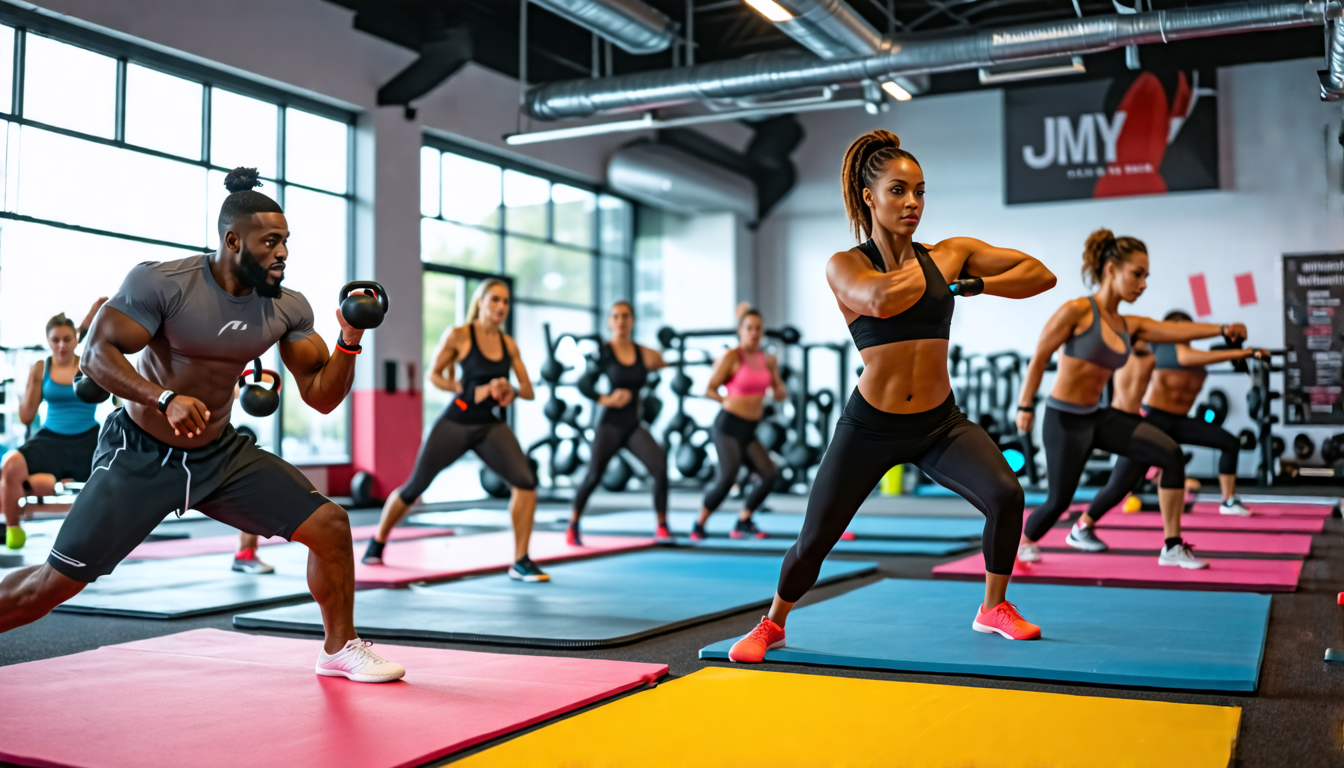
The Vision of Mastery: Forging Elite Strength at Home
Imagine a training tool that builds raw, functional strength, transforms your physique, and unlocks athletic movements you thought were impossible—all from a single point in your home. This isn’t about expensive machines or crowded gyms. It’s about returning to the foundational principles of movement with the most versatile tools available. Mastering gymnastics rings and fitness bars is the key to unlocking a superior level of strength, control, and bodily awareness. They are not just equipment; they are the complete strength system.
Foundational Choices: Selecting Your Hardware
Your initial setup is the bedrock of your practice. Choosing the right rings and bar determines your safety, progression, and long-term success. This is where your journey from enthusiast to practitioner begins.
Part A: Selection and Sizing
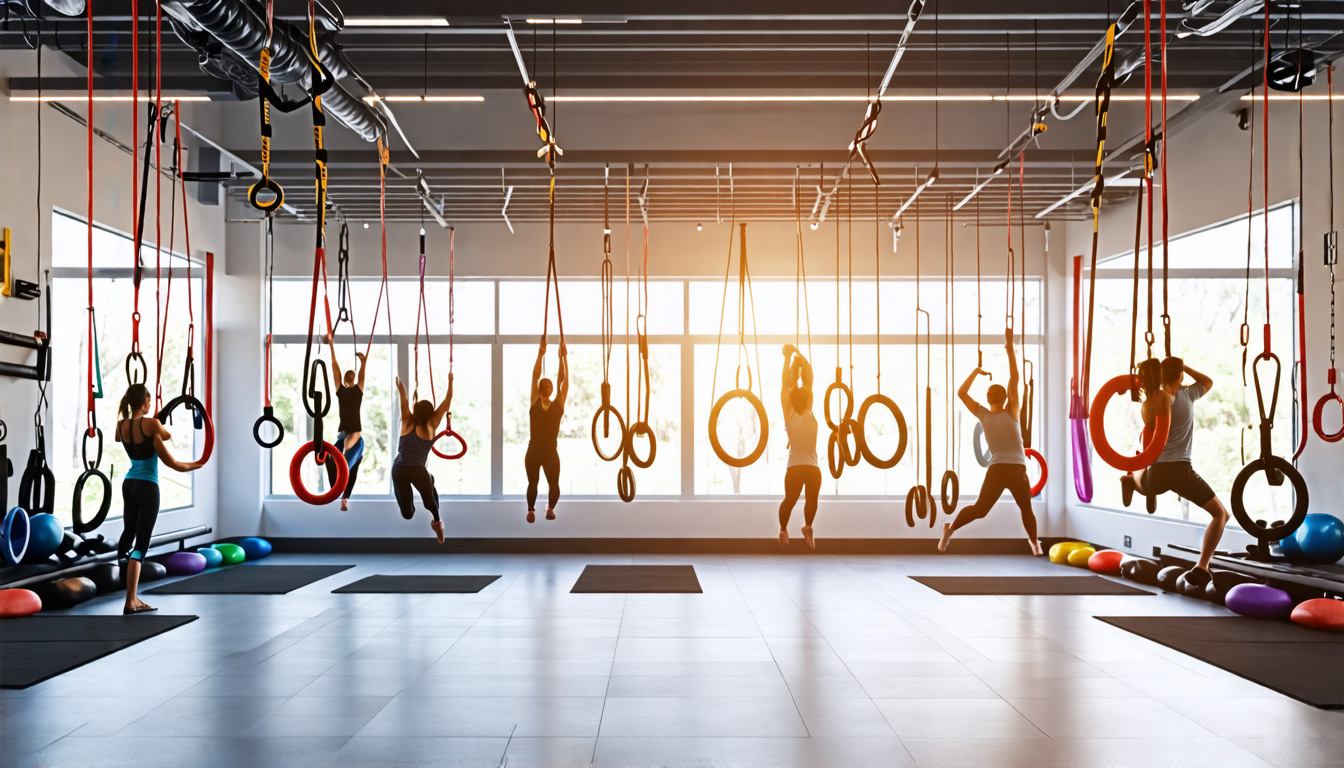
Gymnastics Rings: Your first decision is material. Wood offers the best grip, naturally absorbs sweat, and provides a classic feel. Plastic is highly durable, weather-resistant for outdoor use, and often more affordable. Metal is indestructible but can be cold and slippery. For sizing, a 1.25″ diameter suits most hands, while a 1.11″ diameter is better for smaller hands. Strap length must accommodate your ceiling height and desired exercises—15 feet is a versatile standard.
Fitness Bars: This choice defines your space. Wall-mounted bars are the most rigid and space-efficient, requiring secure mounting into studs. Freestanding pull-up bars offer portability and don’t require drilling but need ample overhead and floor clearance. Power towers integrate dip stations and leg raise options, creating a comprehensive station. Always verify the weight capacity exceeds your bodyweight by a significant margin, especially for dynamic movements.
Part B: Location, Mounting, and Setup
For Rings: Your anchor point is non-negotiable. You must locate a solid ceiling joist, a structural beam, or a proven sturdy pull-up bar. Test it with dynamic, weighted pulls before hanging the rings. Ensure you have at least 3 feet of clearance in all directions from walls and furniture. For outdoor setups, a thick, healthy tree limb is a classic anchor.
For Bars: For wall-mounted units, use a stud finder. Mounting into drywall alone is catastrophic. Freestanding bars need a level surface and protective flooring underneath. Check the manufacturer’s specified clearance zones for your head, knees, and feet during full-range movements like kipping pull-ups or knees-to-elbows.
Part C: Material and Component Breakdown
Understanding the components ensures you invest in a system that grows with you, not one that holds you back.
| Component Category | Options | Key Characteristics |
|---|---|---|
| Gymnastics Rings | Wood, Plastic, Metal | Wood: Superior grip and sweat absorption; requires occasional oiling. The gold standard for serious training. Plastic: Highly durable and weatherproof; ideal for outdoor or garage setups; grip can be slippery when wet. Metal: Unmatched durability; often used in commercial settings; poor temperature feel and grip without tape or chalk. |
| Fitness Bar Frame | Steel Tube, Solid Steel | Steel Tube: Lightweight and cost-effective; sufficient for strict pull-ups and dips for most users. Solid Steel: Provides maximum rigidity and vibration dampening; essential for heavy athletes, kipping, and muscle-ups. |
| Grip/Handle Texture | Knurled, Coated, Bare Metal | Knurled: Aggressive diamond pattern for maximum grip security; can tear calluses during high-volume work. Coated (Rubber/Neoprene): Softer on the hands, provides excellent sweat resistance; the best choice for most home environments. Bare Metal: Slippery; requires constant chalk use; not recommended for primary training. |
The Core System: Mastering Training Variables
Training with rings and bars is about intelligently manipulating variables to create progressive overload and skill adaptation. This is the science behind the strength.
Stability as the Primary Variable
The rings’ instability is their defining feature. Every movement requires active stabilization, engaging your core, rotator cuffs, and scapular muscles up to three times more than a fixed bar. Start with static holds (support, hang) to build this foundational stability. On the fitness bar, the rule is absolute: master strict, controlled form—scapular retraction on the pull, no kipping, full lockout—before ever introducing momentum for advanced skills.
Leverage and Angle Control
On the rings, you control intensity through body angle. An incline ring row (feet forward) is easy; a horizontal row is hard; a decline row (feet elevated) is elite. The same applies to push-ups and dips. On the bar, grip variation changes the stimulus: a shoulder-width pull-up targets the lats evenly, a wide grip emphasizes the teres major and upper back, and a close underhand (chin-up) grip recruits more biceps and lower lats.
Range of Motion: The Path to Full Mobility
Rings allow your joints to move through their natural rotational path. A ring dip lets your elbows flare slightly, which is often healthier for the shoulder than the fixed path of parallel bars. On the bar, prioritize the full dead hang—shoulders relaxed up by your ears—to decompress the spine and stretch the lats. Follow this with an active hang (pulling shoulder blades down and back) to build scapular strength and protect the rotator cuff.
Advanced Practices: The Art of Progressive Calisthenics
This is where you transition from building general strength to forging elite skills. The path is methodical and non-negotiable.
Foundational Strength Prerequisites
Do not bypass the basics. You must own these movements: 10+ strict pull-ups on a bar, 15+ parallel bar dips, 20+ perfect push-ups, and 10+ horizontal bodyweight rows. This base of tendon strength and motor control is the platform for all advanced work.
Ring-Specific Skill Progressions
The Path to the Ring Muscle-Up: It begins with the false grip—a wrist position where the heel of your palm rests on top of the ring. Drill this in a hang. Then, practice high pull-ups with the false grip, aiming to get the rings to your lower chest. Finally, practice the transition drill: from a high pull, lean forward aggressively and push down into the dip position.
Building the Front Lever: Start with the tuck lever (knees to chest). Progress to the advanced tuck (knees at 90 degrees), then to a single-leg lever. The final step is the full front lever—body parallel to the ground. This is a direct measure of your core and lat strength.
Bar-Specific Skill Progressions
The Bar Muscle-Up: Develop explosive pulling power with clapping pull-ups. Practice chest-to-bar pull-ups, pulling until the bar touches your sternum. Use a small kip to generate upward momentum, and aggressively turn your elbows over the bar at the peak of the pull.
Core to Bar: Master the hanging knee raise, then progress to toes-to-bar. The ultimate expression is the front lever raise on the bar, but the foundational skill is the L-sit hold, which builds the pressing strength and hip flexor endurance required for all high-skill core work.
Threat Management: Building Resilience, Not Just Strength
A proactive approach to injury prevention is what separates a long-term practitioner from a sidelined enthusiast.
Prevention: The Pillars of Safe Training
Warm-Up/Mobility: Never start cold. Spend 10 minutes on dynamic stretches: arm circles, banded pull-aparts, cat-cows, and wrist flexion/extension. Activate your scapulae with scapular pull-ups and hangs.
Structured Progression: Connective tissues (tendons, ligaments) adapt slower than muscle. If a progression calls for 3 sets of 8, and you can only do 5, stay at that level for weeks until 8 is easy. Patience is programming.
Consistent Technique: Form deteriorates under fatigue. Your last rep must look like your first. If it doesn’t, the set is over. This discipline protects your joints.
Intervention: Addressing Common Issues
Wrist/Elbow Tendonitis (from Ring Dips): Immediately regress to push-ups or stable bar dips. Use a compression sleeve for warmth. Rehab with slow, controlled eccentric (lowering) only dips.
Shoulder Impingement (from Poor Pull-Up Form): Stop all pulling. Re-focus on scapular retraction drills with bands. Rebuild from active hangs and isometric holds at the top of the pull-up.
Torn Hands (High-Volume Bar Work): Shave down calluses with a pumice stone after a shower. Use gymnastic chalk to reduce friction. For torn skin, clean the wound, apply a liquid bandage, and use a padded grip until healed.
The Action Plan: A 12-Week Integration Roadmap
This phased approach ensures you build the necessary resilience and skill without overwhelm. Train 2-3 times per week on these movements.
| Phase (Weeks) | Primary Tasks | What to Focus On |
|---|---|---|
| Foundation (1-4) | Support Holds on Rings (3x30s), Dead Hangs on Bar (3x45s), Incline Ring Rows (3×10), Negative Pull-Ups (3×5). | Building tendon and ligament resilience. Mastering basic positions like the support and active hang. Establishing the mind-muscle connection for scapular control. |
| Strength (5-8) | Full Ring Rows (3×8-10), Strict Pull-Ups on Bar (3×5-8), Ring Push-Ups (3×10-15), Assisted Ring Dips (feet on floor) (3×8). | Increasing volume with perfect, controlled form. Introducing full-range dynamic movements. Building the strength base for the next phase. |
| Integration (9-12) | Supersets: Bar Pull-Ups + Ring Rows (3 rounds). Combinations: Ring Dips + Bar Push-Ups (3 rounds). Skill Work: L-Sit Holds (3x max effort), Tuck Lever Practice (3x15s). | Creating efficient, full-body workouts. Combining stable (bar) and unstable (ring) elements in one session. Introducing foundational skill isometrics to bridge to advanced movements. |
The Transformation Awaits
True strength is built through control, not just weight moved. Gymnastics rings and fitness bars teach this lesson daily, demanding respect for leverage, stability, and your body’s own mechanics. This journey—from carefully selecting your first piece of hardware to executing a flawless muscle-up with confidence—redefines your physical potential. Your home transforms into a proving ground. The unparalleled joy of unlocking a new skill, the deep satisfaction of a solid lever hold, enriches not just your body, but your discipline, patience, and confidence. This is the path to forging a resilient, capable physique, entirely on your own terms.