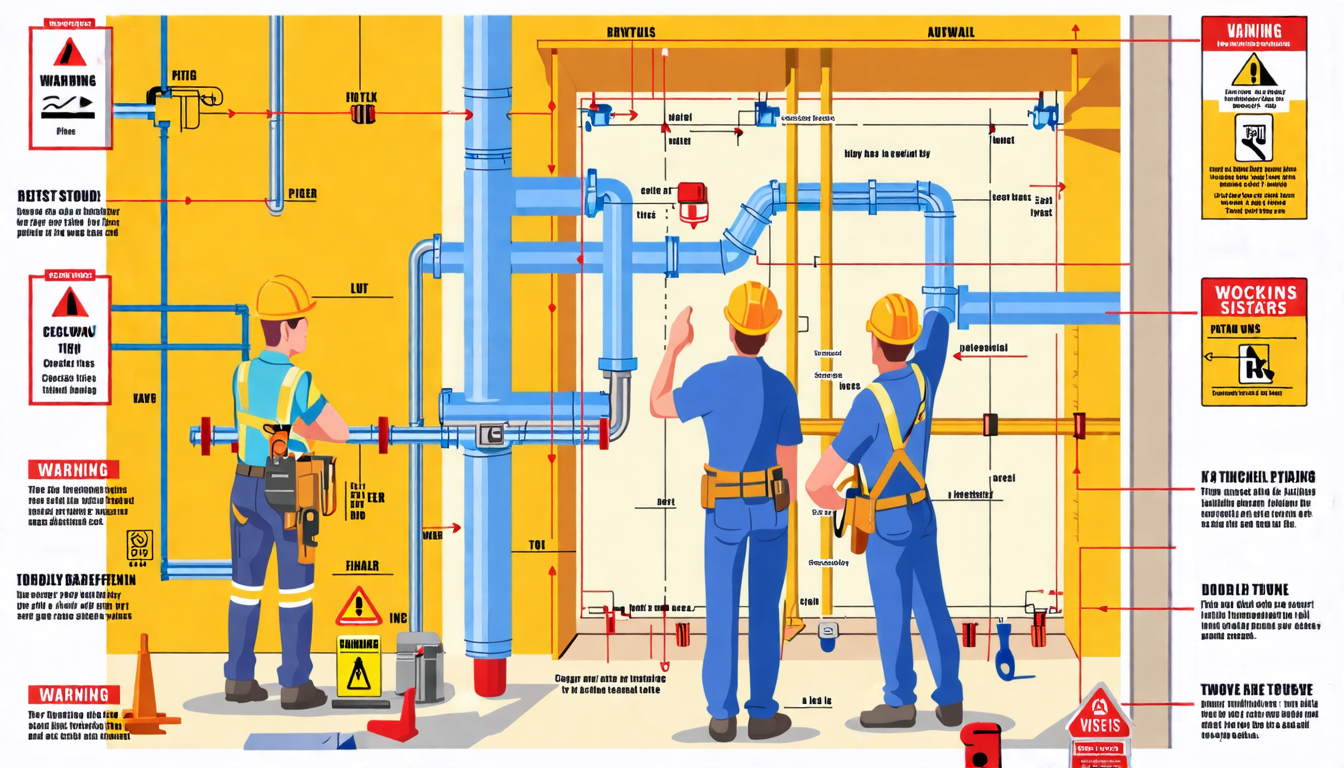
Installing a home fitness bar may seem straightforward, but it’s surprisingly easy to make mistakes that could affect both the performance and safety of your workout equipment. Understanding the most common installation errors—and how to avoid them—is crucial for setting up a reliable and secure fitness space. Small oversights, such as incorrect mounting techniques or the use of substandard tools, can lead to serious issues, including equipment failure or injury. Ensuring a proper installation not only enhances the longevity of your fitness equipment but also optimizes your workout experience. In this article, we will uncover the most prevalent installation mistakes and provide a practical, step-by-step guide to executing a flawless setup. By adhering to best practices and employing the right tools, you’ll establish a sturdy foundation for a safe and effective exercise regimen.
Understanding the Most Common Installation Errors
Installing a home fitness bar may seem straightforward, but there are several common mistakes that can compromise the durability, performance, and safety of the equipment. Recognizing these errors and understanding their causes is crucial for a successful installation.
Identify Typical Installation Mistakes and Their Causes
One of the most frequent errors is the incorrect positioning of the fitness bar. A bar that is not mounted at the right height can hinder your workout, limit the types of exercises you can perform, and increase the risk of injury. This mistake often occurs due to misjudgment of the user’s height or misunderstanding of exercise requirements. It’s essential to properly measure and plan where the bar will be installed to accommodate all intended users.
Another common mistake is failing to identify the appropriate wall type and mounting method. Many people attempt to install fitness bars on surfaces that cannot support the weight, such as drywall without underlying studs. This can result in the bar pulling away from the wall, causing damage and posing a significant safety risk. Consulting the manufacturer’s guidelines on compatible surfaces and necessary reinforcements is critical.
Using inadequate or incorrect hardware is another frequent error. The screws and brackets included with the fitness bar are specifically designed to handle the stress and weight of the equipment and your body. Substituting these with inferior or incorrect hardware compromises the bar’s stability. Always use the provided equipment or high-quality alternatives if replacements are necessary.
Inaccurate leveling of the fitness bar can also negatively affect performance and safety. A bar that isn’t horizontally or vertically level can lead to uneven stress distribution, which not only makes exercises more challenging but can also accelerate wear and tear on the equipment. Use a reliable level tool during installation to ensure perfect alignment.
Finally, a lack of regular maintenance and neglecting to double-check the initial installation can lead to long-term issues. Screws and brackets can loosen over time, especially with frequent use. It’s important to periodically inspect the bar for any signs of wear or instability and tighten any components as needed.
Discuss the Impact of These Errors on System Performance and Safety
Making these common installation mistakes can have several adverse effects on both the performance of your home fitness bar and your personal safety. When a fitness bar is improperly positioned, it can restrict your ability to perform a full range of exercises. This not only diminishes the effectiveness of your workouts but can also lead to poor form and potential injuries.
A bar mounted on an unsuitable wall or with insufficient hardware creates a significant safety hazard. If the equipment detaches from the wall during use, it can cause serious injuries and damage to your home. Ensuring the structural integrity of the installation is non-negotiable for your safety.
Incorrect hardware or improper leveling can result in the bar collapsing or coming loose over time. This not only affects the functionality of the bar but also poses an ongoing risk every time you use it. Using the correct tools and materials, and verifying their proper installation, can prevent these issues.
Regular maintenance often goes overlooked, but its absence can lead to gradual degradation of the fitness bar’s stability. Without periodic checks to tighten screws and brackets, what starts as a secure installation can become hazardous. Staying proactive about maintenance ensures that your equipment remains safe and functional for years to come.
In conclusion, understanding and avoiding these common installation errors can greatly enhance your home fitness experience. A correctly installed fitness bar not only performs better but ensures that you can workout safely and effectively. Proper planning, using the right materials, and ongoing maintenance are key to a reliable and safe installation.

Best Practices for Error-Free Installation
Step-by-Step Guide to Avoid Common Installation Pitfalls
Installing a home fitness bar may seem straightforward, but overlooking key steps can lead to significant issues. Following a meticulous installation process ensures safety and functionality. Here’s a step-by-step guide to help you avoid common pitfalls:
1. Choose the Right Location
Before beginning the installation, select a location that supports the fitness bar’s weight and usage. Ensure it has adequate space for movement, free from obstacles. Avoid placing the fitness bar near windows, doors, or in areas with poor structural integrity.
2. Gather All Necessary Tools
Essential tools for a successful installation typically include:
- Drill
- Level
- Measuring tape
- Screwdriver
- Stud finder
- Pencil for marking
- Wrench
Having these tools ready will streamline the installation process and prevent unnecessary delays.
3. Read the Manufacturer’s Instructions
Always read the manufacturer’s instructions thoroughly before starting. Each model may have specific requirements for mounting hardware and weight limits. Understanding these guidelines helps in preventing errors that could compromise the bar’s stability and safety.
4. Locate and Mark the Studs
Use a stud finder to locate the wall studs behind the placement area. Mark the centers of these studs with a pencil. This step is crucial because mounting the bar into studs ensures it can support the required weight. Failing to do so can result in a weak installation and potential accidents.
5. Measure and Level
Measure the distance between the mounting points according to the fitness bar’s specifications. Use a level to ensure these points are aligned horizontally. Proper leveling prevents uneven weight distribution that can lead to instability and increased wear.
6. Pre-Drill Holes
Pre-drilling holes at the marked points will make it easier to insert screws or bolts. This also reduces the risk of splitting the wall studs, which can weaken the installation. Ensure the drill bit size matches the hardware recommended by the manufacturer.
7. Install Mounting Brackets Securely
Using the pre-drilled holes, align the mounting brackets and secure them tightly with screws or bolts. Double-check each fastener for tightness, and ensure there is no wobble. Properly secured brackets form the foundation of a safe and reliable fitness bar installation.
8. Attach the Fitness Bar
Once the brackets are firmly in place, attach the fitness bar. Follow the manufacturer’s guidelines to ensure it is secured correctly. Test the bar by applying moderate pressure to confirm it’s stable. Make any necessary adjustments if you detect any movement or instability.
9. Conduct a Safety Check
Perform a comprehensive safety check post-installation. Ensure that all screws and bolts are tight, the bar is level, and there is no excessive movement. Test by applying weight gradually to observe the bar’s performance. Safety checks are essential to prevent accidents during workouts.
Highlight Essential Tools and Techniques for a Successful Installation
Quality Tools
Investing in quality tools can make a significant difference in your installation experience. High-quality drills, screwdrivers, and levels provide precision and reliability. Cheap or worn-out tools can compromise the installation process, leading to errors and potential safety hazards.
Understanding Hardware
Use the correct mounting hardware as specified by the fitness bar manufacturer. Generic screws and bolts may not provide the necessary support. Stainless steel or other high-strength materials are often recommended for their durability and resistance to wear over time.
Measuring Techniques
Accurate measurements are fundamental to a successful installation. Use a measuring tape to mark precise distances between mounting points. Double-check all measurements to avoid misalignment, which can lead to uneven stress on the fitness bar and mounting brackets.
Pre-Drilling Technique
Pre-drilling holes helps in easier screw insertion and reduces the risk of splitting the studs. Select the correct drill bit size by comparing it with the diameter of the screws or bolts. A properly drilled hole allows the hardware to fit securely without causing structural damage.
Leveling
A spirit level is indispensable. Ensuring the bar is completely horizontal prevents uneven stress and improves user safety. Begin by leveling the mounting brackets before securing them. Check the bar’s level after attachment to finalize the setup.
Anchor Testing
Once the fitness bar is attached, conduct a strength test by gradually applying pressure. Start with light pressure and increase gradually. This helps in identifying any weaknesses in the installation. Rectify any issues immediately to ensure a secure setup.
By prioritizing these best practices, you’ll ensure that your home fitness bar installation is not only error-free but also safe and durable for long-term use. Proper attention to detail and following a meticulous process can dramatically reduce the risk of installation mistakes, providing you with confidence and peace of mind during your workouts.
In conclusion, avoiding common installation mistakes is crucial for ensuring both the performance and safety of your home fitness bar. By understanding and recognizing typical installation errors, such as improper anchoring or incorrect component assembly, you can take proactive steps to prevent them. These mistakes can not only compromise the structural integrity of your setup but also pose significant safety hazards, potentially leading to injuries.
Implementing best practices for an error-free installation is essential. Following a detailed, step-by-step guide can help you navigate through the process with confidence, ensuring that each component is correctly installed and securely in place. Additionally, using the appropriate tools and techniques will further enhance the stability and durability of your fitness bar setup, providing you with a reliable platform for your exercise routines.
By meticulously planning the installation process, adhering to guidelines, and double-checking each step, you can create a home fitness environment that is both safe and effective. Investing the time and effort into avoiding these common pitfalls will pay off in the long run, allowing you to focus on achieving your fitness goals without the worry of equipment failure or injury.

