Imagine this: You reach for a heavy suitcase on the airport carousel. Instead of a strained grunt, there’s a smooth, powerful lift. You throw a ball with your kids, and the motion is fluid, effortless. You catch your reflection and see the distinct, rounded contours of strong shoulders framing your silhouette. This isn’t just fitness; it’s functional, visible strength that projects confidence. And it was all built in the space between your doorway and the floor.
This transformation is not gated by gym memberships or racks of dumbbells. It is unlocked by mastering the most fundamental tool in strength training: the bar. To master bar exercises to build strong shoulders at home is to learn the language of leverage, control, and bodyweight mastery. Your pull-up bar or set of gymnastic rings becomes a forge, and through precise practice, you will sculpt a powerful, resilient, and balanced upper body.
Your Foundational Forge: Choosing the Right Home Bar System
Your bar is the bedrock of your practice. This initial choice dictates your safety, the breadth of your exercise library, and your ceiling for growth. Treat this not as a purchase, but as an investment in your physical architecture.
Selection & Sizing: Doorway, Wall-Mounted, or Free-Standing?
Each system serves a different level of commitment and space.
- Doorway Pull-Up Bars: The entry-point archetype. Ideal for basic vertical pulling (pull-ups, chin-ups, hangs) and leg raises. Pros: Portable, inexpensive, requires no permanent installation. Cons: Limited stability for dynamic movements, weight and width restrictions, can damage door frames if improperly installed.
- Wall/Ceiling-Mounted Rigs: The professional’s choice. A permanent, ultra-stable platform for explosive movements like kipping, muscle-ups, and for attaching rings or suspension trainers. Pros: Unmatched stability and load capacity, enables the full spectrum of bar gymnastics. Cons: Requires significant space and permanent installation into studs or joists.
- Free-Standing Power Towers: The all-in-one home gym. Incorporates a pull-up bar, dip stations, and often push-up handles. Pros: Comprehensive, no installation needed, excellent for dedicated spaces like garages. Cons: Large footprint, generally higher cost, less portable.
Location & Setup: Engineering Your Training Zone
Safety and performance are non-negotiable. Follow these engineering principles:
- Clearance: Ensure 360 degrees of clearance. You need space to hang freely, kip without kicking a wall, and dismount safely. A minimum of 2 feet of free space on all sides is critical.
- Structural Integrity: For doorway bars, measure your trim and frame width precisely. For wall mounts, you must anchor into solid wood studs or ceiling joists—drywall anchors will fail catastrophically.
- The Foundation: Place your bar over a non-slip, impact-absorbing surface. A thick exercise mat is essential for safety during dismounts and for floor-based work like push-ups.
Material & Component Breakdown
| Component | Options | Key Characteristics |
|---|---|---|
| Frame/Bar Material | Steel, Chrome, Coated |
Steel: Maximum durability and load capacity; the gold standard for permanent rigs. Chrome: Provides a smooth grip but can become slippery with sweat; common on budget bars. Coated (Neoprene/Rubber): Superior comfort and sweat absorption; reduces callus formation and improves grip security. |
| Grip Type & Configuration | Straight Bar, Multi-Grip, Angled |
Straight Bar: The classic. Essential for standard pull-ups and developing foundational grip strength. Multi-Grip: Features multiple hand positions (wide, narrow, neutral). Allows you to target muscles differently (e.g., neutral grip emphasizes biceps/lats). Angled (or Parallettes): Separate bars for push-ups and handstand work. Keeps wrists in a neutral, stronger position, reducing strain and allowing for deeper range of motion. |
The Shoulder as a System: Anatomy of Press, Pull, and Hang
Your shoulder is not a single muscle to be “pumped.” It is a complex ball-and-socket joint orchestrated by a muscular symphony. To build strong, healthy shoulders, you must train all movements: upward rotation, depression, protraction, and retraction.
The Anterior Deltoid (Front)
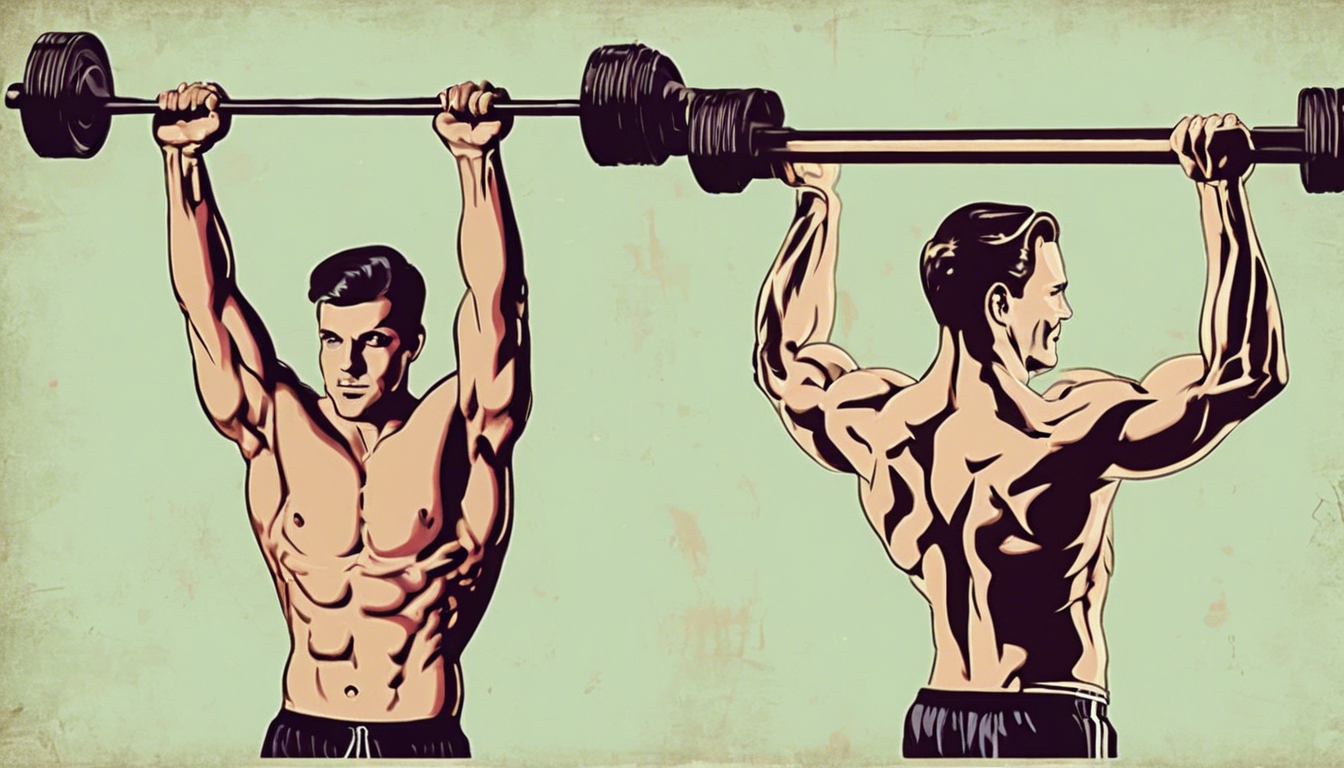
Function: Primary mover for pressing motions and raising the arm forward. Bar-Centric Mastery: The Push-Up (with handles for depth) and the foundational progression to the Handstand Push-Up—the ultimate bodyweight overhead press.
The Lateral Deltoid (Side)
Function: Abducts the arm, creating the sought-after “capped” shoulder width. Bar-Centric Mastery: Bodyweight Lateral Raises (lean away from the bar while holding it) and Archer Pull-Ups, where pulling to one side intensely challenges the opposite side’s lateral deltoid to stabilize.
The Posterior Deltoid (Rear)
Function: Pulls the arm backwards, crucial for posture and balancing the often-overdeveloped front. Bar-Centric Mastery: Bodyweight Inverted Rows (under a low bar) and Face Pulls using gymnastic rings or resistance bands anchored to the bar.
The Stabilizers (Rotator Cuff & Scapular Muscles)
Function: The foundational “software” that keeps the joint secure and moving smoothly. Neglect here leads directly to injury. Bar-Centric Mastery: Active Hangs (depressing shoulders away from ears), Scapular Pull-Ups (just the initiation of the pull), and German Hang progressions for extreme shoulder extension mobility and strength.
The Master Protocol: Advanced Bar Exercise Practices
With your hardware chosen and your anatomy understood, the art begins. This is the daily practice of cultivation.
Phase 1: Preparation – The Non-Negotiable Warm-Up Ritual
Never approach the bar cold. Prime the system:
- Dynamic Mobility: Arm circles (small to large), banded shoulder dislocates (start wide), cat-cow stretches for the thoracic spine.
- Activation: Band pull-aparts (for rear delts), scapular wall slides (for retraction and depression), light plank holds.
Phase 2: The Foundational Exercise Library
These movements are your primary tools. Master them in order.
- Vertical Pressing Progression: Pike Push-Up → Elevated Pike Push-Up → Wall-Assisted Handstand Push-Up → Full Handstand Push-Up.
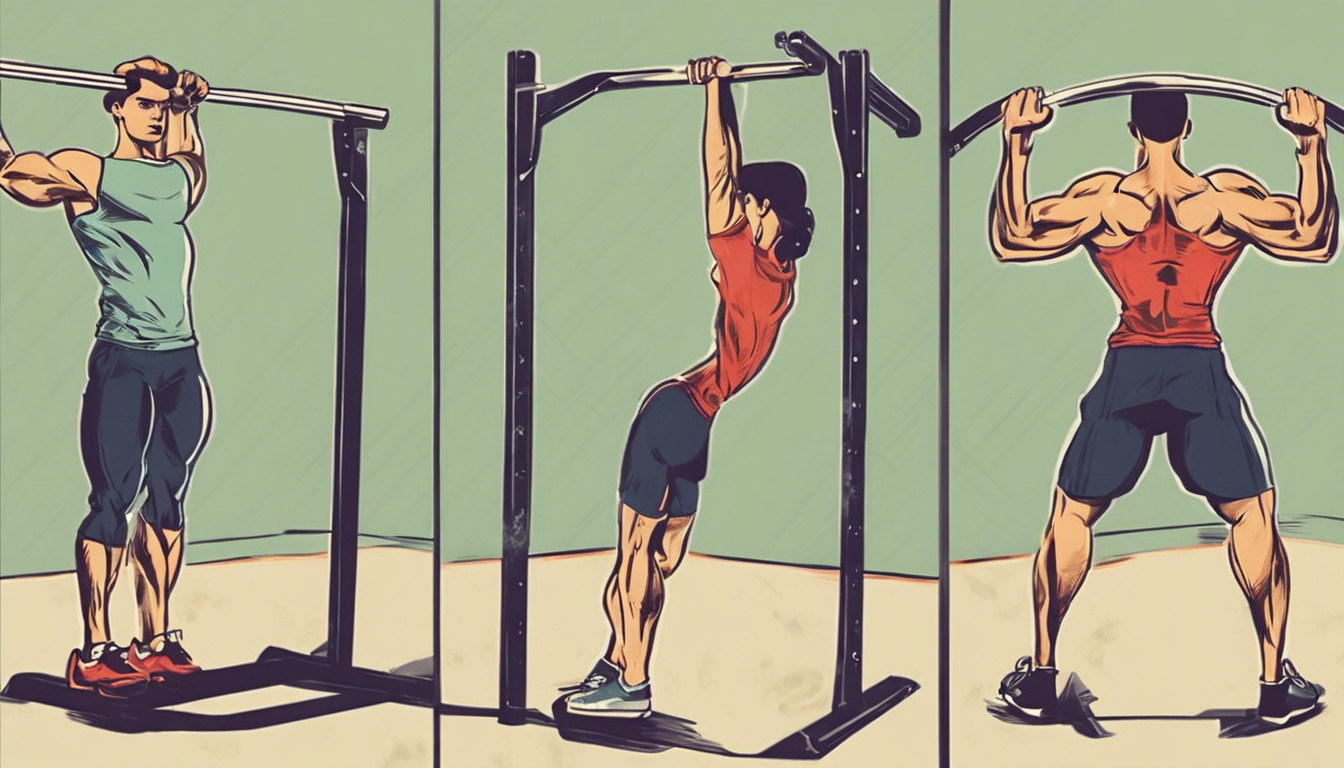
- Vertical Pulling Progression: Active Hang → Scapular Pull-Up → Negative Chin-Up → Full Chin-Up/Pull-Up → Weighted Pull-Up (with a backpack).
- Horizontal Stability: Inverted Row (bar at hip height, then lower) → Feet-Elevated Inverted Row → Archer Row.
- Dynamic Integration: The Muscle-Up transition drill (from a high pull to a dip) teaches your shoulders to seamlessly move from a pull to a press under tension.
Phase 3: Programming for Continuous Growth
Strength is a skill built through consistent, intelligent practice.
- Weekly Structure: Adopt a Push/Pull/Rest split. Example: Day 1 (Push: HSPU progressions, dips), Day 2 (Pull: Pull-ups, rows), Day 3 (Rest or active recovery), repeat.
- Progressive Overload Without Weight: Increase time under tension (use a 3-second negative), add reps or sets, reduce leverage (make exercises harder, e.g., lower your pike), or decrease rest time.
- The Isometric Layer: Integrate holds like the Front Lever and Back Lever progressions. These build monumental connective tissue and stabilizer strength that translates to every other movement.
Protecting Your Progress: A Proactive Stance on Shoulder Health
In training, the best offense is a perfect defense. Adopt a surgeon’s mindset towards prevention.
The Pillars of Prevention
- Warm-Up Religiously: This is not optional. It is the software update that prepares your joints for the workload.
- Master the Static Before the Dynamic: Do not add momentum (kipping) until you can perform multiple strict, controlled repetitions. Kipping is a skill for efficiency, not a cheat for weakness.
- Listen to the Signals: Distinguish between the deep burn of muscular fatigue and the sharp, pinching, or grinding pain of a joint issue. The former is your goal; the latter is an immediate stop sign.
Common Training Threats & Your Response Protocol
| Presenting Issue | Likely Cause | Corrective Action Plan |
|---|---|---|
| Front Shoulder Pain/Impingement during Pressing | Poor scapular control (winging), excessive internal rotation, weak rear deltoids. |
Step 1: Regress. Return to a simpler push-up variation. Step 2: Strengthen Antagonists. Double down on face pulls and rows. Step 3: Improve Mobility. Daily thoracic spine extension work (foam rolling, stretches). |
| Plateau in Pull-Up Strength | Inconsistent training frequency, inadequate recovery (sleep/nutrition), lack of variation. |
Step 1: Log Your Work. Track every set, rep, and rest period. Step 2: Prioritize Protein & Sleep. Aim for 1.6g of protein per kg of bodyweight and 7-9 hours of sleep. Step 3: Change the Stimulus. Try cluster sets (e.g., 5 sets of 2 reps with 30s rest) or add a day of heavy isometric holds. |
Your 12-Week Roadmap to Sculpted Shoulders
Knowledge without a plan is just trivia. Follow this quarterly calendar to transform theory into tangible results.
| Training Phase | Primary Tasks & Milestones | Strategic Focus |
|---|---|---|
| Foundation (Weeks 1-4) |
Master the Scapular Pull-Up (3×8). Accumulate 60 seconds of total Active Hang time per session. Perform 3 sets of Pike Push-Ups to near-failure. Practice Bodyweight Rows with perfect form. |
Neuromuscular Connection. Your goal is not fatigue, but flawless mind-muscle connection. Build the neural pathways and baseline stability. Form is the only metric that matters. |
| Build (Weeks 5-8) |
Achieve your first set of 3-5 full Chin-Ups. Progress to Elevated Pike Push-Ups (feet on a chair). Add 2 sets of Banded Face Pulls after every workout. Introduce negative Muscle-Up transitions. |
Strength Acquisition. Shift focus to adding volume and density. Start chasing personal records in your foundational movements. Recovery becomes critical—fuel and rest accordingly. |
| Mastery (Weeks 9-12) |
Perform 3 sets of 5+ Pull-Ups. Begin Wall-Assisted Handstand Push-Up negatives. Integrate Archer Row variations. Test a max rep set in your core movements. |
Integration & Refinement. Your shoulders are now strong, stable units. Begin combining movements into circuits (e.g., pull-ups, dips, rows). Analyze weak points and plan your next 12-week cycle, perhaps targeting a specific skill like the muscle-up. |
The journey to powerful shoulders is a masterclass in applied physics and patience. You are not merely lifting your body; you are learning to control it, to leverage it against gravity with increasing precision. You began by choosing your tool—the bar. You learned it as a system, engaging every muscle from the prominent deltoids to the deep stabilizers. You progressed through a deliberate practice, moving from foundational hangs to commanding presses.
Now, the bar is no longer just a piece of equipment in your home. It is your anvil. Each disciplined session is a strike, forging not just muscle, but resilience, capability, and a profound, unshakable confidence that comes from building something monumental with your own two hands. The strength you sculpt will echo in every lift, every reach, and every stance you take. Your forge is ready. It’s time to begin.