The Vision of a Complete Home Gym
Imagine transforming a corner of your home into a personal strength sanctuary. A space where every session forges a more resilient, capable, and confident you. This vision of total physical autonomy doesn’t require a warehouse of equipment; it hinges on mastering one of the most potent and versatile tools available: the home fitness bar. This guide is your master key. By delving deep into the full spectrum of exercises using home fitness bars, you will unlock the door to full-body strength, sustainable muscle growth, and peak athletic performance—all within the walls of your own domain.
Foundational Choices: Selecting Your Home Fitness Bar
Your bar is not just a piece of equipment; it is the primary tool of your craft. The right choice here forms the unshakable foundation upon which all future progress is built. This decision balances function, space, and ambition.
Part A: Type and Function
Different bars serve different masters. Your goals dictate your hardware.
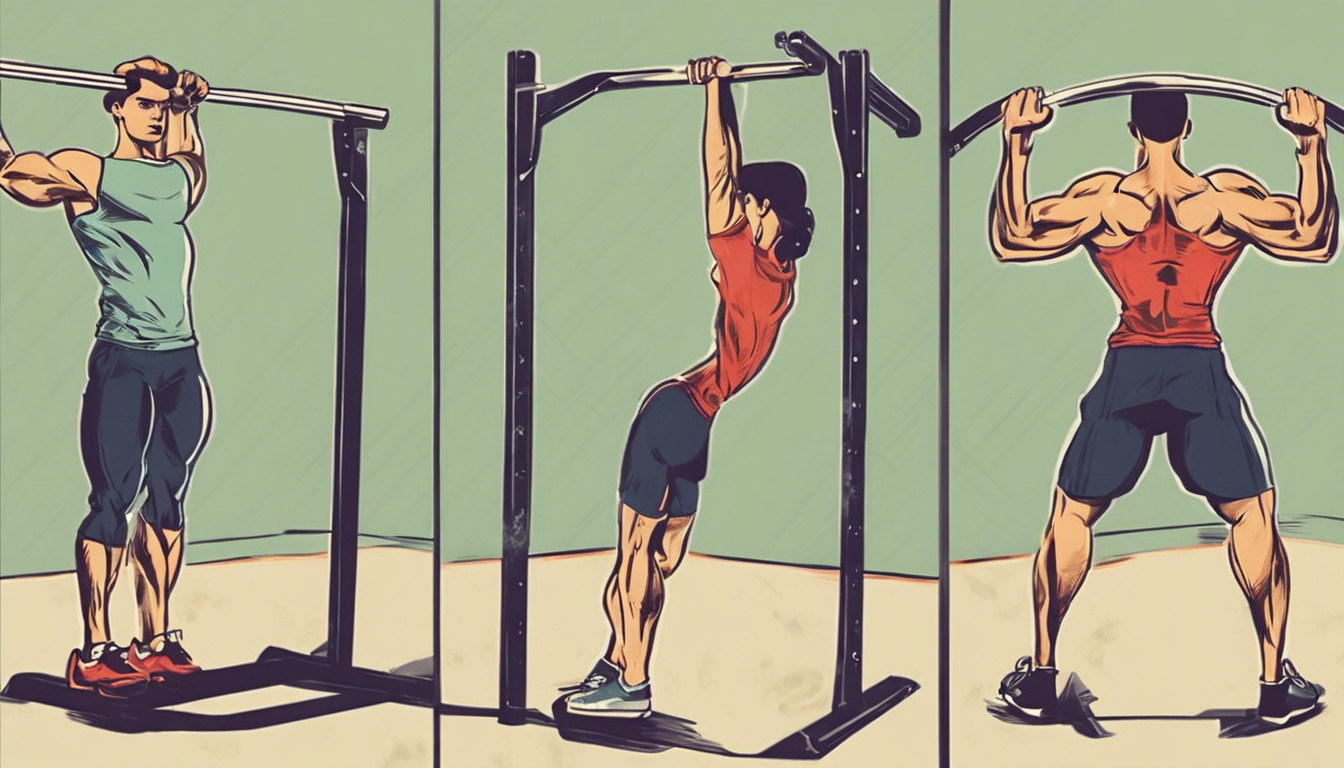
- Pull-Up Bars: The cornerstone. Doorway models offer convenience but limit movement; wall-mounted versions provide rock-solid stability; freestanding stations are space-efficient kings for apartments without doorframe options.
- Multi-Grip Bars: (Hexagonal, triangular). These are the strategist’s choice, offering neutral, pronated, and supinated grips from a single station. They are invaluable for targeting muscles from unique angles and managing joint stress.
- Dipping Bars/Stations: The essential counterpart to pulling. Dedicated parallel bars or stations transform upper body pushing development, enabling the critical vertical press pattern.
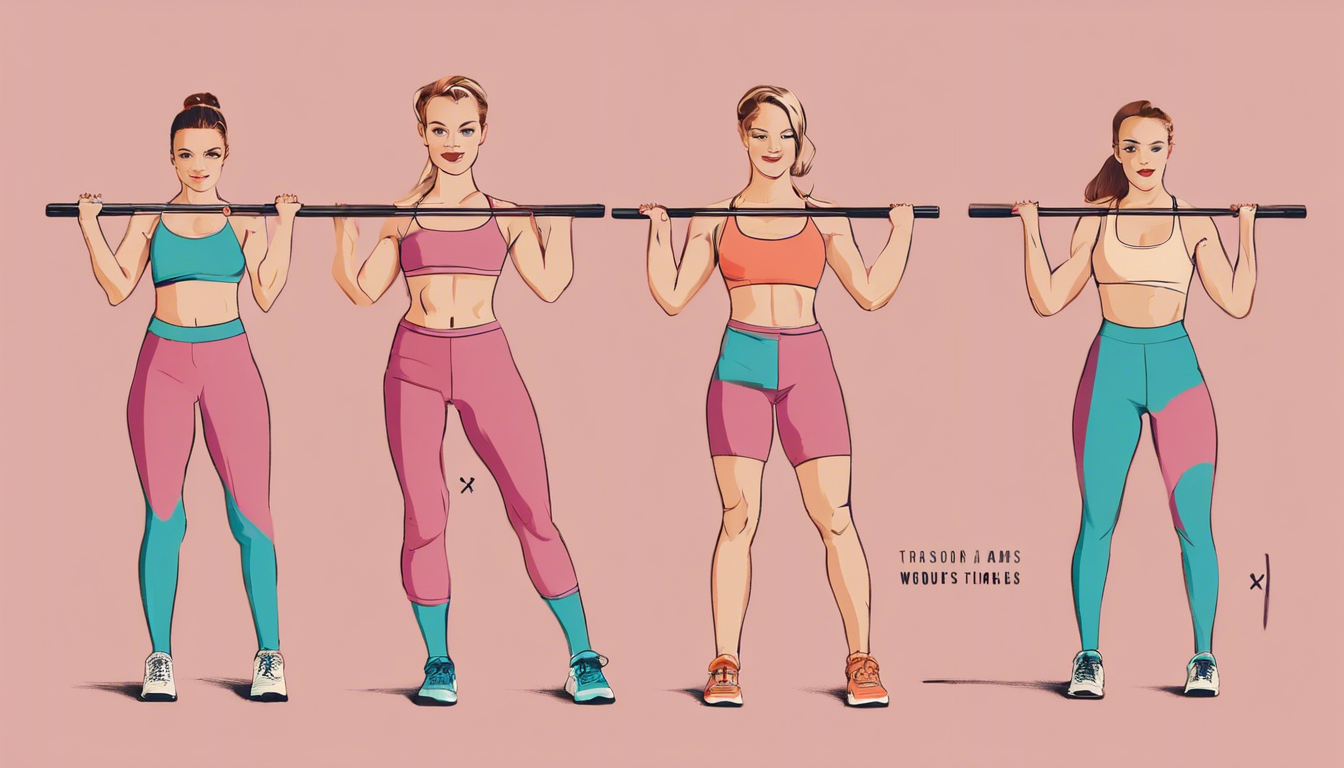
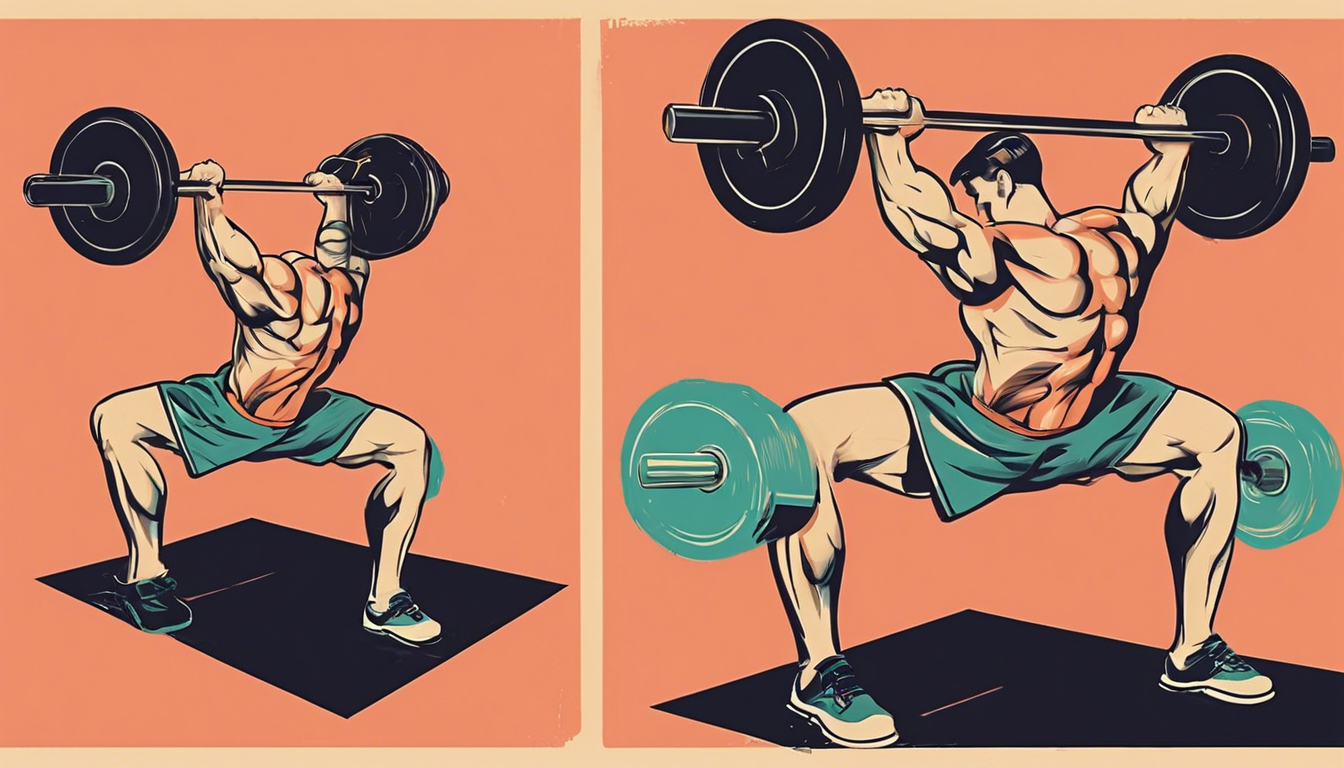
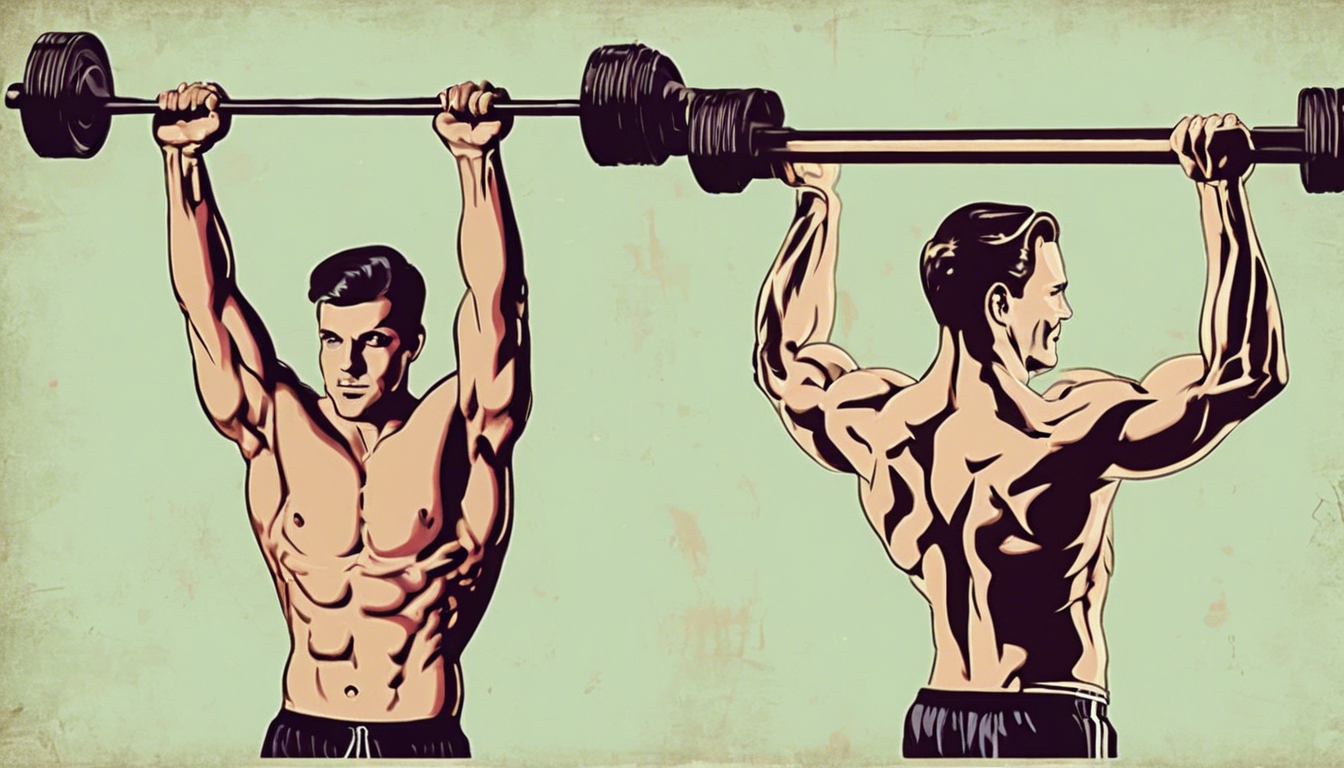
- Barbells & Power Racks: The premium ecosystem for absolute strength. When paired with a squat rack or power cage, a barbell elevates your home gym to professional-grade, allowing for safely loaded squats, presses, and deadlifts.
Part B: Installation and Safety
Safety is non-negotiable. A failed setup means injury and lost progress.
- Assess Your Space: Locate solid wood door frames or concrete/wood studs for mounting. Ensure adequate vertical and horizontal clearance for full range of motion (especially for kipping or muscle-up transitions).
- Critical Safety Checks: Verify the manufacturer’s stated weight capacity with a significant margin for your future, stronger self. For any bolted system, use the correct hardware for your wall type (stud finder is mandatory). Place high-density mats underneath to protect floors and your joints.
Part C: Material & Component Comparison
| Component Category | Options | Key Characteristics |
|---|---|---|
| Frame Material | Steel, Aluminum | Steel: Extremely durable and high weight-capacity; the standard for permanent installations. Can be heavier. Aluminum: Lightweight and corrosion-resistant; excellent for portable bars, but typically has a lower load limit. |
| Grip Type | Knurled, Foam, Rubber | Knurled: Aggressive texture provides maximum grip for heavy pulling; can be harsh on bare hands. Foam: Comfortable and reduces callouses; can become slippery with sweat. Rubber: Offers a solid, secure feel with good sweat resistance; a balanced choice for most users. |
| Mounting System | Pressure-Based, Bolted | Pressure-Based: Quick installation and removal; ideal for renters. Stability is dependent on door frame integrity. Bolted: Permanent and utterly stable; requires drilling but provides the most secure platform for intense training. |
The Core System: Foundational Movement Patterns
Elite training is not a random collection of exercises. It is the systematic mastery of fundamental human movement patterns. Your home fitness bar is the perfect apparatus to develop every one of them, creating a balanced, powerful physique.
The Vertical Pull: Mastery of the Pull-Up & Chin-Up
This is the ultimate test of relative upper body strength. Start with scapular pulls and dead hangs to build stability. Progress to negative reps (jumping up and lowering slowly), then to full repetitions. Grip variation dictates emphasis: wide-grip targets the lats’ width, supinated (chin-up) grip emphasizes the biceps and lower lats, and a neutral grip is often shoulder-friendly.
The Vertical Push: The Dip as a Cornerstone
The dip is the push-up’s powerful older sibling. On parallel bars or a stable station, lower yourself until your shoulders are just below your elbows. A forward lean places more stress on the pectorals and anterior deltoids, while an upright torso shifts focus to the triceps. Master bodyweight before adding external load.
The Horizontal Pull: Building the Back with Bodyweight Rows
Set a bar at waist height or use suspension trainers anchored to a high point. Walk underneath, grip the bar, and keep your body rigid as you pull your chest to the bar. This movement builds thickness in the rhomboids and rear delts. Adjust difficulty by changing your body angle—feet elevated increases intensity.
The Horizontal Push: Push-Up Variations & Bar Leverage
Elevate your push-ups by using the bar. Place your hands on two stable bars or the handles of a station for a deficit push-up, increasing the range of motion. Conversely, place your feet on a bar to increase load for a feet-elevated push-up. Use a single bar for archer push-ups, a unilateral strength builder.
Advanced Practices: Optimization for Strength & Hypertrophy
Once the patterns are ingrained, elevate your practice from movement to the art and science of adaptation. This is where you manipulate variables to force continuous growth.
Progressive Overload Strategies
The principle is simple: to grow stronger, you must gradually increase demand.
- Adding Load: A dip belt or weight vest is the most direct method for pull-ups and dips.
- Manipulating Tempo: Take 3-5 seconds on the lowering (eccentric) phase of a pull-up. Add a 1-second pause at the bottom of a row. This increases time under tension, a key driver for hypertrophy.
- Increasing Density: Complete the same number of total reps in less time, or perform more total reps in the same workout session.
Skill & Strength Integration
This is where exercises using home fitness bars become truly transformative, blending raw power with neurological control.
- Muscle-Up Progression: The king of bar transitions. Master explosive pull-ups and deep dips separately, then practice the transition with a false grip and kip before aiming for a strict repetition.
- Front Lever Training: The ultimate core and back challenge. Start with tuck holds, progress to single-leg holds, and gradually extend toward the full horizontal position.
- Toes-to-Bar: Hang from the bar and, with controlled force, bring your toes to touch the bar. This builds crushing core strength and grip endurance.
Creating Coherent Workouts
Structure drives consistency. Pair antagonistic movements (a pull followed by a push) for efficiency and recovery. A sample full-body session could be: Weighted Pull-Ups (5×5), Bar Dips (5×5), Bodyweight Rows (3×10), Archer Push-Ups (3×8 per side), Toes-to-Bar (3×10).
Threat Management: Avoiding Plateaus and Injury
Mastery is not just about pushing forward; it’s about navigating obstacles with intelligence. Adopt a proactive, not reactive, stance.
Prevention: The Pillars of Sustainable Training
Your first and best defense is a robust routine built on preparation and awareness. A dynamic warm-up targeting shoulder rotation, scapular mobility, and wrist flexion/extension is mandatory. Listen to your body—persistent joint pain is a signal to regress the exercise, not push through it. Manage weekly volume to avoid overuse injuries like tendonitis.
Intervention: Solving Common Problems
- Grip Fatigue Failing First: Train your grip directly with dead hangs for time, farmer’s carries, or rice bucket exercises. Use gymnastic chalk to eliminate moisture as a limiting factor.
- Shoulder Pain During Dips/Pull-Ups: Immediately check form. Are you shrugging your ears? Are your elbows flaring excessively? Incorporate scapular depression and retraction drills. Strengthen the rotator cuff with band pull-aparts and external rotations.
- The Infamous Strength Plateau: Introduce a planned deload week, reducing volume by 40-50%. Change your exercise variations (switch from chin-ups to neutral-grip pull-ups). Employ intensity techniques like drop sets or rest-pause sets to shock the system.
Your 4-Week Progressive Blueprint
Knowledge without application is theory. This actionable plan turns theory into tangible results. Train 3-4 times per week, ensuring at least one day of rest between sessions.
| Training Phase | Primary Exercises Using Home Fitness Bars | Focus & Goal |
|---|---|---|
| Weeks 1-2: Foundation | Scapular Pulls, Negative Dips (3-5 sec descent), Inverted Rows (feet on floor), Standard Push-Ups, Hanging Knee Raises. | Neural connection and form mastery. Building the mind-muscle link and foundational strength in the correct movement patterns. No ego lifting. |
| Weeks 3-4: Intensification | Strict Pull-Ups/Chin-Ups, Full Bodyweight Dips, Inverted Rows (feet elevated), Archer Push-Ups, Toes-to-Bar Progressions. | Introducing full range of motion under control and increasing training density. Adding 1-2 reps or sets each week. Introducing isometric holds (L-sit, tuck front lever) at the end of sessions. |
The Transformation Awaits
The journey from selecting your first bar to effortlessly executing advanced movements is a profound education in self-reliance. You have seen how the right hardware forms your foundation, how mastering fundamental patterns builds a balanced physique, and how advanced strategies forge elite strength. This is the promise of the home fitness bar: not just a tool, but a gateway to unparalleled physical autonomy. The final reward is ongoing—the deep satisfaction of strength built in your personal space, the confidence born of self-mastery, and the resilient body forged solely by your own consistent, intelligent effort. Your strength sanctuary awaits. Now, go build it.