The Clean Exit: How to Remove a Fitness Bar Without Damaging the Walls
You’ve decided to reclaim your doorway or clear that corner for a new chapter. The vision is clear: a fresh, unblemished wall, free of the shadows and scuffs left behind by your trusty fitness bar. But between that vision and reality sits a knot of anxiety—the fear of peeling paint, torn drywall, and a repair project that eclipses the simple act of removal. Let’s dispel that fear. Removing a fitness bar cleanly is not luck; it’s a controlled, systematic process. Mastering this final step transforms you from someone who owns equipment into someone who commands their space, leaving it pristine and ready for what’s next.
Part 1: Foundational Knowledge – Understanding Your Mount
Every successful operation begins with precise intelligence. Your removal strategy is dictated entirely by how your bar was installed. This is the diagnostic phase where a few minutes of inspection prevent hours of repair.
Pressure-Mounted vs. Permanent: Identifying Your Bar
The core question—How do I remove a fitness bar without damaging the walls?—is answered here. You have one of two primary systems.
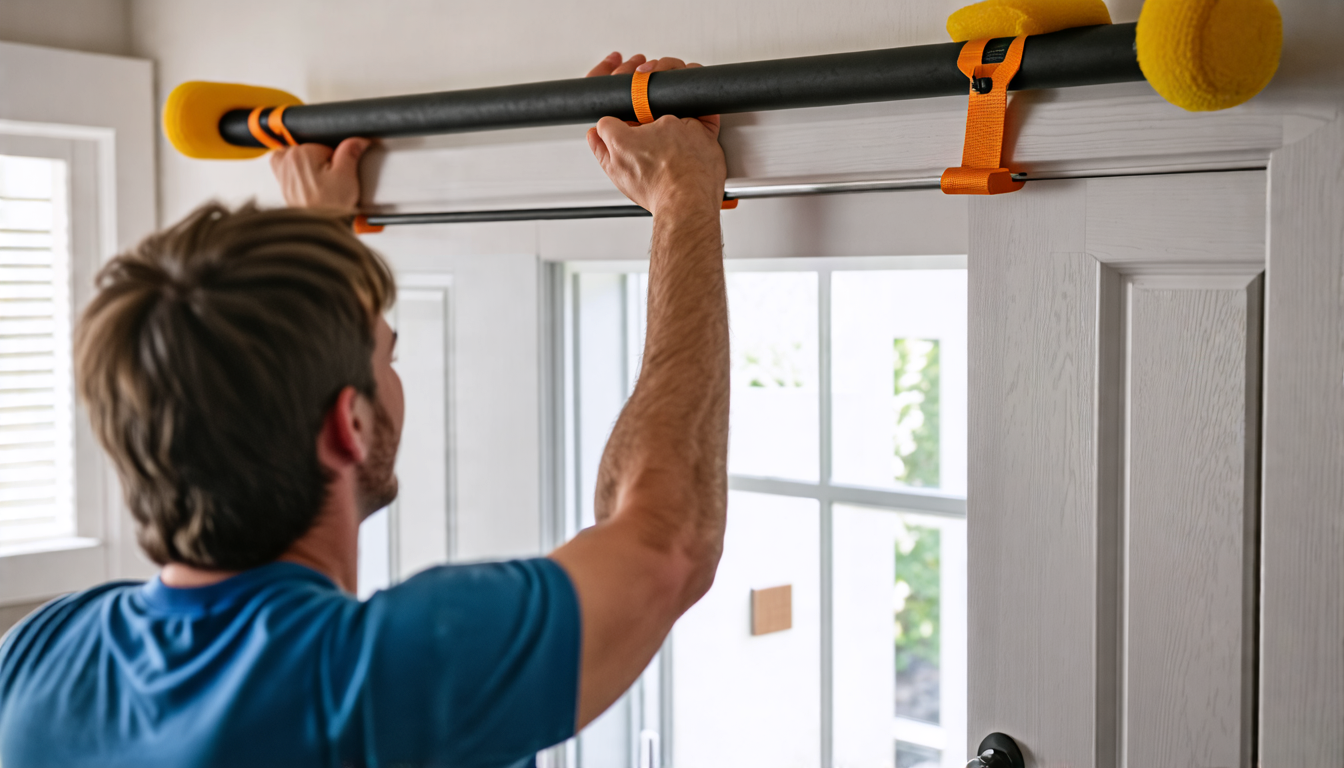
- Pressure-Mounted Bars: These are the ubiquitous doorway models. They use a threaded rod or telescoping mechanism to create outward tension against the door frame. No screws, bolts, or permanent fasteners are used. They are designed for temporary installation and removal.
- Permanently Mounted Bars: This includes wall-mounted pull-up bars, squat rack attachments, or ceiling-mounted rigs. They are secured directly to wall studs or ceiling joists with heavy-duty screws or lag bolts. Their installation is, as the name implies, intended to be semi-permanent.
Examine your bar. If you see visible screw heads, bolt caps, or a mounting plate fixed to the wall, it’s permanently mounted. If it’s wedged tightly between two surfaces with visible rubberized end caps and a central twisting mechanism, it’s pressure-mounted.
Part 2: The Safe Removal Protocol – A Step-by-Step System
With your bar identified, you now execute the appropriate removal protocol. This is not a yank-and-pray operation; it is a controlled, careful process that guarantees success.
Phase A: Preparation and Safety
Before touching the bar, set the stage for a clean exit.
- Clear the Area: Move furniture, rugs, and any equipment below and around the bar.
- Secure a Helper: For longer or heavier bars, a second pair of hands is invaluable for support and stability.
- Gather Your Toolkit:
- For Pressure-Mounted: No tools typically needed, but a rubber mallet can be helpful.
- For Permanently Mounted: Appropriate screwdriver (Phillips/Flathead), socket wrench or adjustable wrench, a stud finder (if unsure of mount points), a putty knife, spackle, sandpaper, and touch-up paint.
Phase B: The Pressure-Mounted Bar Removal
The key here is to reverse the installation tension smoothly and vertically.
- Loosen the Mechanism: Locate the central twist handle or collar. Rotate it counter-clockwise. You should hear a series of clicks or feel the tension begin to release.
- Support the Bar: Place your hands firmly on the bar, ready to bear its weight as the final tension releases. Your helper should do the same on the opposite side.
- Execute the Controlled Descent: As you finish unscrewing, the bar will loosen. Do not let it drop or slide down the frame. Gently guide it straight down, maintaining control until it is completely free of the doorway. This prevents the end caps from scraping or gouging the trim.
Phase C: The Permanently Mounted Bar Removal
This is a disassembly process, requiring methodical tool use.
- Locate All Fasteners: Identify every screw or bolt securing the bar or its mounting brackets to the wall. There are often more than are immediately obvious.
- Support the Bar’s Weight: Have your helper hold the bar firmly in place. This is critical—you do not want the entire weight of the bar hanging on the last screw, which could strip the drywall or warp the bracket.
- Remove Fasteners in Sequence: Using the correct tool, begin removing screws or bolts. Start from one end and work to the other, or remove the top fasteners first. The goal is to evenly relieve the load.
- Lift It Clear: Once all fasteners are removed, carefully lift the bar and its brackets directly away from the wall. Avoid dragging it across the surface.
Part 3: Wall Restoration – From Mounting Holes to Perfection
Now, you address the evidence. For pressure-mounted bars, this may be just wiping away dust. For permanent mounts, this is where you achieve the “like it was never there” finish.
Assessing the Damage (It’s Usually Minimal)
Inspect the mounting points. You are typically looking at small, clean screw holes. Occasionally, there might be a slightly enlarged hole or a tiny chip of paint around the edge. Significant drywall tears are rare with a careful removal.
The Repair Toolkit and Techniques
A professional repair is simple with the right materials.
| Material/Tool | Purpose & Technique |
|---|---|
| Lightweight Spackle | For holes smaller than ½ inch. Overfill the hole slightly with a putty knife, then scrape it flush with the wall in a smooth, single motion. Less is more. |
| Fine-Grit Sandpaper (120-150 grit) | Once the spackle is completely dry (1-2 hours), lightly sand the repair until it is perfectly smooth and level with the wall. Wipe away dust with a damp cloth. |
| Touch-Up Paint & Brush | This is the pro’s secret: use the original paint. If you saved the can from the initial painting, you have a perfect match. Apply a small amount to the repaired spot, feathering the edges to blend with the surrounding wall. |
Part 4: Threat Management – Avoiding Common Pitfalls
A master anticipates problems before they occur. Here’s how to navigate common removal challenges.
Prevention During Removal
- The Stuck Pressure Bar: If the mechanism won’t turn, do not force it. Apply a penetrating lubricant (like WD-40) to the threads, wait five minutes, and try again. Tapping the adjustment collar gently with a rubber mallet can also loosen seized parts.
- The Stripped Screw: If a screw head strips during removal, use a rubber band between the screwdriver and the head for extra grip, or employ a screw extractor bit. Avoid drilling it out, as this will enlarge the hole unnecessarily.
Intervention for Minor Damage
If a slip causes a scrape or dent:
- For shallow scrapes that haven’t broken the paper layer of the drywall, a simple touch-up with matching paint may suffice.
- For a deeper dent or small tear, apply a thin layer of spackle, let it dry, sand, and paint as described above.
Your Removal Action Plan: A Quick-Reference Table
| Phase | Primary Tasks | Critical Focus |
|---|---|---|
| Diagnosis | Identify mount type; Gather tools. | Knowing your system. Is it pressure or screws? |
| Execution | Follow step-by-step removal for your bar type. | Control, support, and careful motion. |
| Restoration | Spackle holes, sand, touch-up paint. | Patience for drying; blending the repair. |
Walls Restored, Peace of Mind Secured
The process is complete. You look at the wall and see not a reminder of a project, but a blank canvas. The slight indentations are gone, the paint is uniform, and the space is truly yours again. This clean exit is the final, satisfying skill in home fitness ownership—the proof that you can adapt your environment to your goals without leaving a trace. It’s the empowerment that comes from knowing you can install with confidence and remove with precision, maintaining the integrity of your home with every rep and every change. The wall is pristine, your mind is clear, and your space is ready for its next evolution.


