The Vision of a Home Gym Masterpiece
Imagine transforming an ordinary doorway or a blank wall into your personal strength station—a launchpad for explosive pull-ups, relentless core work, and athletic mastery, available on demand, 24/7. This isn’t just about adding a piece of equipment; it’s about claiming a space for transformation. That vision, however, hinges entirely on one critical, foundational act: the flawless installation of a home fitness bar. Knowing precisely how to install a home fitness bar correctly is the non-negotiable first step. It’s the definitive line between a wobbly, dangerous liability and the secure, trusted centerpiece of your fitness journey. This is your blueprint for building that foundation.
Foundational Choices: Selecting Your Hardware
Your long-term success and immediate safety begin not with a drill, but with a decision. Choosing the correct type of bar for your space and your home’s structure is the bedrock of everything that follows.
Part A: Bar Type & Compatibility
Not all bars are created equal, and not every space can accommodate every type. Your primary options break down into three categories, each with specific requirements.
- Doorway Pull-Up Bars: The most common entry point.
- Tension-Mounted: Uses a screw mechanism to expand and grip the door frame. Requires robust, square trim and solid underlying structure. Never install on decorative or hollow trim.
- Screw-In: Uses brackets that physically screw into the door frame or wall studs flanking the doorway. Offers superior permanence and stability but requires drilling.
- Wall-Mounted or Ceiling-Mounted Bars: The professional’s choice for a permanent installation.
- These are bolted directly into wall studs or ceiling joists. They offer the highest weight capacity and stability but demand precise location of structural framing.
- Free-Standing Power Towers or Squat Racks with Pull-Up Bars: The all-in-one solution.
- Eliminates the need to modify walls or doorframes. The critical factor here is floor space, a perfectly level base, and often, added weight plates on the stabilizer bars to prevent tipping during dynamic movements like kipping.
Part B: The Pre-Installation Audit
Before you touch a single tool, conduct this three-point audit. This is your strategic planning phase.
- Locating Studs or Joists: This is the absolute, non-negotiable rule for any mounted bar. Use a high-quality stud finder. For doorways, studs are typically 1-2 inches from the inside edge of the trim. Mark the center of each stud clearly.
- Measuring Clearance: Ensure you have full, unimpeded range of motion. Check for:
- Vertical Clearance: Your head should not contact the ceiling when hanging.
- Horizontal Clearance: Your legs or body shouldn’t hit the wall behind you during a pull-up or knee raise.
- Bar Height: The bar should be high enough that you can hang with arms fully extended without touching the floor.
- Gathering the Essential Toolkit:
- Stud finder
- High-quality drill/driver
- Level (a 2-foot level is ideal)
- Appropriate drill bits (for pilot holes and masonry if needed)
- Wrench or socket set (for tightening bolts)
- Pencil and tape measure
- Safety glasses
The Core Process: A Step-by-Step Installation System
This is the execution phase. Follow this system methodically for a flawless, secure result. We’ll focus on the two most common permanent installations: the screw-in doorway bar and the wall-mounted bar.
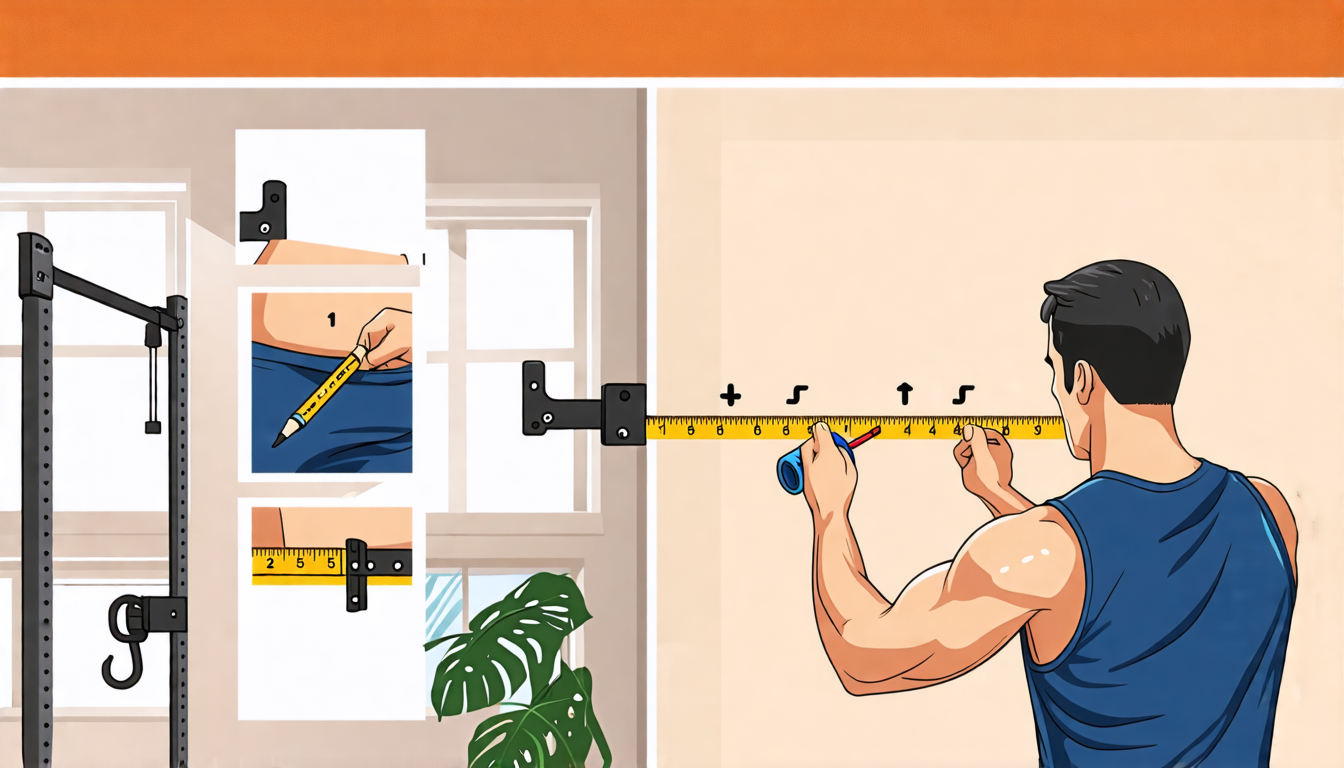
Phase 1: Preparation & Precision Marking
Precision here prevents failure later.
- Using your stud finder, clearly mark the vertical center of each stud you will use (typically two, 16 or 24 inches apart).
- Hold the bar’s mounting bracket(s) in place at your desired height. Use the level across the top of the brackets to ensure they are perfectly horizontal. Even a slight slant will affect grip and feel.
- Mark the drill holes through the bracket holes onto the wall or doorframe. Double-check that these marks align with your stud center marks.
- Drill pilot holes slightly smaller than the diameter of your mounting lag bolts or screws. This guides the bolt and prevents wood splitting.
Phase 2: Secure Installation & The Final Test
Now, you build the connection.
- For Screw-In Doorway/Wall-Mount Bars: Align the brackets with the pilot holes. Drive the supplied lag bolts or heavy-duty screws through the brackets and into the studs using a wrench or drill (on a low-torque setting to avoid stripping). Tighten firmly and evenly.
- For Tension Bars: Extend the bar to be slightly wider than the doorway. Position it at the desired height, then turn the hand screws to expand the ends against the frame. Tighten alternately and incrementally until the bar is immovable. Do not overtighten to the point of cracking the trim.
- The “Shake Test” – Your Quality Assurance: Before any weight is applied, perform this rigorous test. Grip the bar firmly and apply significant downward, upward, and side-to-side force. It should not shift, slip, creak, or feel flexible. Any movement means a return to Phase 1: re-check stud alignment and tighten all connection points.
Advanced Practices: Optimization & Safety Protocols
A secure installation is the baseline. To elevate your bar to a professional-grade training tool, implement these advanced practices.
| Practice | Purpose | Actionable Method |
|---|---|---|
| Load Management | To understand the true capacity of your setup and train safely. |
|
| Surface Protection | To preserve your home’s integrity and prevent damage. |
|
| Routine Safety Inspection | To catch potential failures before they happen. |
|
Threat Management: Problem Prevention & Solutions
Adopt a proactive stance. Here is how to diagnose and solve the most common issues.
Prevention: The First and Best Defense
Correct initial installation—into verified studs, with the right hardware, using a level—prevents 95% of future problems. The monthly inspection is your early-warning system.
Intervention: Troubleshooting Common Issues
| Problem | Likely Cause | Solution Protocol |
|---|---|---|
| Bar slips, rotates, or feels loose. | Tension bar not fully expanded; screws/bolts have loosened over time; mounting into drywall only. |
|
| Doorframe trim is cracking or wall plaster is fracturing. | Excessive dynamic load; installation on weak material; overtightening of tension bar. |
|
Your Installation & Maintenance Roadmap
| Phase | Primary Tasks | Focus On |
|---|---|---|
| Pre-Installation | Select bar type; audit space & locate studs; gather full toolkit; measure clearance. | Meticulous planning and verification. |
| Installation Day | Execute step-by-step guide; perform the rigorous “Shake Test”; final torque check on all bolts. | Precision, patience, and safety validation. |
| Ongoing Maintenance | Weekly visual inspection; monthly bolt torque check; immediate cleaning of sweat/moisture. | Preventive care and proactive threat detection. |
From Installation to Transformation
Mastering how to install a home fitness bar is far more than a weekend DIY project; it is a foundational investment in your physical sovereignty and safety. This journey—from the intelligent selection of hardware and the meticulous execution of the installation to the disciplined rhythm of ongoing care—culminates in something profound. It transforms a simple piece of steel into a robust, reliable pillar of your daily routine. This is your personal arena, a constant invitation to strength, built not on guesswork, but on the unwavering confidence of a job done right. Now, the real work—and the unparalleled reward—begins.


