The Foundation of Every Powerful Movement
Imagine executing a perfect pull-up, muscle-up, or knee raise—fluid, strong, and without strain. Your body moves through its full, natural range, channeling pure strength into motion. Now imagine the opposite: a cramped, inefficient pull, knees banging the floor on a leg raise, or a jarring impact from a missed jump. The difference between mastery and frustration often comes down to one critical, overlooked factor: the height of your fitness bar.
Your bar is more than just metal; it’s the cornerstone of upper body and core development. Its installation isn’t just about putting it up; it’s about engineering the optimal environment for your body’s mechanics. Mastering this single variable is the key to unlocking safe, effective, and limitless training. This guide transforms the question of height from a guess into a precise science, building your foundation for superior results.
Foundational Choices: It’s More Than Just Inches
The height of your bar dictates the entire universe of exercises available to you. It is the primary constraint or catalyst for your movement. Getting it wrong creates persistent friction in every workout; getting it right creates seamless, intuitive flow.
Part A: Defining Your Primary Training Purpose
Your training goals must dictate the geometry of your setup. There is no universal “best” height, only the optimal height for your practice.
For the Pull-Up & Strength Athlete: The priority is uncompromised range of motion. The gold-standard calculation is standing reach + 8 to 12 inches. This allows for a dead hang with arms fully extended without your feet touching the ground, and sufficient clearance for controlled kipping or knee raises. Full shoulder extension is non-negotiable for building raw strength and lat development.
For the Calisthenics & Skill Trainee: You must accommodate dynamic, spatial movements. For skills like muscle-ups, levers, and flags, you need significant overhead and swing clearance. Your bar height must allow for your entire body to rotate freely without contacting the floor or ceiling. This often means the bar is higher than the standard pull-up calculation, sometimes requiring a jump and catch to mount.
For the General Fitness & Hanging Enthusiast: Prioritize comfort, accessibility, and spinal health. The bar should be high enough that you can hang with slightly bent knees, allowing for relaxed, passive hangs to decompress the spine. Easy access without excessive jumping is key for daily use.
Part B: The Critical Measurement Protocol
Follow this three-step protocol to move from theory to your exact number.
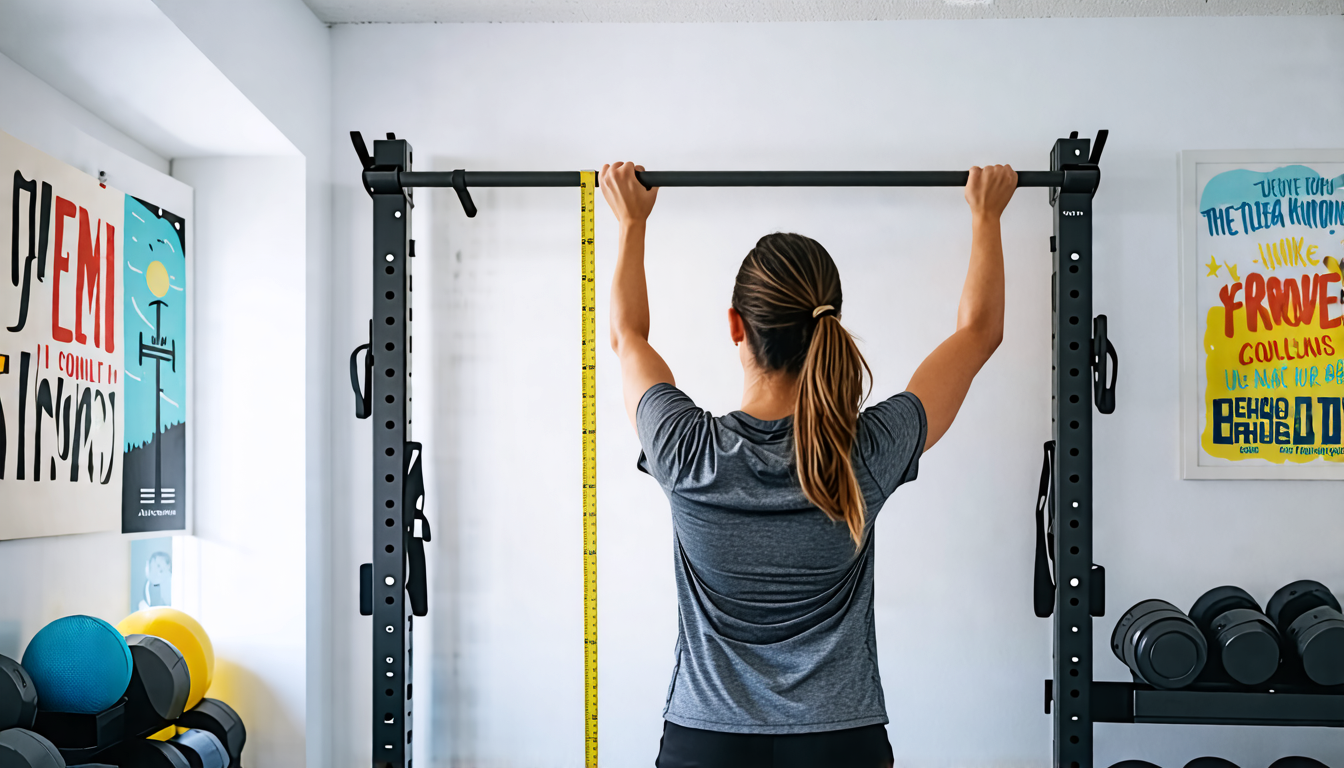
Step 1: The Reach Test: Stand straight, raise one arm fully overhead. Have a partner measure from the floor to the tip of your fingers. This is your standing reach. This is your baseline.
Step 2: Accounting for Movement Clearance: To your standing reach, you must add operational space.
- For knee raises/toes-to-bar: Add enough inches so your feet or knees clear the floor at the bottom of the movement. Test by simulating the motion.
- For kipping pull-ups: You need clearance for the forward and backward swing of your entire body. This often requires the most overhead space.
Step 3: Considering Mounting System: The hardware dictates your starting point.
- Ceiling Mounts: Measure from the ceiling down. Your clearance calculation is from the floor to the bottom of the bar.
- Wall Mounts & Freestanding Racks: Measure from the floor up. Remember to account for the bar’s diameter and any mounting bracket that elevates it from the anchor point.
Part C: Material, Grip, and The Adjustable Solution
While diameter (typically 1″ or 1.25″) affects grip comfort, it minimally changes effective height. A thicker bar might reduce your effective grip reach by a negligible margin. The true game-changer is adjustability.
| Component Category | Options | Key Characteristics |
|---|---|---|
| Fixed-Height Bar | Wall-Mounted, Ceiling-Mounted, Doorway | Most secure and rigid; requires precise, permanent commitment to one height; ideal for single-purpose, dedicated stations. |
| Adjustable-Height System | Power Tower, Squat Rack with Pull-Up Bar, Telescopic Bars | Offers unparalleled versatility for multi-user homes or evolving training goals; may have slight play or less rigidity than fixed mounts; the ultimate solution for precision height matching. |
The Core System: Installation and Safety Integration
Choosing the perfect height is a theoretical exercise without secure, intelligent implementation. This phase is about integrating the bar into your training ecosystem as a reliable, permanent asset.
Variable 1: Structural Integrity
The consequences of failure here are severe. A bar pulled from drywall can cause injury and significant damage. You must anchor into wood studs, concrete, or structural joists. Use a stud finder for walls. For concrete, use heavy-duty masonry anchors rated for dynamic loads. Follow all torque specifications for hardware. The bar must feel like an extension of the building itself.
Variable 2: Environmental Clearance
Height isn’t just a vertical measurement. You must ensure a 360-degree safety envelope.
- Vertical: Clearance from the top of your head to the ceiling during a full swing or muscle-up.
- Horizontal: Wall-to-wall clearance for the arc of your kip swing. A minimum of 3 feet of free space in all directions is a safe starting point.
Perform a “mock movement” check before first use, visualizing your entire body in motion.
Variable 3: User Accessibility
For multi-user households, the ideal height is a compromise. Solutions include:
- Setting the bar to the height required by the tallest or most advanced user, and providing a stable, dedicated platform (like a weight plate or plyo box) for others.
- Investing in an adjustable system, which is the most democratic and future-proof option.
The platform must be as stable as the floor—wobble is a recipe for mishaps.
Advanced Practices: Optimizing for Specific Goals
With your bar securely anchored at its ideal height, you can now refine your practice. This is where precision setup translates into elite outcomes.
Skill-Specific Height Tweaks
While your primary height is set, you can use accessories to create variations.
- Muscle-Up Technique: A bar set at standing reach + 18-24 inches allows for the full explosive pull and transition without ground interference, perfect for practicing the turnover.
- L-Sit & Leg Lift Progressions: A lower bar (at or just above waist height) is perfect for practicing support holds and leg lift negatives from a seated position.
- One-Arm Negatives: A bar low enough that you can gently step down from a one-arm hold is invaluable for practicing controlled negatives safely.
Programming for the Fixed-Height Bar
If your bar isn’t perfectly adjustable, scale intelligently.
- Bar Slightly Too High? Use a controlled jump to initiate the negative (eccentric) portion of the pull-up, which is hugely beneficial for strength building.
- Bar Slightly Too Low? For leg raises, bend your knees to shorten the lever and master the core contraction first.
- Universal Enhancer: Add gymnastics rings. They instantly create adjustable height for rows, dips, and deep stretch positions, expanding your fixed bar’s utility exponentially.
Threat Management: Avoiding Common Pitfalls
A proactive stance is your best defense against wasted effort and injury.
Prevention: Understand the direct consequences of poor height selection.
- Too Low: Leads to floor strikes during knee raises, limited range of motion on pull-ups (feet tucking), and a psychological barrier to explosive movements.
- Too High: Causes dangerous, high-impact misses when jumping to grip, promotes excessive kipping to get chin over bar, and can strain shoulders during awkward mount attempts.
Correction: If a bar is mis-mounted, safe solutions exist. For a bar that’s too low, consider adding a permanent, secure extension sleeve (if designed for it) or remounting entirely. For a bar that’s too high, a permanent, stable platform is safer than risky jumps.
Your Height Selection Checklist
| Your Primary Goal | Key Measurement Principle | Final Verification Step |
|---|---|---|
| Strict Pull-Ups & Strength | Standing Reach + 8-12 inches | Dead hang with arms fully extended. Feet are off the ground with knees slightly bent. |
| Gymnastic Skills (Muscle-Ups, Kipping) | Maximum overhead clearance for full body swing and rotation. | Perform a mock kip swing. No part of your body comes close to the floor or ceiling. |
| General Fitness & Spinal Hanging | Easy access for a relaxed hang. | Grip the bar with a light jump or step. You can hang comfortably with bent legs for 30+ seconds. |
Your Gateway to Movement Mastery
The perfect bar height is the silent partner in every successful rep. It removes a hidden barrier, turning friction into flow and making every interaction with your home gym intuitively effective. This journey—from assessing your true training purpose, to executing precise measurements, to securing your personal launchpad for strength—culminates in a profound shift. Your fitness bar transforms from a simple piece of equipment into a perfectly positioned instrument. It becomes an unwavering invitation to build the resilient, powerful physique you envision, rep by intentional, perfectly executed rep.


