First Aid Essentials for Home Gyms: Your Blueprint for Safety and Confidence
The Unseen Foundation of Every Great Workout
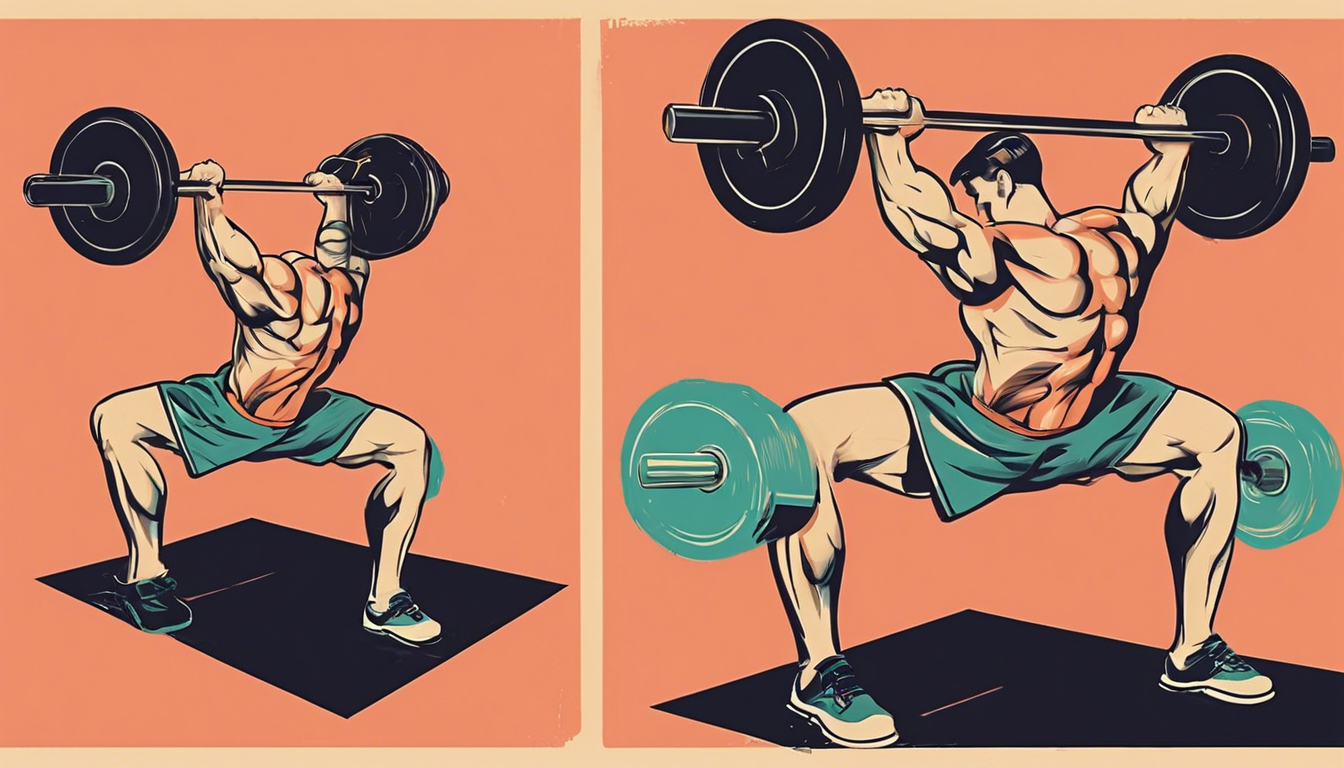
Imagine pushing for a final, personal-best rep when a sudden slip or strain happens. The difference between a minor setback and a major crisis isn’t just strength—it’s preparedness. Your home gym is a sanctuary for progress, but it’s also an environment of calculated risk. Respecting that risk is the mark of a true practitioner. Mastering your First Aid Essentials for Home Gyms is the non-negotiable foundation that protects your progress, transforms anxiety into action, and turns you from an athlete into a self-reliant guardian of your own well-being.
Foundational Choices: Building Your Response Kit
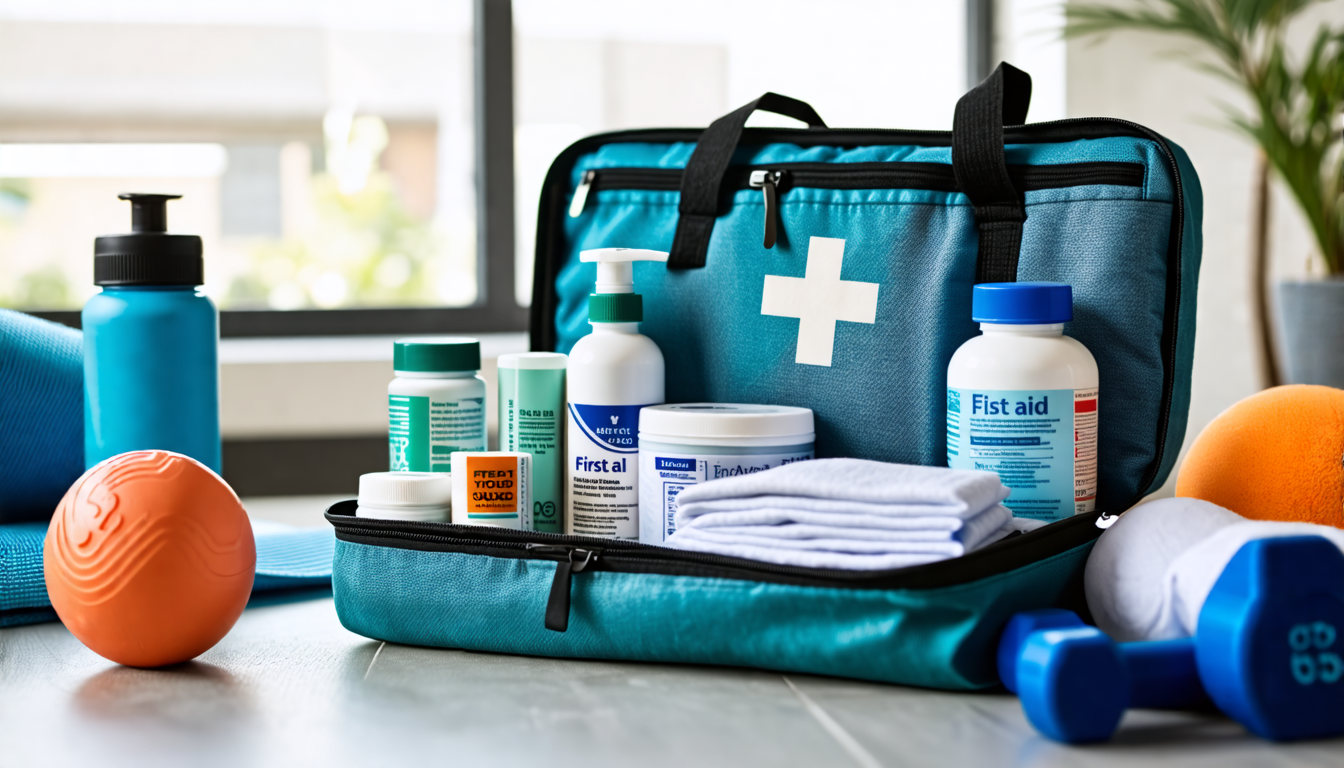
Your first aid kit is your primary hardware. Its composition and placement are strategic decisions that dictate the speed and efficacy of your response.
Part A: Selection and Sizing: The Core Kit
Choose a pre-made kit for convenience, but expect to augment it. Building your own is superior for customization. Size your kit ambitiously: a compact kit is for a single-user, low-impact space; a large, well-stocked kit is mandatory for heavy lifting, multiple users, or high-intensity training where the risk of musculoskeletal injury is greater.
Part B: Location and Setup: Strategic Placement
Adhere to the rule of “visible and accessible within 30 seconds” from any point in the gym. Mount it on a wall, away from clutter. Every household member who uses the space must know its location. This isn’t a secret stash; it’s a command center.
Part C: Materials and Components: The Inventory
This is your equipment list. Go beyond generic bandages. Your kit must address the specific trauma of physical exertion.
| Component Category | Essential Items | Key Characteristics & Gym-Specific Rationale |
|---|---|---|
| Wound Care | Sterile gauze pads (4×4), adhesive bandages (various), cloth athletic tape, antiseptic wipes, antibiotic ointment | For knuckle scrapes on barbells, callus tears, and equipment pinches. Use waterproof bandages to withstand sweat. Athletic tape secures gauze during movement. |
| Bleeding Control | Tourniquet (CAT-style), hemostatic gauze, trauma shears | For severe, life-threatening lacerations (e.g., from dropped plates). A tourniquet is a critical, gym-specific addition. Trauma shears cut through clothing and gear. |
| Musculoskeletal Injury | Elastic bandage (3″ & 6″), instant cold packs, finger splint, triangular bandage | The core of gym first aid. For immediate application of R.I.C.E. protocol on sprains and strains. The triangular bandage can create a sling or shoulder immobilizer. |
| Tools & Equipment | Disposable gloves, CPR face shield, digital thermometer, tweezers, safety pins, notepad/pen | Gloves and face shield for bloodborne pathogen protection. Thermometer to check for fever post-injury. Notepad to record incident time and symptoms for medical professionals. |
| Environmental & Comfort | Electrolyte packets, chemical heat packs, blister pads, aspirin/ibuprofen | Address workout-specific issues: electrolytes for cramping, heat packs for chronic muscle stiffness (applied post-acute phase). Keep medication on hand for pain/inflammation management, knowing its limits. |
The Core System: Managing Acute Injuries
A kit is useless without knowledge. This is the software—the protocol system you must run when incidents occur. Master these control variables.
Control Variable 1: Bleeding and Wound Care
Ideal State: Controlled bleeding with a clean, protected wound. Method: For minor cuts, clean with antiseptic wipe, apply ointment, and cover. For significant bleeding, apply direct, firm pressure with sterile gauze for a full 10-15 minutes. Do not peek. Elevate the wound above the heart if possible. If bleeding soaks through, add more gauze; do not remove the initial layer.
Control Variable 2: Sprains, Strains, and Musculoskeletal Pain
Ideal State: Swelling and pain minimized to accelerate healing. Method: Implement the P.O.L.I.C.E. principle (Protect, Optimal Loading, Ice, Compression, Elevation). Initially, Protect and rest the joint. Apply an Ice pack (20 minutes on, 40 off) via a barrier towel. Use an Elastic Bandage for gentle compression, starting distal and moving proximal. Elevate above the heart. After 48-72 hours, introduce gentle, Optimal Loading (movement) to promote healing.
Control Variable 3: Environmental Stress (Dehydration, Overheating)
Ideal State: Early recognition and intervention. Method: Know the signs: muscle cramps, dizziness, nausea, excessive sweating (or lack thereof), and confusion. Immediate Action: Stop exercising. Move to a cool place. Hydrate with water containing electrolytes—a plain packet in your kit is key. Apply cool, wet cloths to the skin. Failure to improve warrants immediate medical attention.
Advanced Practices: Prevention and Preparedness
Shift from reaction to the proactive cultivation of a safe environment. This is the art and science of injury prevention.
Environmental Preparation: The Safe Space
Audit your gym layout. Ensure clear walkways free of trip hazards (loose bands, cables). Verify all equipment is on stable, non-slip flooring. Maintain proper spacing between racks and walls. Good lighting is a safety feature, not an aesthetic one.
Ongoing Inputs: Knowledge and Drills
Your most important tool is between your ears. Complete a certified CPR/AED course—this is non-negotiable for anyone training others or family members. Quarterly, mentally rehearse your response to common gym injuries. Physically locate and open your kit to maintain familiarity.
Selection and Strategy: Beyond the Basics
As your training advances, so should your kit. Add a SAM splint for versatile limb stabilization. Include a bottle of saline solution for eye irrigation (chalk dust, sweat). Post a clearly visible emergency contact list with addresses, as stress impairs memory. Designate a “phone zone” where a charged mobile is always within reach during workouts.
Threat Management: From Minor Incident to Emergency
Prevention: Your First and Best Defense
Superior form, disciplined warm-ups, and structured cooldowns prevent the majority of injuries. Religiously maintain your equipment: check bolt tightness, inspect cable integrity, and ensure collars are used. Fatigue breeds error—respect your recovery.
Intervention: The Tiered Response Plan
Assess calmly. Your response escalates with the severity of the incident.
- Tier 1: Self-Managed. Minor abrasions, blisters, small cuts. Clean, dress, and continue monitoring. Your kit handles this entirely.
- Tier 2: Managed & Monitored. Mild sprains, muscle strains, lightheadedness. Implement your core system protocols (P.O.L.I.C.E., electrolytes). Halt training. Monitor for 24-48 hours; if symptoms worsen, escalate to Tier 3.
- Tier 3: Professional Help Required. Any head injury (even without loss of consciousness), suspected dislocation, broken bone, severe/unrelenting pain, chest pain, or uncontrolled bleeding. Your only action is to call 911 (or your local emergency number) immediately. Do not move the person if a spinal injury is suspected.
The Golden Rule: WHEN IN DOUBT, CALL FOR HELP. It is always the correct decision.
Your Safety Maintenance Calendar
Readiness decays without routine. Integrate these tasks into your gym upkeep.
| Frequency | Primary Tasks | What to Focus On |
|---|---|---|
| Monthly | Check kit inventory. Restock any used or depleted items. Inspect expiration dates on ointments and medications. | Ensuring immediate readiness. No “I’ll get it later.” |
| Quarterly | Conduct a full environmental audit: flooring integrity, equipment bolt tightness, cable and belt wear, trip hazards. | Proactive hazard elimination. Catching wear before it causes failure. |
| Bi-Annually | Review and practice emergency protocols. Refresh CPR skills via online review. Update posted emergency contact information. | Knowledge retention and system updating. Keeping skills sharp. |
| Annually | Replace all expired items in the kit, regardless of use. Consider taking a refresher first aid/CPR course. | Comprehensive system renewal. Maintaining a gold-standard of care. |
The Ultimate Performance Enhancer
True strength is not measured solely by the weight on the bar, but by the wisdom to protect the body that lifts it. This journey—from strategically assembling a kit, to mastering response protocols, to cultivating a mindset of proactive safety—culminates in the ultimate reward: profound confidence. This knowledge provides the peace of mind that transforms your home gym. It becomes more than a room of equipment; it is a true fortress of well-being where you can train with intensity and clarity, knowing you are the capable, prepared guardian of your own fitness journey. That assurance is the foundation upon which personal records are built and sustained.