Unlock Your Potential: The Synergistic Power of Resistance Bands and Your Fitness Bar
Imagine transforming your single most versatile piece of home equipment into a complete, gym-quality system capable of targeting every muscle from every angle. The key to this transformation isn’t a new machine, but a simple, powerful fusion: combining elastic resistance with solid steel. Learning how you can incorporate resistance bands with your fitness bar is the master key to unlocking exponential exercise variety, intelligent progression, and superior, injury-resilient strength.
Foundational Integration: The Hardware Connection
Your success with this hybrid system begins with the right physical connections. These choices determine safety, exercise quality, and your ability to progress.
Part A: Band Selection & Anchoring Mastery
Not all bands are created equal. Your selection dictates your exercise palette.
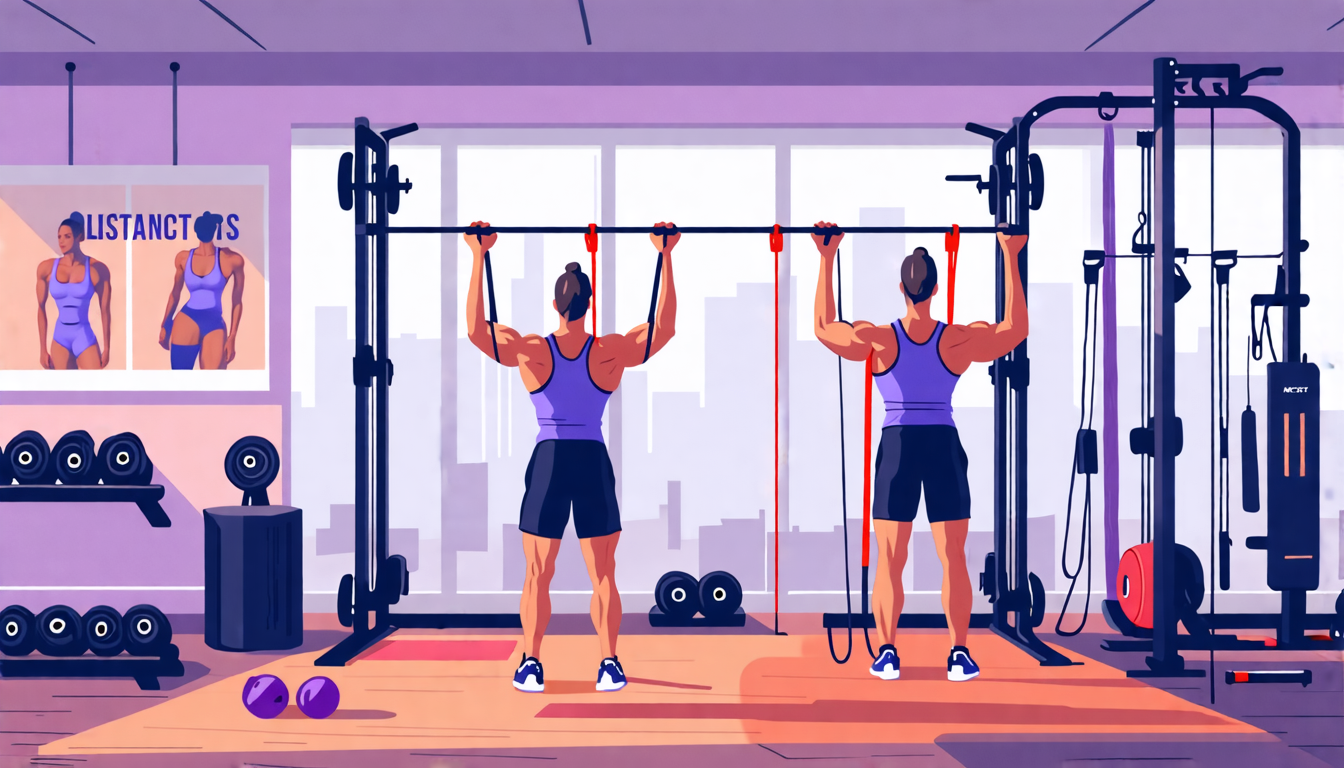
- Loop Bands (Flat): Ideal for anchoring around the bar, rack, or your own body. They lie flat and are perfect for lower-body work and physical therapy.
- Tube Bands with Handles: Mimic cable machine attachments. Use them for presses, rows, and curls where a secure grip is needed.
- Material Matters: Latex offers high tension but can snap; fabric-covered bands are more durable and resist rolling, ideal for lower-body work.
Anchoring is Non-Negotiable. Your methods must be secure:
- Band Pegs: If your rack or fitness bar has them, this is the gold standard for secure, low-profile anchoring.
- Looping: For squats or presses, loop a band around the bar sleeves and anchor the other end under your feet or to the base of the rack.
- The Bar Sleeve: Simply slide a loop band onto the sleeve before loading weight plates; the plate will secure it in place.
Part B: Creating Your Hybrid System
Think of your fitness bar as the anchor point for an entire ecosystem of resistance.
- For Compound Lifts: Set bands up to provide vertical tension. For a banded squat, anchor loops under your feet and over the bar. The band stretches as you stand, overloading the top of the movement where you are strongest.
- For Isolation & Assistance: Anchor a tube band to the center of your rack. You now have a high, low, or mid pulley for face pulls, triceps pushdowns, and cable rows.
Part C: Equipment Synergy Table
| Primary Training Goal | Recommended Band Type | Key Anchor Method | Signature Exercise |
|---|---|---|---|
| Maximal Power & Strength | Heavy Resistance Loop Bands | Looped under feet/rack base and over barbell sleeves. | Banded Barbell Squat: Adds accommodating resistance to lockout. |
| Muscle Hypertrophy (Size) | Medium Tube Bands with Handles | Secured to the center of the fitness bar or rack. | Banded Lat Pulldown/Rows: Creates constant tension for back development. |
| Rehabilitation & Joint Health | Light/Medium Fabric Loop Bands | Around the bar or rack upright for stabilization. | Banded Rotator Cuff External Rotations: Uses bar as a stable anchor point for controlled movement. |
The Core System: Principles of Variable Resistance
This integration is not just about adding equipment; it’s about upgrading the very nature of the resistance you train against.
The Science of Accommodating Resistance
A traditional barbell is heaviest at the bottom of a lift (like a squat) where you are biomechanically weakest. Bands reverse this curve. As you stretch the band, tension increases, making the lift hardest at the top where you are strongest. This trains your muscles through a more complete, challenging range of motion, building explosive power and strengthening vulnerable sticking points.
Variable 1: Tension Control
You control the resistance profile. A thicker band or a shorter anchor point (increasing the pre-stretch) creates more tension. A thinner band or a longer anchor point offers less. This allows for micro-progressions—adding a lighter band before moving to a heavier plate.
Variable 2: Movement Pattern Enhancement
Bands can teach perfect form. For a deadlift, placing a loop band around your knees forces you to actively drive them outward, engaging the glutes and preventing valgus collapse. This turns the band into a real-time form coach.
Variable 3: Tempo and Time Under Tension
Bands excel at intensifying the eccentric (lowering) and isometric (hold) phases. Try a 3-second negative on a banded bench press—the increasing tension will create unparalleled muscle damage for growth. Or, pause at your weakest point; the band’s pull will challenge your stability like never before.
Advanced Practices: The Exercise Lexicon
With the principles mastered, your exercise library expands exponentially. Here is your new playbook.
Category 1: Major Lift Enhancement
- Banded Barbell Squat: For power development. Use 60-70% of your 1-rep max plus band tension. Perform 3-5 sets of 3-5 reps, focusing on explosive concentric speed.
- Banded Bench Press: For lockout strength. Anchor bands to the base of the rack and loop over the bar ends. This eliminates the “soft spot” at the top of the press.
- Banded Deadlift: For finishing power. The band forces a powerful hip thrust at the top, building the glutes and erectors.
Category 2: Targeted Assistance Work
- Banded Pull-Up/Chin-Up Assist: Loop a strong band over the pull-up bar and place a knee or foot in it. This provides the most help at the bottom and less at the top, perfect for building toward unassisted reps.
- Landmine Press & Row (with band): Anchor a band to the base of your landmine setup and hold it with the bar handle. This adds rotational stability challenges and variable resistance to these already excellent movements.
- Banded Triceps Extension: Anchor a tube band overhead on your rack. Face away, grip the handles, and extend—this is a perfect cable machine substitute.
Category 3: Rehabilitation & Prehab
- Banded Shoulder CARs (Controlled Articular Rotations): Hold a light band attached to your fitness bar to create gentle tension as you slowly circle your arm through its full range of motion.
- Banded Glute Bridge March: Place a loop band above your knees while bridging. Alternate lifting feet while maintaining outward pressure against the band, firing the glute medius.
- Banded Pallof Press Iso-Hold: Anchor a band to your rack at chest height. Stand perpendicular, hold the band with both hands at your sternum, and press straight out, resisting rotation. The ultimate core anti-rotation drill.
Threat Management: Safety & Longevity
Respect the elastic force. A snapped band or failed anchor is not a minor inconvenience—it’s a real hazard.
Prevention: The Non-Negotiables
- Inspect Before Every Session: Check for nicks, cracks, or thinning, especially near seams or handles. Retire any band showing wear immediately.
- The Anchor Check: Before applying maximal force, perform a slow, controlled partial rep to ensure the band is secure and will not slip or detach.
- Control the Release: Never let a fully stretched band snap back uncontrolled. Guide it back to its resting length with tension, especially when unracking a weighted bar.
Intervention: Solving Common Problems
- Band Slippage on the Bar: Use a band with a rougher texture (fabric), or wrap the bar with athletic tape where the band contacts it to increase friction.
- Instability During Pressing: The band can cause the bar to wobble. Counter this by actively squeezing the bar as hard as possible and bracing your core. This instability is actually a benefit for building stabilizer muscles.
- Managing Progressive Fatigue: Bands increase metabolic stress. If you fail a rep, the bar won’t just stop—the band will pull it down. Always have safety bars or spotter arms set when performing heavy banded lifts to failure.
Your 4-Week Integration Blueprint
| Week & Phase | Primary Band-Bar Exercises | Focus & Progression Goal |
|---|---|---|
| Week 1: Technique Integration | Banded Glute Bridges, Banded Face Pulls, Band-Assisted Pull-Ups, Light Banded Squats (empty bar). | Mastering secure anchoring and feeling the variable resistance. No focus on load. |
| Week 2: Pattern Reinforcement | Add Banded Deadlifts (light), Banded Push-Ups (bar in rack), Banded Rows. Continue Week 1 exercises. | Using band tension to reinforce proper movement patterns (e.g., knee push in squat, hip hinge in deadlift). |
| Week 3: Strength Accumulation | Banded Barbell Squat (70% 1RM + light band), Banded Bench Press, Banded Triceps Extensions, Heavy Banded Rows. | Introducing bands to core lifts. Focus on explosive concentric movement against increasing tension. |
| Week 4: Intensity & Application | Heavy Banded Squats, Band-Resisted Tempo Deadlifts (4-second negative), Complexes (e.g., Banded Squat into Banded Row). | Advanced techniques. Aim to add 5-10% total resistance (via band or weight) to one main lift from Week 3. |
The Complete Athlete’s Toolbox
True mastery in strength training is not about moving the heaviest static object, but about creating and controlling intelligent, adaptable resistance. You have journeyed from simply attaching a band to programming sophisticated, physics-defying workouts. By learning how to incorporate resistance bands with your fitness bar, you haven’t just added tools—you’ve fundamentally upgraded your strength paradigm. Your home setup is no longer a compromise. It is a precision instrument for building a physique that is as resilient and dynamically strong as it is powerful, proving that the only real limit is your understanding of the force you command.


