Master the Back Lever: Techniques, Progressions, and Pro Tips
Unlocking the Back Lever is a true milestone in calisthenics, showcasing incredible upper body and core strength. This guide will break down the essential Back Lever Techniques, taking you from beginner to a solid hold, while tackling common struggles and answering your key questions.
Understanding the Back Lever and Its Benefits
What is a Back Lever?
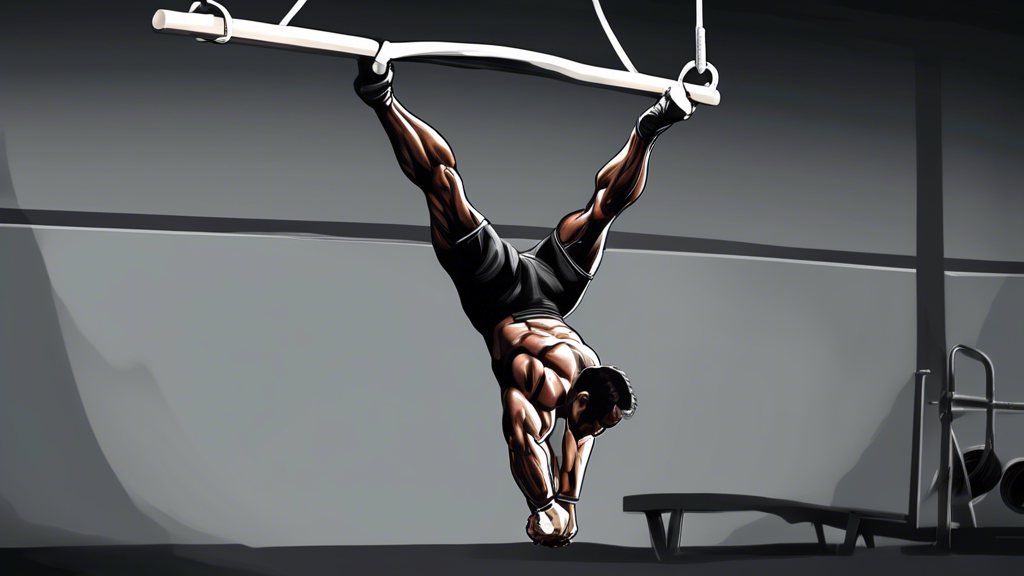
A Back Lever is a straight-body hold performed on a pull-up bar or rings where the body is held parallel to the ground, facing upwards, supported primarily by the shoulders and latissimus dorsi muscles. It’s a foundational skill in both gymnastics and street workout culture.
Key Muscles Worked
- Primary: Latissimus Dorsi, Rear Deltoids, Core (especially obliques and transverse abdominis).
- Secondary: Biceps, Triceps, Glutes, and Spinal Erectors for maintaining full-body tension.
Why Train Back Lever Techniques?
Training the Back Lever develops exceptional relative strength, builds robust shoulder and core stability, and creates a foundational base for more advanced skills like the Planche and Iron Cross.
Foundational Strength and Prerequisites
Must-Have Strength Before You Start
- Solid Pull-Ups (10+ reps).
- Strong Bodyweight Rows.
- Good Core Compression (e.g., L-Sits, Hollow Body Holds).
The Importance of Scapular Strength
Scapular retraction and depression are crucial for a stable Back Lever. Exercises like Scapular Pull-Ups and Active Hangs are highly recommended to build this foundational strength.
Step-by-Step Back Lever Technique Progression
1. Skin the Cat
This is the essential first step for shoulder conditioning and familiarizing yourself with the inverted position.
2. Tuck Back Lever
Starting from an inverted hang, lower into a tuck position. Focus on engaging the lats and maintaining a tight core.
3. Advanced Tuck Back Lever
Gradually extend the knees away from the body while keeping the back rounded. This stage is critical for building the necessary leverage strength.
4. Single-Leg Back Lever
Extend one leg while keeping the other in a tuck. This variation helps bridge the gap to the full Back Lever.
5. Straddle Back Lever
Hold the lever with legs spread wide apart, which reduces the leverage demand significantly.
6. Full Back Lever
Bring the legs together into a straight, fully extended line parallel to the floor. Emphasize creating full-body tension from fingertips to toes.
Common Pain Points and How to Fix Them
Pain Point #1: Shoulder Pain
Cause: Often due to lack of proper scapular engagement or rushing through progressions.
Solution: Deload, regress to Skin the Cat, and focus on scapular control drills.
Pain Point #2: Can’t Hold the Position
Cause: Insufficient lat and core strength, or poor body tension.
Solution: Increase volume in the previous progression stage and consistently practice Hollow Body Holds.
Pain Point #3: The “Banana Back”
Cause: Weak core and glutes, causing the lower back to arch.
Solution: Actively squeeze glutes and push hips forward to create a straight body line.
Back Lever vs. Other Lever Skills
Back Lever vs. Front Lever
| Aspect | Back Lever | Front Lever |
|---|---|---|
| Muscle Emphasis | Lats and biceps (supinated/neutral grip) | Lats and core (pronated grip) |
| Difficulty | Generally considered an easier prerequisite | Typically more challenging for most |
Back Lever vs. Planche
| Aspect | Back Lever | Planche |
|---|---|---|
| Muscle Emphasis | Pulling muscles (lats, back, biceps) | Pushing muscles (shoulders, chest, triceps) |
| Body Position | Face-up | Face-down |
Unique Training Tips for Back Lever Techniques
The “False Grip” for Back Lever?
While the false grip is famous for Muscle-Ups, using a slight false grip on a pull-up bar for the Back Lever can provide a more secure wrist position and enhance biceps engagement, making the hold feel significantly more stable—a subtle technique often overlooked by beginners.
Incorporating Eccentrics and Band Assistance
Lowering slowly (eccentrically) from an inverted hang to your current progression builds strength effectively. Using resistance bands for support can help you experience the correct full-lever position sooner, accelerating your progress.
Frequently Asked Questions (FAQs)
How long does it take to learn a Back Lever?
It varies based on starting strength and consistency, typically ranging from 3 months to 2 years.
Is the Back Lever bad for your shoulders?
It’s a stressful position but not inherently bad. Risk arises from poor technique, lack of mobility, or skipping progressions. Always train smart and listen to your body.
What is the correct grip for a Back Lever?
Supinated (chin-up grip) is standard and strongest for most. Pronated (pull-up grip) and neutral grips are also viable and can help vary stress on the joints.
Should I train on a bar or rings?
A bar is better for beginners due to stability. Rings require more stabilization but are superior for long-term joint health as they allow natural shoulder rotation.
Conclusion: Your Journey to a Solid Back Lever
Mastering Back Lever Techniques is a journey of consistent practice, patience, and smart progression. Focus on form, address pain points proactively, and celebrate each milestone. Ready for the next challenge? Explore our guide on Front Lever training to continue your calisthenics evolution.