Chin-Ups: Building Biceps and Back – The Ultimate Blueprint for Upper Body Mastery
The Vision: Forge a V-Shaped Back and Powerful Arms
Imagine pulling your body skyward with effortless power, every muscle in your upper back and arms firing in perfect unison. You feel the deep contraction across your lats, the satisfying burn in your biceps, and the solid stability of your core. This isn’t just an exercise; it’s a benchmark of true strength and physique development, a movement that separates the casual trainee from the dedicated practitioner. Mastering the chin-up is the foundational key to unlocking a wider back, thicker biceps, and a level of functional, pull-dominant strength that transcends the gym and enriches your physical life.
Foundational Choices: Your Body is the Barbell
Before you even initiate your first pull, your setup and grip form the non-negotiable foundation for effective, safe, and targeted training. This is your hardware.
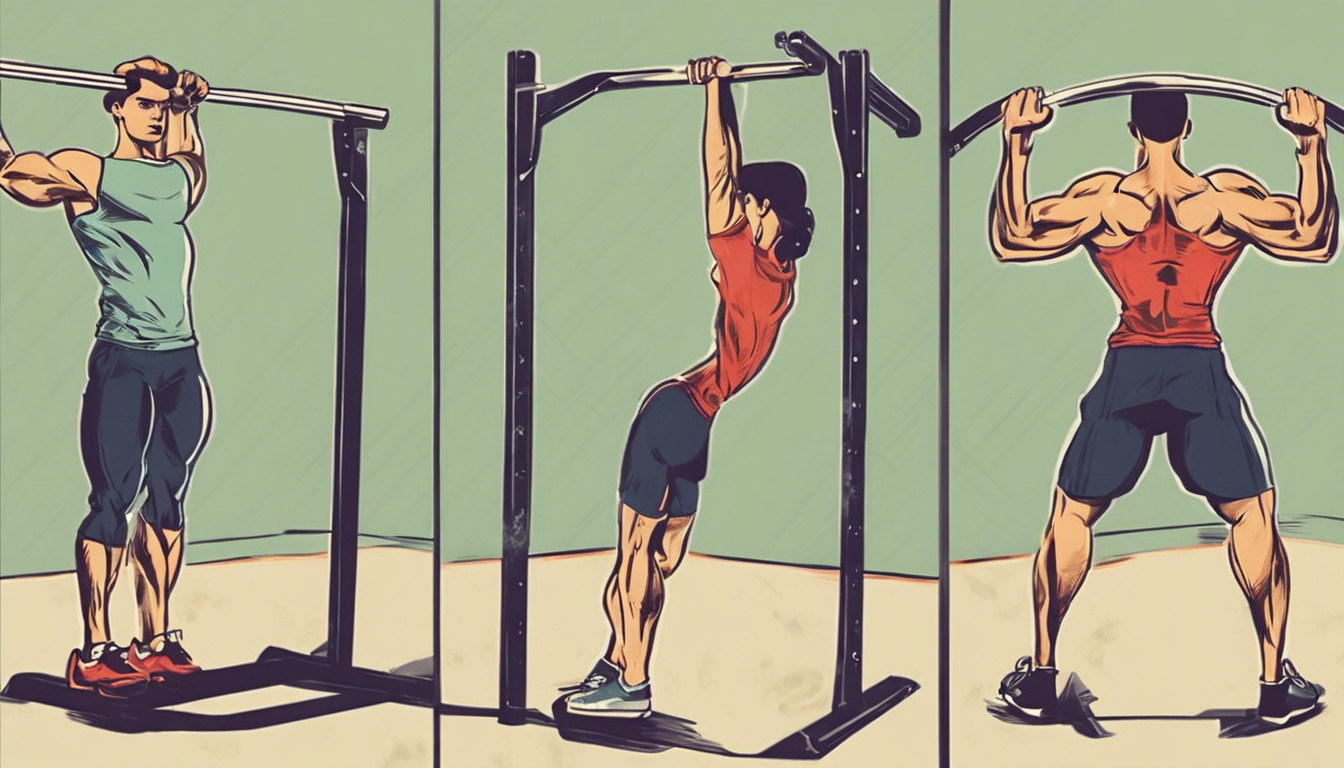
Part A: Grip Selection and Hand Positioning
Your hand placement dictates which muscles bear the primary load. Choose your tool for the job.
- Supinated (Underhand) Grip: The classic chin-up. Palms face you. This position maximizes biceps brachii and brachialis engagement while heavily targeting the lower and middle latissimus dorsi. It is generally the strongest grip for most people.
- Neutral (Palms-In) Grip: Hands face each other, typically on parallel bars or handles. This is the friendliest variation for the shoulders (rotator cuff), reducing internal rotation stress. It powerfully targets the lats and brachialis, building arm width and thickness.
- Pronated (Overhand) Grip: The “pull-up.” Palms face away. This grip emphasizes the upper lats, teres major, and rear deltoids, while placing less direct stress on the biceps. It is crucial for building the wide, “winged” back look.
Part B: The Setup and Starting Position
A powerful movement starts from a position of controlled tension, not a passive hang.
- Scapular Engagement: From a full dead hang, before you bend your elbows, pull your shoulder blades down and back together (“pack your shoulders”). This activates the lats from the start and protects your shoulder joints.
- Core Bracing: Tighten your abs and glutes as if bracing for a punch. This stabilizes your pelvis, prevents excessive arching or swinging, and turns your body into a solid lever.
- The Full Dead Hang: This is non-negotiable. Starting with arms fully extended and shoulders relaxed (after setting your scapulae) ensures you train through the complete range of motion, building strength from the most vulnerable position.
The Core System: Mastering the Movement Pattern
The chin-up is a dynamic system of tension and control, not merely an up-and-down motion. Mastery lies in commanding each phase.
The Ascent: The Controlled Pull
The Ideal Path: Initiate the pull by driving your elbows down and back. Visualize pulling your chest to the bar, not just your chin. Your torso may lean back slightly. The cue “break the bar” or “pull your elbows into your front pockets” creates the necessary external rotation for lat engagement.
Consequences of Error: Using a leg kick or kip generates momentum, robbing your muscles of tension. Shrugging the shoulders up to your ears engages the traps over the lats, limiting back development and risking impingement.
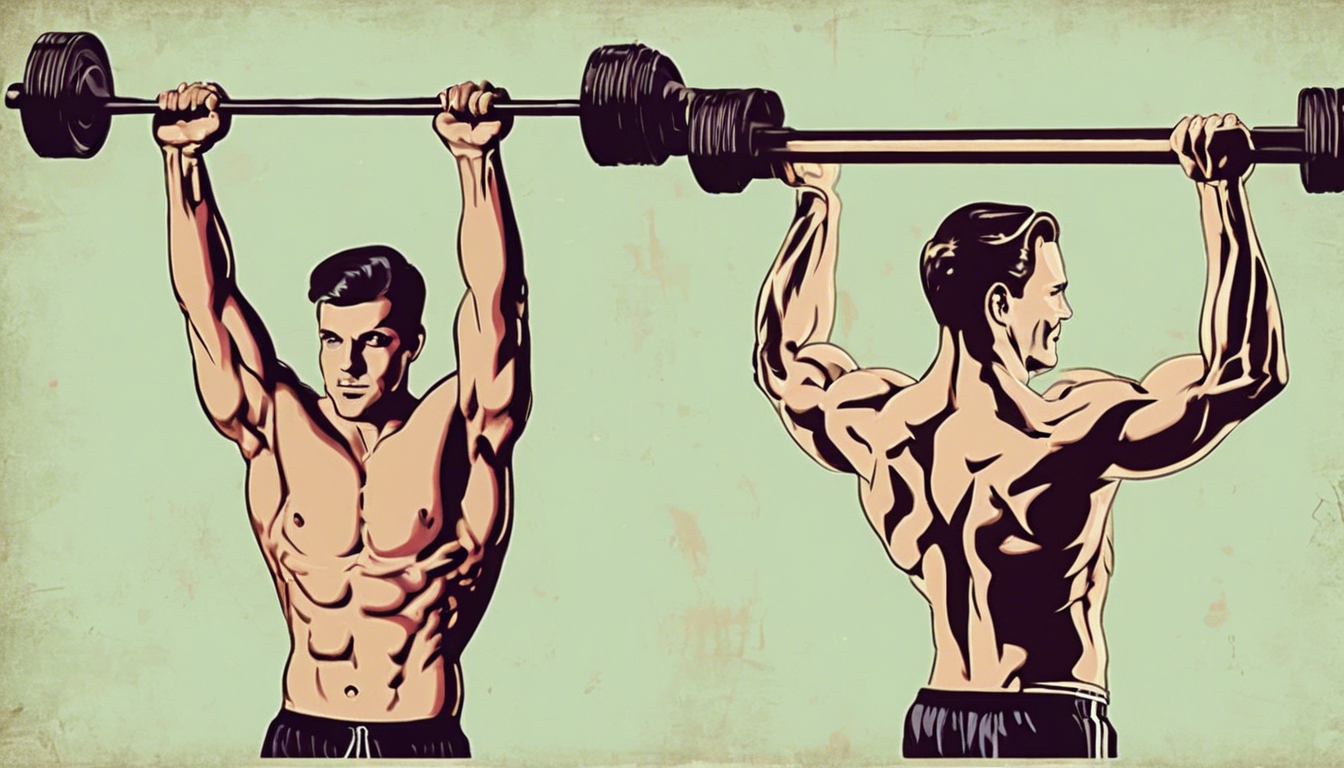
The Peak: The Contracted Hold
The Target: Pull until your chin clears the bar, with your chest proud and shoulder blades fully retracted and depressed. This is the moment of peak muscular contraction.
Maximizing It: Pause for a one-count at the top. Squeeze your back muscles as hard as possible and consciously contract your biceps. This mind-muscle connection amplifies growth signals.
The Descent: The Eccentric Goldmine
The Ideal: Lower yourself with absolute control over 3 to 4 seconds. Fight gravity every inch of the way.
Why It’s Non-Negotiable: The eccentric (lowering) phase is highly potent for stimulating muscle growth and strengthening connective tissue. Rushing the descent forfeits up to 40% of the movement’s potential for hypertrophy and control.
Advanced Practices: Optimization for Growth
Once you own the basic movement, the art and science begin. Shift your focus from just doing chin-ups to engineering continuous progress.
Progressive Overload Strategies
To grow, you must systematically increase demand.
- Adding Load: Use a dip belt, weighted vest, or chains. Start with 2.5-5kg and progress methodically.
- Manipulating Volume & Density: Increase total reps per session, or perform the same volume in less time. Use techniques like ladders (1 rep, 2 reps, 3 reps, rest, repeat) or cluster sets (performing your max reps in mini-sets with brief intra-set rests).
- Tempo Training: Dictate the speed of each phase. A tempo of 2-1-4 (2 seconds up, 1-second pause, 4 seconds down) dramatically increases time under tension.
Exercise Variations for Targeted Development
Different tools sculpt different details.
| Variation | Primary Focus | Best For |
|---|---|---|
| Close-Grip Chin-Up | Biceps brachii, lower lats | Building peak biceps and arm thickness. |
| Wide-Grip Pull-Up | Upper lats, teres major | Creating the wide “V-taper” in the back. |
| L-Sit Chin-Up | Core stability, lats (with hip flexor engagement) | Developing total-body tension and anti-rotation core strength. |
| Archer Chin-Up | Single-arm strength, lat stretch | Progressing towards one-arm variations and addressing imbalances. |
Integration into Your Training Program
chin-ups are a cornerstone movement. Program them with intent.
- For Strength (Lower Reps, Higher Load): Place them first on your back or pull day. Perform 3-5 sets of 3-8 heavy, weighted reps.
- For Hypertrophy (Moderate Reps): Use them as a primary or secondary movement. Aim for 3-4 sets of 6-12 reps, focusing on time under tension and the mind-muscle connection.
- For Frequency & Skill: Incorporate grease-the-groove practice throughout the week, performing sub-maximal sets (e.g., 50% of your max reps) multiple times a day to build neural efficiency.
Threat Management: Overcoming Plateaus and Pain
Adopt a proactive stance. The most common barriers are predictable and conquerable.
Prevention: Building a Resilient Foundation
The best cure is prevention, built on accessory work.
- Scapular Health: Regularly perform scapular pull-ups, band pull-aparts, and face pulls. Strong, mobile shoulder blades are the platform for all pulling.
- Grip Fortitude: Train your forearms with dead hangs, farmer’s carries, and towel grip holds. A failing grip is a common limiter.
Intervention: The Roadmap from Zero to Hero
Follow this tiered progression to build your first rep and smash through plateaus.
- Isometrics & Eccentrics: Master the scapular pull (holding the engaged position). Then, jump to the top position of the chin-up and lower yourself as slowly as possible (5+ seconds). Aim for 3-5 sets of 3-5 slow negatives.
- Assisted Work: Use a heavy resistance band looped over the bar and under your knee/foot, or use an assisted machine. Focus on perfect form with the aid.
- Horizontal Progression: Build strength with inverted rows. As you get stronger, lower the bar height and increase your body angle.
- First Strict Rep: Test yourself fresh. Use every cue: pack shoulders, brace core, pull elbows down. Celebrate it, then return to building volume with negatives and assisted reps.
- Managing Discomfort: For elbow tenderness, ensure you’re not over-gripping the bar and incorporate extensor work (push-ups can help). For shoulder niggles, double down on scapular control and external rotation work, and ensure you’re not flaring your elbows excessively.
The Action Plan: A Phased Progression Calendar
This practical roadmap takes you from foundational strength to weighted mastery.
| Phase | Primary Tasks | What to Focus On |
|---|---|---|
| Foundation (Weeks 1-4) | Scapular pulls (3x10s hold). Band-assisted or machine-assisted chin-ups (3×5-8). Slow negative chin-ups (3×3-5, 5s lower). | Neural connection, learning the movement pattern, building tendon resilience. No momentum. |
| Accumulation (Weeks 5-8) | Reduce band assistance. Aim for 3-4 sets of max reps (or near-max) with minimal aid. Increase negative rep volume. | Increasing total weekly reps. Building work capacity and muscular endurance in the movement. |
| Intensification (Weeks 9-12) | Test for first unassisted reps. Structure workouts around unassisted sets (e.g., 5 sets of as many reps as possible). Use rest-pause to add reps. | Achieving first strict sets. Building consistency and confidence with bodyweight. |
| Mastery (Ongoing) | Add weight (2.5-5% increments). Introduce advanced variations (L-Sit, Archer). Manipulate tempo and density. | Progressive overload for continuous strength and hypertrophy. Sculpting the physique with targeted variations. |
The Transformation: The Reward of Mastery
The journey of the chin-up is a masterclass in body literacy. It begins with the foundational choice of where to place your hands and how to engage your shoulders. It progresses through the meticulous control of the system—the powerful pull, the peak contraction, the deliberate descent. It is optimized through strategic overload and intelligent variation. The reward is a transformation that is both visible and visceral: the deep-cut V-taper that reshapes your silhouette, the dense power in your arms and back, and the profound, functional confidence that comes from commanding your own bodyweight with authority. This is more than an exercise; it’s a lifelong pillar of strength, a skill that, once earned, becomes an unparalleled source of physical pride and capability.