The Vision: Your Home Strength Sanctuary
Imagine transforming a blank wall into your personal strength station—a dedicated space for explosive pull-ups, controlled leg raises, and core-crushing knee tucks that’s always ready, day or night. This isn’t just about adding equipment; it’s about claiming a piece of your home for physical mastery. That powerful vision hinges on one critical, non-negotiable task: a perfectly secure installation. The foundation of that safety and performance isn’t just the bar itself, but knowing exactly what tools are needed for installing a wall-mounted fitness bar. Having the right tools and deploying them with precision is the key to building a setup that doesn’t just hold you up—it inspires the confidence to train harder, push limits, and own your progress for years to come.
Foundational Choices: Hardware and Assessment
Before you pick up a single tool, your success is determined by two foundational choices: selecting the right bar and performing a precise diagnosis of your wall. This isn’t guesswork; it’s strategic planning.
Part A: Choosing Your Bar and Reading Your Wall
Your bar must match your intent. Fixed bars offer unrivaled stability for high-intensity training, while adjustable or doorway bars provide flexibility but often with lower load limits. Always choose a bar rated for dynamic use far exceeding your body weight. This choice is secondary, however, to understanding your wall’s anatomy. The substrate dictates everything. Finding solid wood studs (typically 16″ on center) or metal studs is mandatory for drywall installations. For concrete, brick, or masonry, you need a completely different tool and hardware approach. Misdiagnosing your wall is the single greatest cause of failure.
Part B: The Core Tool Kit: A Comparison Table
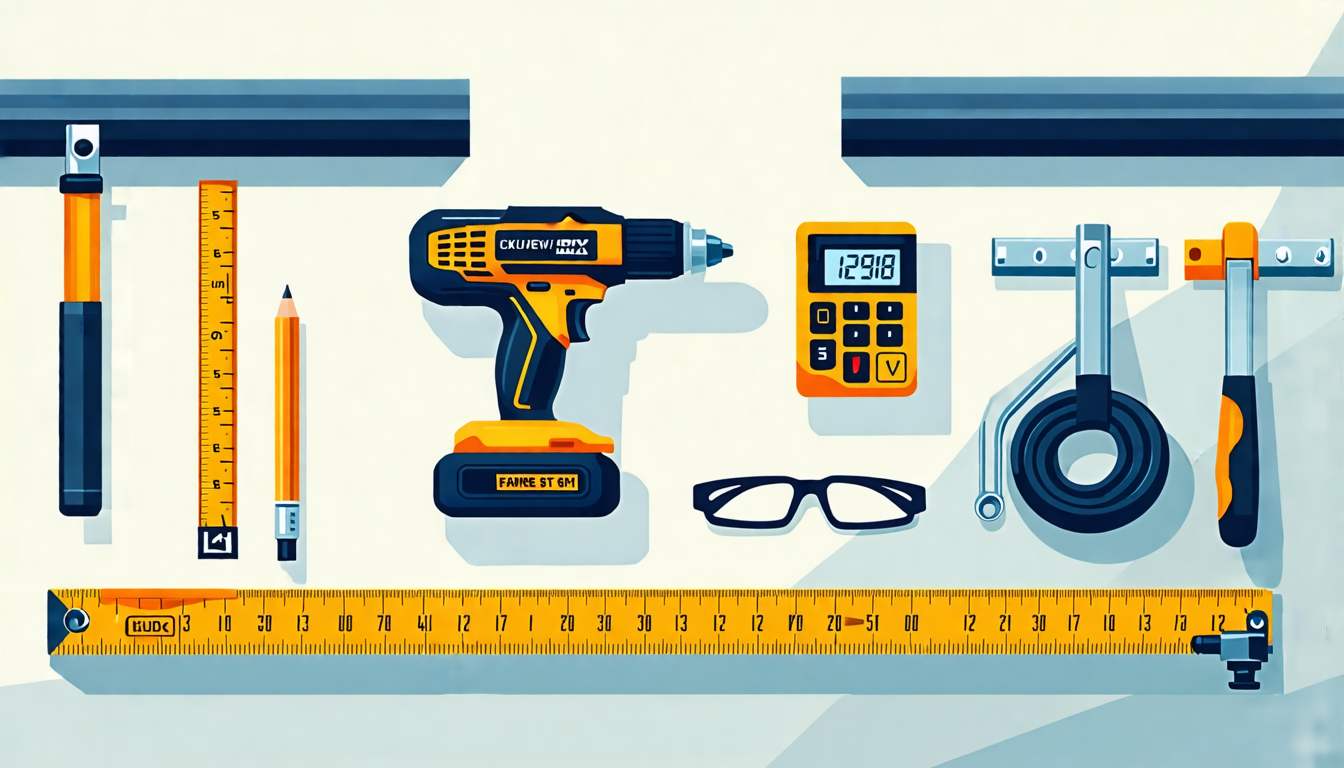
This is your master checklist. Procure every item before you begin. A missing tool leads to improvisation, and improvisation leads to weakness.
| Component Category | Essential Tools & Materials | Key Characteristics & Purpose |
|---|---|---|
| Detection & Measurement | Stud Finder, Tape Measure, Level, Pencil |
|
| Drilling & Fastening | Power Drill/Driver, Drill Bits, Screwdriver Bit, Wrench/Socket Set |
|
| Hardware (Provided or Purchased) | Mounting Hardware, Heavy-Duty Lag Screws, Appropriate Wall Anchors |
|
The Installation System: A Step-by-Step Process
Installing a fitness bar is a precision system of sequential steps. Deviating from this process introduces points of failure.
Control Variable 1: Precision Layout
This is where the installation is won or lost. Use your stud finder to locate and mark the exact vertical center of each stud. Hold the mounting bracket in place, use your level to ensure it is perfectly horizontal, and mark the drill holes with a pencil. The consequence of misaligned holes is a bracket that pulls unevenly on the wall, leading to immediate wobble and eventual pull-out.
Control Variable 2: Creating a Secure Foundation
For wood studs: Drill a pilot hole slightly smaller than the lag screw’s core diameter. This prevents the wood from splitting and allows the screw’s threads to bite deeply into solid material. For masonry: Use your hammer drill with the correct carbide bit to drill a clean hole to the exact depth and diameter specified for your anchor. Blow out all dust from the hole to ensure the anchor seats fully.
Control Variable 3: Final Attachment and Torque
Hand-start all screws or bolts to ensure proper threading. Use your drill/driver with the appropriate bit to secure the bracket firmly to the wall, but stop before it is fully tight. Then, apply your wrench or socket for the final turns, achieving a firm, secure torque. You should feel solid resistance. Over-tightening can strip threads in wood or crack masonry around an anchor.
Advanced Practices: Optimization for Safety & Performance
With the bar mounted, shift from installation to verification and long-term stewardship. This is what separates a good install from a masterful one.
The Final Test: Load Verification
Before any dynamic movement, conduct a static load test. Apply gradual, controlled bodyweight to the bar—first hanging passively, then adding slight movement. Listen and feel. Any creaking, “giving” sensation, or visible flex in the wall or bracket is a red flag. The bar should feel like an extension of the building itself: solid, silent, and immovable.
Ongoing Maintenance: The Inspection Routine
Establish a monthly ritual. Check the tightness of all mounting bolts with your wrench. Inspect the wall area for any new hairline cracks or stress marks. Examine the bar where it meets the brackets for any signs of metal fatigue or unusual wear. This two-minute habit is your insurance policy against slow loosening or material fatigue.
Threat Management: Preventing Catastrophic Failure
A proactive, paranoid mindset is your greatest asset. Assume the bar will be subjected to forces far beyond simple hanging.
Prevention: The Non-Negotiables
- Never install into drywall alone using only plastic anchors. Drywall is a facade, not a structural element.
- Never substitute undersized or low-grade hardware. The few dollars saved are not worth the risk.
- Always account for dynamic, multi-directional force. Kipping pull-ups, swinging leg raises, and weighted vests multiply the load.
Intervention: Red Flags and Solutions
Identification Guide: A slight wobble that wasn’t there before is a first-order warning. Visible cracking of drywall around the bracket or slippage of a bolt (a marked line that has moved) indicates imminent failure.
Response Plan: The moment a red flag appears, immediately decommission the bar. Do not use it. Remove it completely and reassess. You must diagnose the cause: was it a missed stud? A stripped screw? An inadequate anchor? The only solution is a complete re-installation in a new, verified location using the correct tools and hardware.
The Action Plan: Your Installation Roadmap
Follow this phased checklist to execute a flawless, safe installation.
| Phase | Primary Tasks | What to Focus On |
|---|---|---|
| Phase 1: Preparation | Read the manual thoroughly. Choose the optimal location. Gather and verify all tools needed for installing the wall-mounted fitness bar. | Absolute confirmation of stud location or masonry type. No proceeding until the toolkit is complete. |
| Phase 2: Execution | Mark drill points with precision. Drill pilot holes or anchor holes. Install anchors (if needed) and secure mounting brackets. | Meticulous measurement, clean drilling, and following the manufacturer’s template exactly. No shortcuts. |
| Phase 3: Verification | Mount the bar, apply final torque with a wrench, perform the static load test, and establish your monthly inspection schedule. | Safety as the only priority. Leaving this phase with absolute, unshakable confidence in the integrity of your work. |
The Conclusion: Built for Strength
The true power of your home strength sanctuary doesn’t come from the steel of the bar alone, but from the silent, perfect integrity of its installation. That confidence—knowing the foundation is unbreakable—is what lets you fully commit to every rep, every set. You’ve moved from tool selection to precise execution, from initial torque to ongoing vigilance. Now, step back and see it: that secure, always-ready station on your wall is more than a piece of equipment. It’s a testament to the principle that the foundations we build with care and knowledge are what allow us to safely reach for new heights. It enriches your fitness journey not just with convenience, but with unshakable safety and performance.


