How to Improve Flexibility Using a Fitness Bar: The Ultimate Guide to Unlocking Your Body’s Potential
Imagine moving with the fluid grace of a dancer or the powerful, unrestricted range of an elite athlete. Picture reaching for a high shelf without a twinge, flowing through your workout without stiffness, or simply feeling loose and agile after a long day at a desk. This state of effortless movement isn’t a genetic lottery; it’s the direct result of dedicated, intelligent flexibility training. And one of the most versatile, yet underutilized, tools for this transformation is the humble fitness bar. Mastering its use is the key to converting stiff, dormant tissue into a supple, resilient, and high-performing body. This guide provides the complete system—from foundational hardware to advanced neurological techniques—to make that transformation your new reality.
Foundational Choices: Your Flexibility Hardware
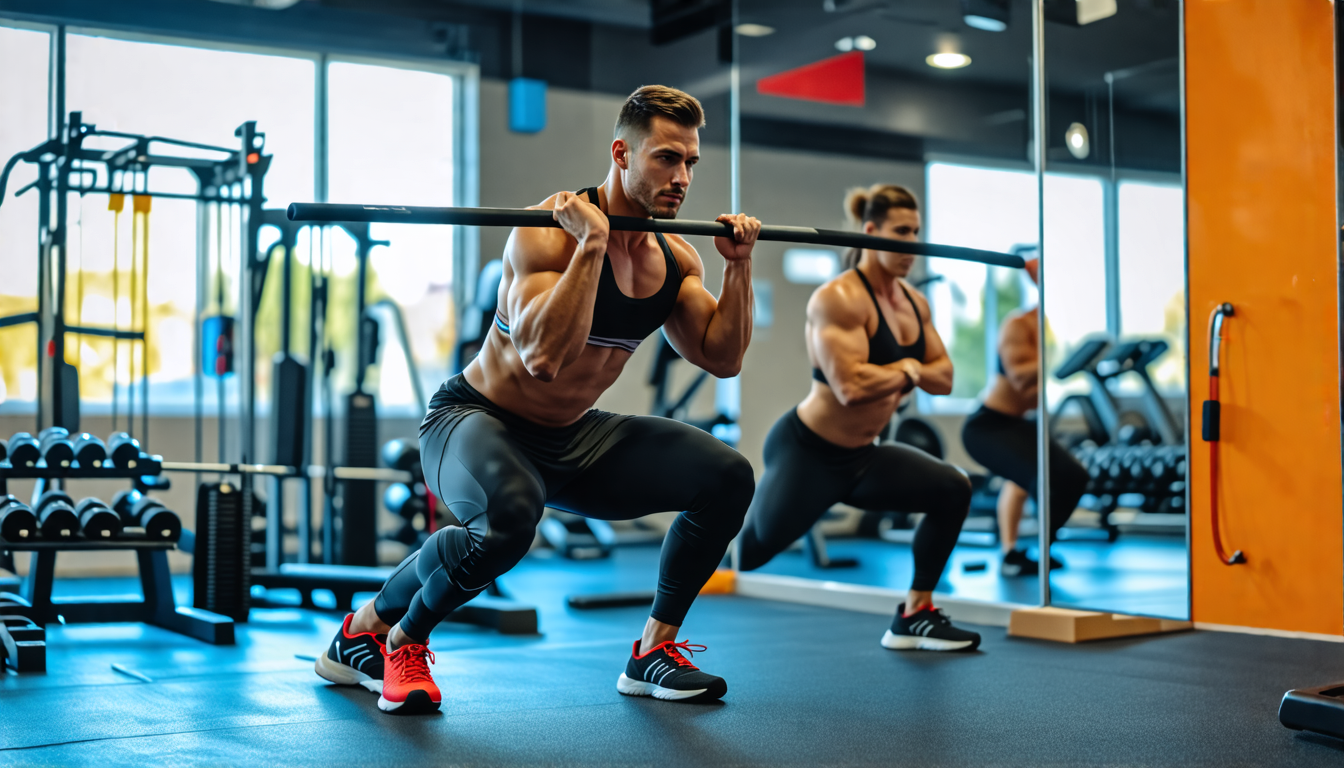
Your fitness bar is not just a piece of equipment; it’s your primary partner for leverage, support, and precision. The right bar, properly set up, creates a safe and effective foundation for your entire practice.
Selection and Sizing: Finding Your Perfect Bar
Your first decision sets the stage for all progress. Choose based on your goals, space, and commitment level.
- Doorway Pull-Up Bars: Ideal for beginners and those with limited space. Best for basic hangs, dead hangs, and supported stretches. Ensure your door frame is sturdy and measure the width accurately.
- Wall-Mounted or Ceiling-Mounted Rigs: The professional’s choice. Offers permanent, wobble-free stability for advanced leverage work, deeper stretches, and dynamic movements. Requires serious installation commitment.
- Freestanding Power Towers or Squat Racks with Pull-Up Bars: The versatile home gym solution. Provides excellent stability and often includes multiple grip positions. Requires more floor space but offers unmatched utility.
Location and Setup: Creating Your Sanctuary of Stretch
A dedicated space fosters consistency. Clear an area around your bar that allows for full-range movement—you need space to step forward, back, and to the sides. The floor surface should be firm and non-slip. For doorway bars, always follow weight capacity guidelines and check the security of the grip before each session. For permanent installations, ensure mounting studs are used and the bar is perfectly level.
Material and Component Breakdown
| Component Category | Options | Key Characteristics |
|---|---|---|
| Bar Type & Mount | Doorway Pull-Up Bar | Portable and space-efficient; best for basic hangs and static stretches. Easy to remove. Check door frame integrity. |
| Wall/Ceiling Mounted Rig | Permanent and ultra-stable; ideal for advanced leverage work, weighted stretches, and dynamic flows. Requires professional installation. | |
| Freestanding Unit | Versatile and movable; great for dedicated home gyms. Often includes multi-grip positions. Requires a larger footprint. | |
| Grip & Coating | Straight Steel | Standard and durable; can be harsh on hands. Use gymnastic chalk for better grip during hangs. |
| Foam or Neoprene Padded | Provides comfort for prolonged stretches and hangs. Improves grip and reduces callus formation. Ensure padding is securely bonded. |
The Core System: Principles of Bar-Assisted Mastery
Effective flexibility training is a science of controlled tension release. The bar is your tool to expertly manipulate the variables of stretch, transforming passive pulling into active, neurological change.
The Critical Variables: Depth, Duration, and Neurological Input
Control these three elements, and you control your progress.
- Depth (The “Sweet Spot”): The ideal stretch is felt as a strong, but not sharp, tension in the belly of the muscle—never in the joint. Consequence of Error: Pushing into pain triggers the protective stretch reflex, tightening the muscle. Tool for Control: Use the bar to offload weight and allow you to dial into the perfect intensity with micro-adjustments.
- Duration (The Hold Time): Aim for 30-60 second holds for static stretching. This allows the muscle spindles to reset and the fascia to begin to hydrate and elongate. Consequence of Error: Bouncing or short 10-second stretches only address the elastic component, yielding temporary results. Tool for Control: Use a simple timer. Focus on gradual relaxation throughout the entire hold.
- Neurological Input (Breathing & Focus): Diaphragmatic breathing is your nervous system’s “off switch.” Inhale to prepare, exhale deeply to release further into the stretch. Consequence of Error: Breath-holding increases intra-muscular tension and anxiety. Tool for Control: Actively direct your breath into the tight area. Use the bar’s stability to help you maintain a calm, focused posture.
The Practice: From Foundational Stretches to Advanced Flows
This is the application of principle. These movements systematically target major myofascial chains, using the bar for support, leverage, and enhanced range.
Lower Body Liberation
- Hamstrings (Supported Forward Fold): Stand facing the bar at hip height. Hinge at your hips, grip the bar, and walk your feet back until your torso is parallel to the floor. Keep a slight bend in your knees initially, then gently straighten them. Let your head hang heavy.
- Hip Flexors & Quads (Assisted Lunge Stretch): Place the bar in a low position. From a kneeling lunge, place your front foot forward, and hold the bar for balance as you sink your hips forward and down. Keep your front knee aligned over your ankle.
- Groin & Adductors (Wide-Legged Fold with Support): Set the bar at waist height. Take a wide stance facing the bar, hinge forward, and grip the bar. Use it to support your weight as you gently lower your torso, feeling the stretch along your inner thighs.
Upper Body & Spinal Decompression
- Shoulders & Chest (Bar-Assisted Chest Opener): Stand facing away from a bar set at waist height. Reach back and grip the bar with both hands, shoulder-width apart. With straight arms, gently step forward to create a stretch across your chest and the front of your shoulders.
- Lats & Side Body (Active Hang & Side Bend): From a dead hang, actively engage your back by pulling your shoulder blades down and together (scapular retraction). Hold this “active” position for 10-15 seconds to strengthen and stretch. For a side bend, hang and then gently sway your hips from side to side.
- Spinal Mobility (Bar-Assisted Cat-Cow): Stand facing the bar, gripping it at hip height with straight arms. Round your back (Cat) by pulling the bar slightly and tucking your chin, then arch your back (Cow) by dropping your belly and looking up, using the bar for gentle traction.
Advanced Integration: Dynamic Flows and PNF
- Dynamic Leg Swings: Stand sideways to the bar, holding it for balance. Swing one leg forward and back in a controlled pendulum motion, then side-to-side. This dynamically prepares the hips for activity.
- Proprioceptive Neuromuscular Facilitation (PNF): This advanced technique leverages the nervous system for rapid gains. Example for hamstrings: In your Supported Forward Fold, gently push your heels down into the floor (contracting the hamstrings) against the resistance of the bar for 5-7 seconds. Then completely relax and use the bar to gently deepen the stretch on an exhale. This “contract-relax” method is profoundly effective.
Threat Management: Navigating Plateaus and Preventing Injury
A proactive mindset is your best defense. Flexibility gains are non-linear; plateaus are information, not failure.
The Non-Negotiable Foundation
Never stretch a cold muscle. Begin with 5-10 minutes of light cardio (jumping jacks, jogging in place) and dynamic movements like arm circles and torso twists. Always listen to your body’s signals: “tight” is the target; “sharp,” “burning,” or joint pain is a command to STOP and regress the movement.
Solving Common Flexibility Barriers
- Barrier: Shoulder discomfort during hangs.
Solution: Start with “foot-assisted” hangs (feet on the floor, knees bent) to reduce load. Focus on scapular engagement—pull your shoulders away from your ears before hanging. - Barrier: Lower back rounds excessively in forward folds.
Solution: Maintain a significant bend in your knees. Focus on the sensation of hinging from your hip joints, not rounding your spine. The bar’s support allows you to find this hinge without fear of falling. - Barrier: Progress stalls after initial gains.
Solution: Introduce PNF techniques, increase hold times to 90 seconds, or add a second daily, shorter session focused solely on your tightest area.
Your 4-Week Blueprint to a More Supple Body
| Phase & Focus | Primary Tasks | Key Objectives |
|---|---|---|
| Weeks 1-2: Neurological Connection | 3 sessions per week. Perform 4-5 foundational stretches (e.g., Supported Forward Fold, Assisted Lunge). Hold each for 30 seconds. Finish with 30 seconds of gentle hanging. | Learn to use the bar for support. Master diaphragmatic breathing in each position. Differentiate between tension and pain. |
| Weeks 3-4: Range Expansion & Integration | 4 sessions per week. Increase holds to 45-60 seconds. Add 1-2 upper body stretches (e.g., Chest Opener). Introduce dynamic leg swings (2×10 per leg) as a warm-up. Experiment with one PNF technique in your final session of the week. | Actively seek a greater range of motion with control. Begin linking stretches together (e.g., Lunge to Hamstring Fold). Develop a feel for the enhanced “contract-relax” response. |
True flexibility is the art of controlled expansion—a dialogue between strength and length, not a forced contortion. By selecting the right tool, mastering the principles of leverage and neurological release, and following a progressive plan, you transform the simple fitness bar into a gateway to physical freedom. This journey rewards you with more than just the ability to touch your toes; it builds a body resilient to injury, capable of higher performance, and rich with the daily joy of effortless movement. The bar provides the leverage, but the commitment and intelligence you bring create the transformation—a more capable, resilient, and liberated you.