Installing a home fitness bar can be a game-changer for your exercise routine, providing an accessible way to engage in strength training without the need for a gym membership. However, ensuring that your fitness bar is securely mounted is crucial for both safety and performance. A well-secured fitness bar not only facilitates effective workouts but also prevents potential injuries from improper installation. To achieve this, it’s essential to choose the right mounting location, identify proper support structures such as studs and joists, and ensure there is adequate space and clearance for performing exercises. Follow our comprehensive, step-by-step guide to safely mount your fitness bar, complete with details on the necessary tools and equipment, the installation process, and essential safety checks. With this knowledge at your disposal, you’ll be ready to securely install your fitness bar, transforming your home into an efficient and safe workout space.
Choosing the Right Mounting Location for Your Fitness Bar
When planning to install a home fitness bar, selecting the proper mounting location is paramount to ensure safety and functionality. Below are the primary considerations to make an informed decision and how this contributes to creating a conducive home fitness environment.
Identifying Proper Support Structures: Studs and Joists
The first step in choosing the right mounting location for your fitness bar is identifying suitable support structures. Studs and joists are essential for providing the strength and stability necessary to safely mount a fitness bar.
- Studs: Wall studs are vertical framing members typically spaced 16 to 24 inches apart behind the wall. They provide the necessary support structure in most standard homes. You can locate studs using a stud finder, which electronically detects the denser areas behind the drywall or plaster.
- Joists: Ceiling joists offer similar support for overhead installations. They run horizontally and are spaced similarly to wall studs. For ceiling-mounted fitness bars, make sure to find a joist to attach your bar securely. Joists can often be located in unfinished basements or attics more easily, where the structure is visible.
Ensuring you mount your fitness bar into a stud or joist will prevent the bar from coming loose during use, thus reducing the risk of injury. This forms the foundation of a safe and reliable home fitness setup.
Ensuring Adequate Space and Clearance for Exercises
Once you have identified the proper support structures, it’s crucial to ensure there is adequate space and clearance around your chosen location. Here’s why space considerations are equally important:
- Vertical Clearance: Ensure there is sufficient vertical space to perform exercises without any obstructions. For instance, pull-ups and chin-ups require considerable upper space. Measure the height from the floor to the ceiling and ensure no fans, lighting fixtures, or other overhead obstructions are present.
- Horizontal Space: Consider the width and make sure there’s ample room to extend your arms fully without hitting walls or furniture. This is essential for a wide range of exercises including dips, leg raises, and kick-outs.
- Distance from Walls: Leave enough distance from walls to allow for full movement of your body and equipment. For a wall-mounted fitness bar, keep in mind that you don’t want your legs or head to come into contact with the wall during exercises.
Additionally, think about the overall flow of your workout area. Ensure that the space around your fitness bar can accommodate other fitness equipment if necessary, and that it doesn’t interfere with other activities or areas in your home. Planning for adequate space and clearance not only ensures safety but also enhances your home workout experience by allowing for smooth and unrestricted movement.
By carefully considering these factors, you can select an optimal location for mounting your fitness bar, contributing to a safe, effective, and enjoyable home fitness routine.
Step-by-Step Guide to Safely Mounting Your Fitness Bar
Necessary Tools and Equipment for Installation
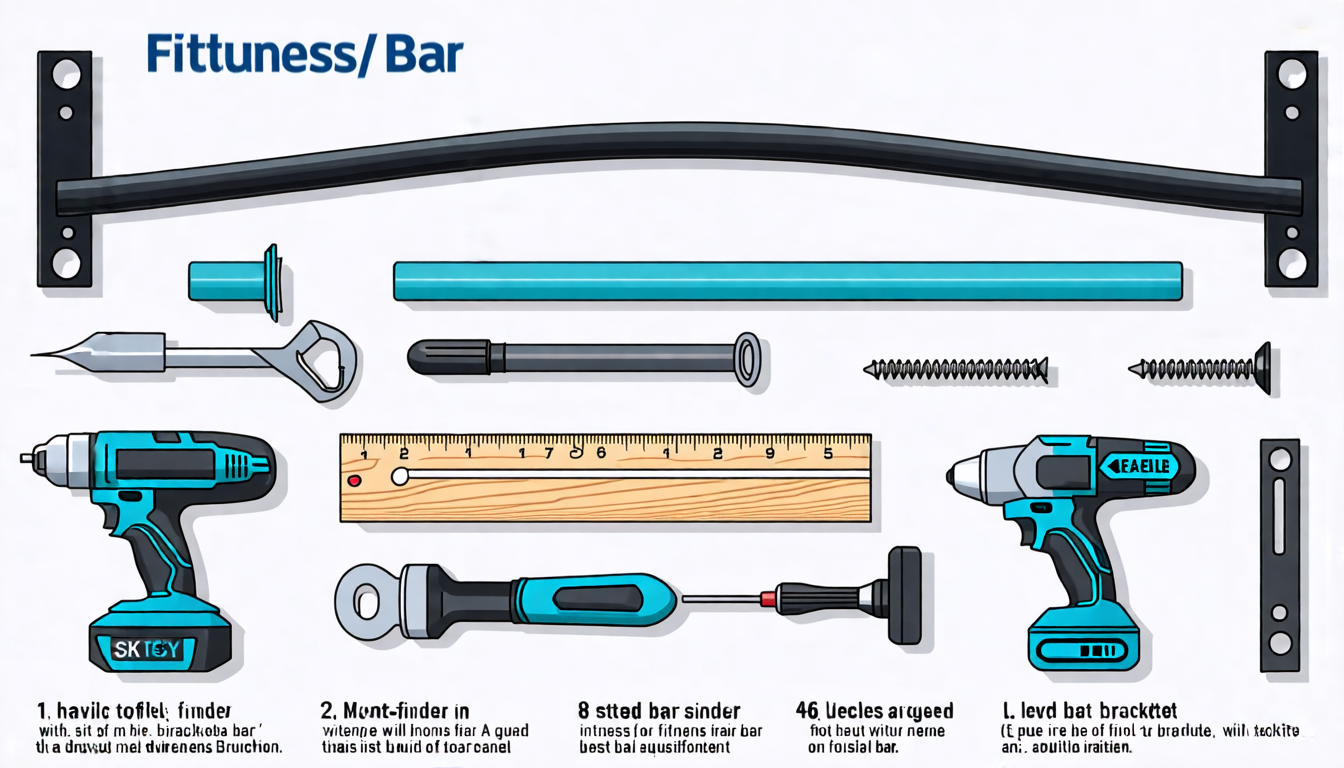
Before starting the installation process, having the right tools and equipment is crucial to ensure your fitness bar is securely mounted. This not only simplifies the task but also enhances safety. Here’s a list of essential items you’ll need:
- Stud Finder: To locate studs or joists in your walls or ceiling, which provide the necessary support.
- Level: Ensures your fitness bar is mounted straight and even.
- Measuring Tape: For precise measurements to align and center the bar perfectly.
- Drill: Essential for creating holes in the wall or ceiling to attach the mounting brackets.
- Screwdriver: Often required to tighten screws for a secure installation.
- Anchors & Screws: Heavy-duty anchors and screws appropriate for your bar’s weight capacity.
- Wrench Set: May be needed for tightening nuts and bolts.
- Safety Gear: Protective gloves and eyewear to ensure personal safety during installation.
Detailed Installation Process and Safety Checks
Successfully mounting your fitness bar involves a series of carefully executed steps. Follow this detailed guide for a safe and secure installation:
1. Locate Studs or Joists
Start by identifying the support structures in the wall or ceiling using a stud finder. Mark the center of each stud or joist with a pencil to ensure you know exactly where to drill. This step is critical as studs and joists provide the necessary support for your fitness bar, preventing potential accidents.
2. Measure and Mark
Use your measuring tape and level to determine the exact spots where the fitness bar will be mounted. Ensure the bar is centered and properly aligned, leaving adequate space for exercise movement – typically, a 7-foot by 5-foot area provides sufficient clearance.
3. Drill Pilot Holes
After marking the spots, drill pilot holes into the studs or joists. Pilot holes help guide the screws and reduce the risk of wood splitting. They also make it easier to drive screws into dense materials.
4. Attach Mounting Brackets
Position the mounting brackets over the pilot holes and use your drill or screwdriver to secure them with screws. Always use screws that are long enough to penetrate deep into the studs or joists, providing a more secure hold. Tighten the screws firmly, but ensure you do not overtighten and strip them.
5. Mount the Fitness Bar
Once the brackets are securely in place, attach the fitness bar to them. This may require the help of another person to hold the bar steady while you secure it. Ensure to follow the manufacturer’s instructions for this step, as some bars have specific attachment points or sequences to follow.
6. Perform Safety Checks
After installation, conduct a thorough inspection to ensure everything is secure. Check all screws and bolts for tightness, ensuring nothing is loose. Apply some weight to the bar and perform a few slow and controlled test movements to verify its stability. It’s crucial to rectify any weaknesses at this stage to prevent injury.
7. Regular Maintenance
Maintaining the security of your fitness bar is an ongoing process. Regularly check the integrity of the brackets and screws, especially if the bar is used frequently. Tighten any loose components and inspect for any signs of wear or damage. Regular maintenance ensures the longevity and safety of your home fitness bar setup.
By meticulously following these steps and regularly maintaining your setup, you can ensure that your fitness bar is not only securely mounted but also safe for continuous use. This structured approach maximizes safety while providing a reliable home fitness solution.
In conclusion, ensuring that your fitness bar is securely mounted is integral to creating a safe and effective home fitness environment. By carefully choosing the right mounting location, you can ensure that your fitness bar is supported by studs and joists, providing the necessary structural integrity. Adequate space and clearance must be assessed to allow for the full range of motion required by your exercises, preventing accidents and enhancing workout efficiency.
Following the step-by-step guide for safely mounting your fitness bar means gathering all the necessary tools and equipment beforehand to streamline the installation process. Paying attention to each detail, from securing the mounts to tightening the screws, will not only ensure the stability of the fitness bar but also your safety during workouts.
Incorporating these measures into your installation process will empower you to confidently use your fitness bar, knowing that it is firmly attached and capable of supporting your fitness regimen. Whether you’re engaging in pull-ups, chin-ups, or other bar exercises, a securely mounted fitness bar will enhance your home fitness experience, providing you with both safety and reliability.