Transform your home into a personal workout haven by installing a home fitness bar. Whether you’re aiming to enhance your strength, improve flexibility, or simply enjoy a more convenient exercise routine, a home fitness bar is a versatile and essential piece of equipment. This article guides you through the crucial steps of choosing the perfect fitness bar for your space, be it doorway, wall-mounted, ceiling-mounted, or freestanding options. By understanding the different types, accurately measuring your installation space, and aligning your selection with your fitness goals, you’ll find the ideal fitness bar to meet your needs.
We’ll provide a comprehensive step-by-step guide to installing your home fitness bar, ensuring you have all the necessary tools and materials at hand. Our detailed instructions will cover the installation process for each type of fitness bar, emphasizing safety tips and best practices to secure a sturdy setup. Finally, we’ll walk you through testing and verifying the stability of your newly installed fitness bar to ensure it remains a reliable component of your home fitness regimen. Embrace the convenience and efficiency of home workouts by mastering the installation of your home fitness bar, creating an effective and safe fitness environment within your own home.
Choosing the Right Home Fitness Bar for Your Space
When it comes to creating an effective and efficient home gym environment, choosing the right home fitness bar is crucial. This installation guide aims to make the process seamless by helping you pick the most suitable fitness bar for your needs.
Understanding Different Types of Fitness Bars
There are several types of home fitness bars to consider, each with unique features and installation requirements. The primary types are doorway, wall-mounted, ceiling-mounted, and freestanding bars. Each type has benefits depending on your available space and fitness goals.
Doorway Fitness Bars
Doorway fitness bars are the most versatile and easy-to-install option. They fit snugly within most door frames and can be mounted without permanent fixtures, making them perfect for renters or anyone who doesn’t want to drill into walls. They are generally cost-effective and offer multiple grips for various exercises, including pull-ups and chin-ups.
Wall-Mounted Fitness Bars
Wall-mounted fitness bars offer more stability and are ideal for heavier individuals or those looking to perform more dynamic exercises. These bars are bolted directly into the wall studs, providing a secure and robust installation. Wall-mounted bars are typically larger and offer multiple grip positions, which can be beneficial for targeting diverse muscle groups.
Ceiling-Mounted Fitness Bars
Ceiling-mounted fitness bars are perfect for spaces with limited wall options. They offer a range of motion that wall-mounted and doorway bars cannot, allowing for a variety of exercises such as leg raises and muscle-ups. However, they require a higher level of installation expertise and strong ceiling joists to ensure safety and stability.
Freestanding Fitness Bars
Freestanding fitness bars are a great option if you have more space and want a multi-functional piece of equipment. These bars can be moved around and often come with additional features like dip stations and push-up bars. They don’t require any installation, making them perfect for those who prefer a non-permanent setup. However, they do take up more floor space and can be more expensive.
Measuring and Assessing Your Space for Optimal Installation
Before you choose your home fitness bar, it’s essential to assess the available space to ensure optimal installation and performance. Here are the steps you should follow:
Measure the Area
- Doorways: Measure the width and height of your doorway. Most doorway bars are adjustable, but it’s important to ensure that your doorway can accommodate the bar without any obstructions.
- Walls: For wall-mounted bars, locate the studs using a stud finder. Measure the distance between the studs to ensure that your chosen bar can be securely mounted. Additionally, measure the height from the floor to where you plan to mount the bar, ensuring that you have enough clearance above for your exercises.
- Ceilings: If you’re opting for a ceiling-mounted bar, measure the height from the floor to the ceiling joists and make sure the ceiling is high enough to allow for a full range of motion.
- Floor Space: For freestanding bars, measure the available floor space to ensure that the equipment will fit comfortably without obstructing other areas of your home gym.
Check for Obstructions
Make sure there are no obstructions around your chosen installation area. For doorway bars, ensure the door can still close properly. For wall and ceiling-mounted bars, check that there isn’t any wiring, plumbing, or ductwork that could be damaged during installation. For freestanding bars, ensure there’s enough room to move around the equipment safely.
Selecting the Best Fitness Bar Based on Your Exercise Needs
Your exercise routine will significantly influence the type of fitness bar you should choose. Here’s a guide to selecting the best fitness bar based on your workout goals and preferences:
- Beginner Workouts: If you’re new to fitness or looking for a simple setup, a doorway bar is your best bet. These bars are easy to install and remove, and they provide a sufficient range of exercises like pull-ups, chin-ups, and hanging leg raises.
- Advanced Muscle Training: For those who want to perform more advanced workouts, such as muscle-ups or intense core exercises, a ceiling-mounted bar offers the range and robustness needed for these moves.
- Full-Body Workout Stations: If you’re interested in a comprehensive setup, a freestanding bar could be ideal. These units often come with added features that allow you to target a wider array of muscle groups.
- Heavy Duty Training: If you’re a heavier individual or perform very dynamic exercises, a wall-mounted bar would provide the most stability and security, allowing for intense workout sessions without the risk of movement or failure.
By carefully considering the different types of fitness bars and assessing your space and exercise needs, you can choose the perfect home fitness bar to help achieve your fitness goals. The next step is to follow a precise installation guide to ensure your fitness bar is safely and securely mounted, ready to support your robust workout routine.
Step-by-Step Guide to Installing Your Home Fitness Bar
Required Tools and Materials for Installation
Before you start installing your home fitness bar, make sure you have all the necessary tools and materials handy. Having the right tools will ensure a smooth and efficient installation process. Here’s a list of what you typically need:
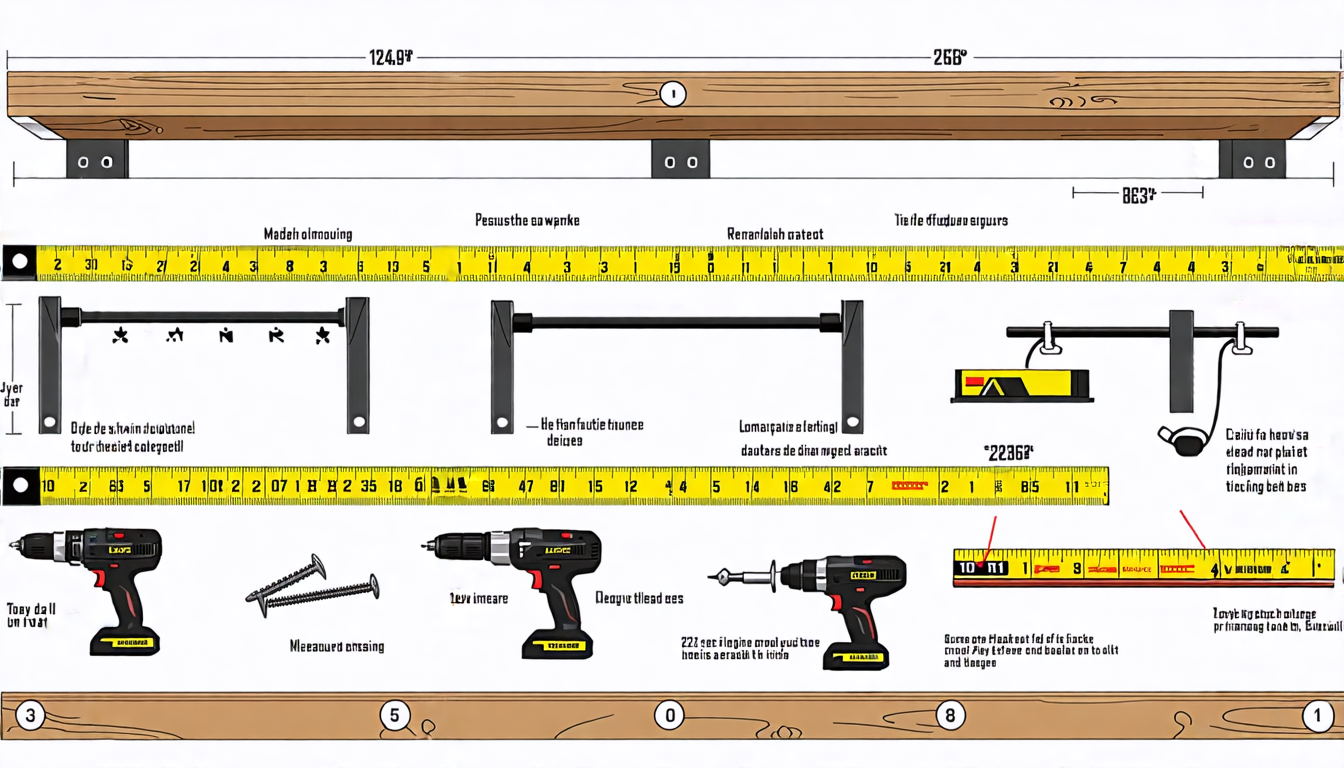
- Measuring tape
- Level
- Drill with various drill bits
- Screwdriver
- Stud finder (for wall-mounted and ceiling-mounted bars)
- Pencil for marking
- Wrench (for tightening bolts)
- Screws and anchors (usually included with fitness bar)
- Manual (common with purchased fitness bars)
Detailed Installation Process for Each Type of Fitness Bar
Doorway Fitness Bar
Doorway fitness bars are among the simplest to install. Here’s how you can set them up:
- Unpack and Assemble: Follow the instructions provided to assemble your doorway bar if it comes disassembled.
- Position in Doorway: Place the bar in the desired doorway, ensuring it sits securely against the frame.
- Tighten Mechanism: Tighten any tension screws or mechanisms that secure the bar in place. Check that it’s level.
- Test Stability: Apply downward pressure to test the strength of the installation before using it for exercises.
Wall-Mounted Fitness Bar
For wall-mounted fitness bars, you need to follow a slightly more involved installation process:
- Locate Studs: Use a stud finder to locate the wall studs where you’ll mount your bar. Make sure the studs are appropriately spaced for your bar.
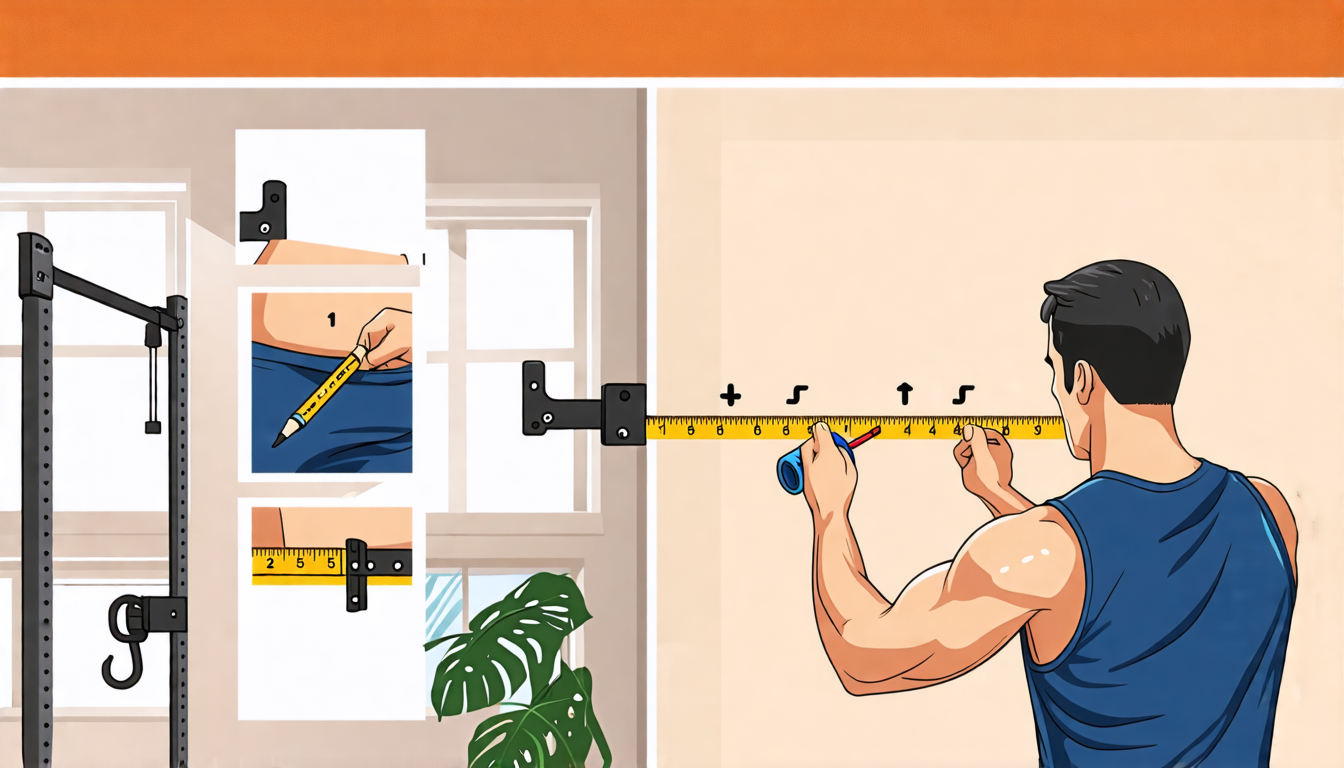
- Mark Drill Holes: Hold the mounting brackets against the wall, and use a pencil to mark where you need to drill holes.
- Drill Holes: Drill pilot holes into the wall where you’ve marked. Ensure the holes are at the correct depth and width as specified by the fitness bar’s manual.
- Attach Brackets: Secure the brackets to the wall with screws, making sure they’re level and firmly fixed to the studs.
- Mount the Bar: Attach the fitness bar to the mounting brackets as per the provided instructions. Use a wrench if necessary to tighten all bolts and nuts.
- Double-Check Security: Ensure all parts are secure and the bar is stable before using it.
Ceiling-Mounted Fitness Bar
Installing a ceiling-mounted fitness bar requires similar steps but with overhead work:
- Locate Ceiling Joists: Use the stud finder to locate ceiling joists since these will support the bar’s weight.
- Mark and Drill: Mark the positions for the mounting brackets on the ceiling and drill pilot holes.
- Secure Brackets: Attach the mounting brackets to the ceiling joists using screws. Ensure they are aligned and level.
- Attach the Bar: Mount the fitness bar onto the brackets according to the instructions. This might involve elevating the bar, so you might need an extra pair of hands for safety.
- Inspect for Stability: Double-check all connections and give the bar a gentle tug to ensure it’s firmly installed.
Freestanding Fitness Bar
Freestanding bars are the easiest in terms of not needing to drill or mount, but they require careful assembly:
- Unbox and Inventory: Unpack all the parts and make sure you have everything needed as per the manual.
- Assemble Base: Start by assembling the base frame; follow the manual’s guidelines.
- Mount Uprights: Attach the vertical bars to the base. Ensure they are tightly screwed or bolted.
- Attach Crossbar: Fix the fitness bar onto the uprights according to the specifications. Use a level to make sure it’s horizontal.
- Stabilize and Test: Place the assembled unit in your desired location and ensure it’s level and stable. Perform a gentle test to ensure it doesn’t wobble.
Safety Tips and Best Practices for Secure Installation
Safety is paramount when installing exercise equipment at home. Follow these best practices to ensure a secure setup:
- Choose the Right Spot: Ensure the space you pick is suitable for installation and usage without causing any damage to property or risk to yourself.
- Double-Check Measurements: Accurate measurements are crucial to avoid installation errors.
- Follow Instructions Carefully: Every fitness bar comes with a manual; follow it meticulously for assembly and installation.
- Inspect Tools and Hardware: Use the right tools, and ensure screws, bolts, and brackets are in good condition and appropriate for the bar type.
- Check for Obstructions: Make sure the area around your fitness bar is clear of any obstacles that might interfere with exercises.
- Periodic Maintenance: Regularly check the bolts and connections to ensure everything remains tight and secure.
Testing and Ensuring the Stability of Your Installed Fitness Bar
Once your home fitness bar is installed, it’s vital to test it thoroughly to ensure it can support your weight during workouts. Here’s how:
- Initial Pressure Test: Apply steady pressure or slight tugs to see if the bar holds firm. Avoid hanging your entire body weight initially.
- Incremental Weight Test: Gradually increase the weight put on the bar, starting with partial weight and moving to full body weight.
- Check for Movement: Observe any movement or loosening of the bar or its fittings. Address any issues before usage.
- Regular Inspections: Integrate routine checks into your fitness regime to ensure the bar remains safe and secure over time.
By following these instructions and safety tips, you can confidently install and maintain your home fitness bar, ensuring a safe and effective addition to your home workout space.
By following the comprehensive guide provided, you can ensure a successful installation of your home fitness bar, tailored specifically to your space and fitness needs. Starting with a careful selection process, it’s crucial to understand the different types of fitness bars available—doorway, wall-mounted, ceiling-mounted, and freestanding. Assessing your space with precise measurements helps in choosing the most suitable bar that will be both functional and safe. Once you have selected the right bar, gathering the necessary tools and materials is the next step.
The detailed, step-by-step installation process for each bar type ensures that even those new to DIY projects can set up their fitness equipment with confidence. Emphasizing safety, the guide includes best practices and tips to avoid common pitfalls. From securing hardware correctly to testing the stability of the installed bar, each stage is designed to promote a safe workout environment in your home.
By thoroughly following these instructions, you can create a dedicated space for fitness in the comfort of your home, enhancing your workout routine and enabling a healthier lifestyle. The key to a successful installation lies in careful planning, precise execution, and rigorous testing, ensuring your home fitness bar remains a reliable fixture for years to come.