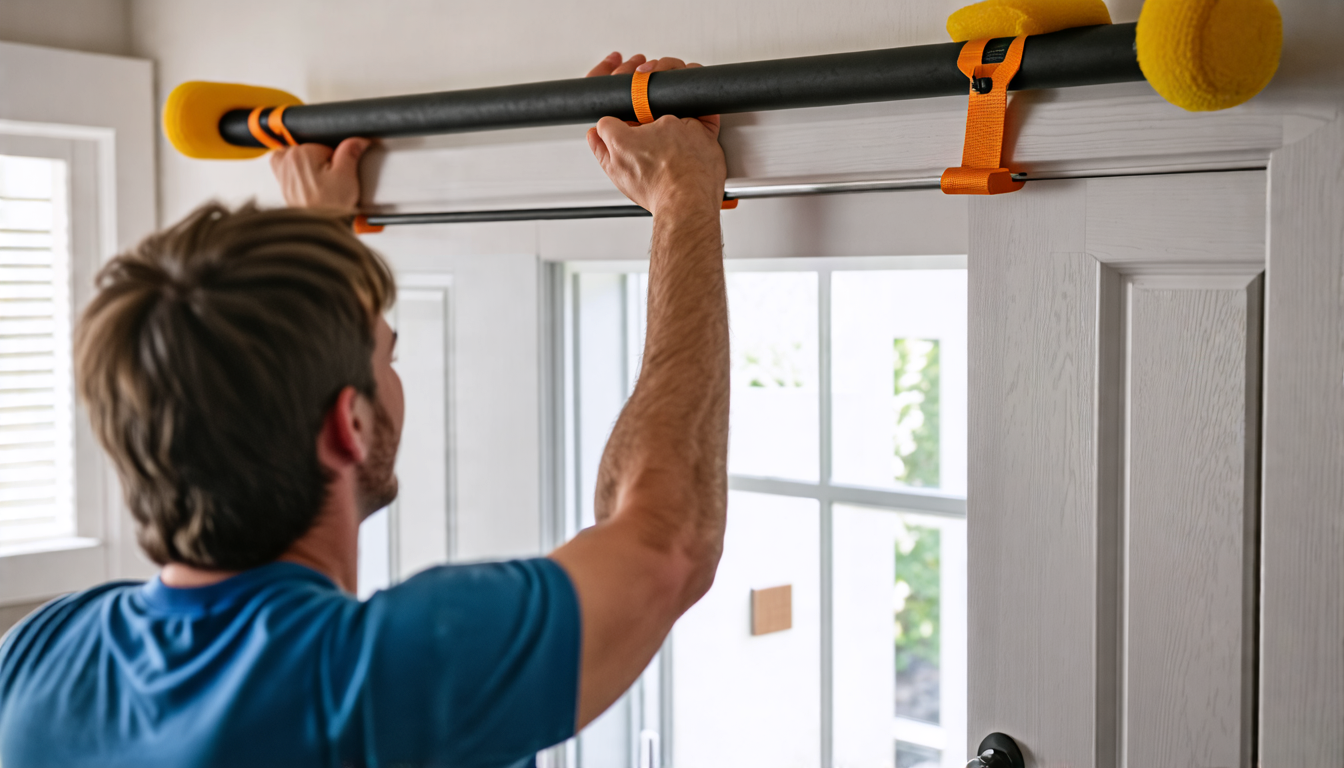
Removing a fitness bar from your home is a task that requires careful planning and the right approach to avoid unsightly wall damage. This guide will walk you through the essential tools and preparations needed to safely remove your fitness bar, ensuring your living space remains pristine in the process. By following our systematic, step-by-step instructions, you will be able to efficiently dismantle your fitness bar, address any minor repairs on the wall, and leave your home looking as good as new. Whether you’re relocating, upgrading your equipment, or simply re-organizing your home fitness setup, our comprehensive tips and insights will help you manage the removal process with ease and precision.
How do I remove a fitness bar without damaging the walls?
Essential Tools and Preparations for Safe Removal
Gather the Necessary Tools
Removing a fitness bar without causing damage to your walls requires careful planning and the right set of tools. Start by gathering the following essential equipment:
- Screwdriver: A screwdriver is fundamental for loosening and removing any screws that hold the fitness bar in place. You may need both flathead and Phillips-head screwdrivers, depending on the type of screws used.
- Pliers: Pliers can be useful for gripping and pulling out stubborn screws or nails that might be used to secure the fitness bar.
- Utility Knife: This tool is essential for cutting away any caulking, adhesive, or paint that might make removing the bar difficult.
- Protective Gear: Safety should always be your priority. Wear protective gloves and safety goggles to shield yourself from any debris or sharp edges during the removal process.
Prepare the Surrounding Area
Before you start the removal process, it’s crucial to prepare the area around the fitness bar to ensure a smooth operation and minimize the risk of causing damage to other parts of your home:
- Remove Nearby Objects: To create a safe working environment, clear the area around the fitness bar of any furniture, decorations, or other objects that could get in your way or be damaged by falling debris.
- Cover the Floor: Spread a drop cloth, old sheets, or any other protective covering over the floor beneath the fitness bar to catch any screws, debris, or dust that may fall during the removal process. This will make cleaning up afterward much easier.
Check the Mounting Instructions
Another critical step in preparing for a safe and damage-free removal of your fitness bar is to thoroughly understand how it is mounted to the wall. Most home fitness bars come with a user manual or installation guide that can provide valuable insights:
- Read the Manual: Find the original manual or installation guide that came with your fitness bar. If you don’t have a physical copy, you might be able to find a digital version or instructions on the manufacturer’s website. The manual should detail how the bar is secured to the wall, the type of fasteners used, and any special removal instructions.
- Identify Fastening Hardware: By understanding the types of screws, bolts, or brackets used, you’ll know what tools are necessary and can anticipate any potential challenges. Some fitness bars may be anchored using different fasteners that require specific tools for safe removal.
- Special Considerations: Pay attention to any special instructions regarding the removal process. Some models may have hidden screws or specific disassembly methods that are important to follow to avoid damaging the walls.
By gathering the necessary tools, preparing your workspace, and familiarizing yourself with the mounting instructions, you’ll be well on your way to removing your fitness bar with confidence and without causing unnecessary damage to your walls. Whether moving your gym setup to a new location or simply making room for other home improvements, these steps will ensure a smooth and efficient removal process.
Step-by-Step Guide to Removing Your Fitness Bar
Removing a fitness bar without damaging your walls can seem like a daunting task. By following our step-by-step guide, you can ensure a smooth removal process and safeguard the structural integrity of your home. Here’s how to do it:
Loosen and Remove Screws
Begin by using your screwdriver to carefully unscrew the fasteners that hold the fitness bar in place. It’s important to handle this step with care to prevent stripping the screws or causing additional damage to the wall. You might need a Phillips head or flat head screwdriver, depending on the type of screws used in your fitness bar’s installation. Turn each screw counterclockwise until it is completely free from the wall mount.
If some screws are stubborn and won’t easily come out, use pliers to gently grip and twist them out. This extra grip can help in situations where the screws have been overtightened or have become rusted. Ensure to keep all screws and mounting hardware in a safe place, as you might need them for future reinstallation or for reference.
Detach the Bar and Examine the Mounts
Once all screws are removed, gently pull the fitness bar away from the wall. Depending on how your fitness bar is mounted, you may need to slightly wiggle it to loosen its grip. At this point, the wall mounts or brackets should also come off easily.
After the fitness bar and mounts are detached, closely examine the areas where the mounts were secured. Look for any signs of residue, such as adhesive or caulk, and determine if the paint or drywall around the mounts has been compromised. This step is crucial in identifying areas that will need attention during the repair process.
Repair and Clean Wall Surface
With the fitness bar fully removed, it’s time to repair any damage caused during its removal. Start by filling any screw holes or dents with spackle. Apply a small amount of spackle to a putty knife and spread it evenly over the holes. Allow the spackle to dry completely, as per the product’s instructions. If the wall has sustained larger areas of damage, you may need to use a patch kit available at most hardware stores.
Once the spackle is dry, use a fine-grit sandpaper to smooth the area, ensuring it is flush with the surrounding wall surface. Be gentle while sanding to avoid creating new imperfections. After sanding, wipe away any dust with a damp cloth.
The final step is to repaint the repaired area to match the rest of the wall. Use a small paintbrush or roller to apply the paint evenly over the patched areas. Depending on the size of the repair and the type of paint used, you may need to apply a second coat. Allow the paint to dry thoroughly before reinstalling any décor or shelving.
By following these steps, you can remove your fitness bar without causing significant damage to your walls, ensuring your home maintains its aesthetic appeal and structural integrity. Having a well-maintained wall surface post-removal is especially important for those who frequently alter their home fitness setups, ensuring a seamless transition between different equipment and maintaining a professional appearance in multi-use spaces.
Removing a fitness bar from your wall without causing damage requires careful preparation and methodical execution. By beginning with the right tools and ensuring the area around your fitness bar is clear and protected, you set the stage for a smooth removal process. Referring to the specific mounting instructions of your fitness bar helps you understand its unique securing mechanism.
Starting with loosening and removing the screws, you need to proceed patiently, using the proper tools to avoid stripping the fasteners or causing unnecessary stress to your walls. Once the screws are removed, gently detaching the bar allows you to inspect the wall mounts for any signs of damage or residue. This is a crucial step to identify the extent of repair needed.
The final phase involves restoring the wall to its original condition. Fill any holes with spackle, sand the surface for a smooth finish, and repaint if necessary. This not only preserves the aesthetic integrity of your home but also prepares the wall for any future fitness equipment or other uses.
Following these steps ensures that the removal process is efficient and minimizes the risk of damage to your walls. Whether you are upgrading your home fitness setup, moving, or simply making changes to your living space, understanding and executing these steps will help maintain the versatility and appearance of your home fitness area.